Like finding hidden treasures on the beach, collecting seashells is fun, but keeping them looking nice takes some work. While it might seem easy to just rinse them with water from the tap, cleaning seashells properly needs a bit more care to make sure they stay beautiful and don't start to smell bad.
Some of the links in this article may be affiliate links. If you make a purchase through these links, we may earn a small commission at no extra cost to you. Thank you.
According to The Smithsonian's National Museum of Natural History marine biologist Dr. Jerry Harasewych, "The most important step in preserving seashells is removing all organic material, as any remaining flesh will decompose and create unpleasant odors."
Whether you want to display your shells in a glass jar, use them for crafts, or just keep them as memories from your beach trip, learning how to clean them the right way will help them last longer and look better in your collection.
Collecting Beach Treasures
When you're ready to begin your seashell collecting adventure, knowing how and where to find the best specimens will make your beach excursion more rewarding.
Let's search above the high tide line for beautiful shells, including unique finds like sand dollars and conch shells.
We'll want to bring a zip lock bag, check local regulations, and visit after storms when the ocean naturally deposits fresh treasures.
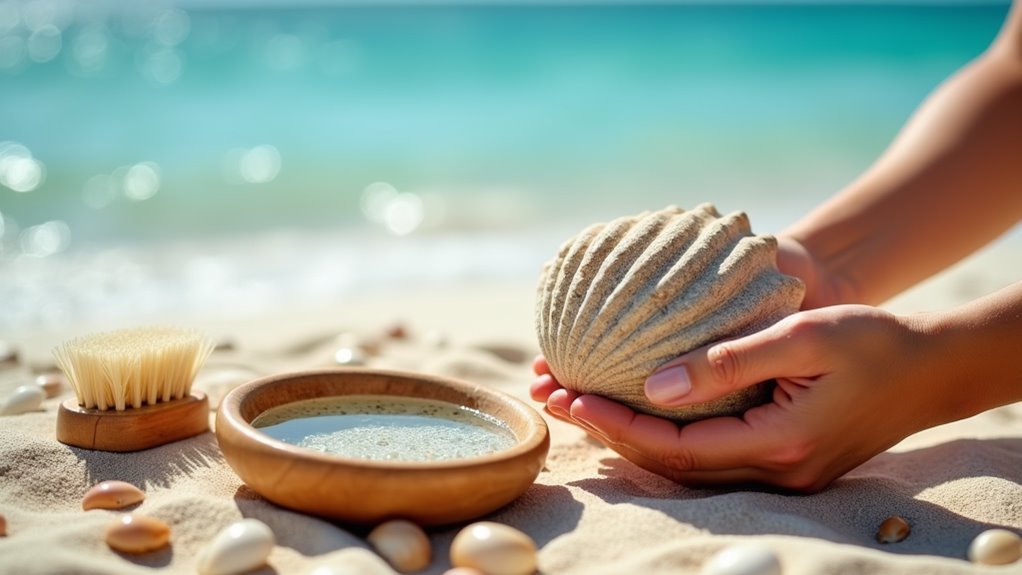
Let's look at the important things to remember when cleaning our beach treasures and make sure we're doing it right.
While it's tempting to use harsh chemicals, we'll want to be careful with how we treat our shells to preserve their natural beauty.
We'll explore the best cleaning methods, what to avoid, and how to give our seashells that perfect finishing touch with some helpful tools and techniques.
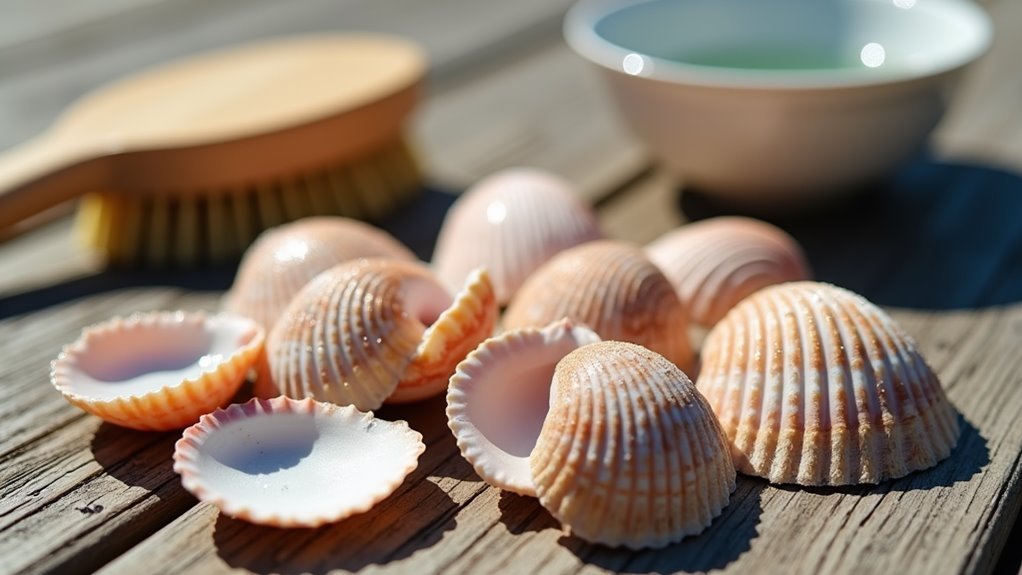
Things to Do When Cleaning Seashells
Cleaning seashells requires careful attention to detail and the right combination of cleaning solutions to preserve their natural beauty while removing dirt, debris, and unwanted odors. The process begins with a gentle freshwater rinse and progresses through various soaking stages using appropriate cleaning agents, ultimately ending with proper drying and preservation techniques to guarantee the shells maintain their aesthetic appeal for years to come.
- Initial rinse with fresh water to remove sand, dirt, and check for living organisms
- Prepare a 50/50 bleach solution and soak shells for 10 minutes to disinfect and clean
- Thoroughly rinse shells with cool water to remove all traces of bleach
- Use vinegar soak for one week or hydrogen peroxide solution for stubborn odors
- Allow shells to dry completely in a well-ventilated space
- Inspect shells for remaining debris or residue
- Apply a light coat of mineral oil to enhance natural colors and protect the surface
- Handle shells with care throughout the process to prevent damage
- Store cleaned shells in a dry place away from direct sunlight
- Regular maintenance with gentle dusting to keep shells looking their best
Things to Avoid When Cleaning Seashells
Cleaning seashells requires careful attention to preserve their natural beauty and structural integrity. While it may be tempting to use aggressive cleaning methods or harsh chemicals to achieve quick results, certain practices can permanently damage or destroy these delicate marine treasures. Following proper cleaning guidelines helps maintain the shells' original characteristics and guarantees they remain attractive display pieces for years to come.
- Prolonged bleach soaking – Damages shell color and structure, leaving behind persistent chemical odors
- Harsh chemical cleaners – Can erode shell surfaces and cause irreversible deterioration
- Abrasive cleaning tools – Scratches and damages the natural texture and patterns of shells
- Collecting inhabited shells – Harms marine ecosystems and raises ethical concerns
- Incomplete cleaning process – Skipping thorough rinsing and drying leads to mold and odor issues
- High-heat cleaning methods – Can cause shells to crack, fade, or become brittle
- Metal cleaning tools – May leave scratches or rust marks on delicate shell surfaces
- Direct sunlight exposure – Prolonged exposure during drying can fade shell colors
- Rough handling – Can chip or break fragile edges and intricate shell features
- Storage while damp – Creates conditions for bacteria growth and shell deterioration
Steps
Cleaning seashells properly is vital to preserve their beauty and prevent unpleasant odors from developing over time. The process involves multiple steps that remove sand, salt, organic matter, and any remaining sea life while protecting the delicate structure of the shells.
Following a systematic cleaning approach guarantees the shells maintain their natural appearance and can be safely displayed or used in crafts.
Step 1: Rinse shells in fresh water immediately after collection to remove sand and check for living creatures.
Step 2: Create a 50/50 bleach and water solution.
Step 3: Soak shells in the bleach solution for 10 minutes.
Step 4: Rinse thoroughly with cool or lukewarm water.
Step 5: Remove stubborn debris and barnacles using dental picks or small tools.
Step 6: Rinse again to remove any loosened particles.
Step 7: Place shells in a well-ventilated area to dry completely.
Step 8: Apply mineral oil to restore shine (optional).
Step 9: Store cleaned shells in a cool, dry place.
Final Thoughts
While preserving seashells takes some time and effort, following these cleaning methods will help guarantee your beach treasures remain beautiful for years to come.
Remember to check for living creatures, soak in bleach or hydrogen peroxide, rinse with clean water, and finish with mineral oil to bring the shine back.
Store your shells properly, and they'll be stunning displays of nature's artistry.
Cleaning and preserving seashells is a rewarding way to maintain beautiful memories of beach adventures.
With proper cleaning techniques – from initial rinsing to bleach solutions and careful scraping – you can transform dirty, dull shells into stunning display pieces.
The extra effort of applying mineral oil helps protect your shells while enhancing their natural beauty.
Remember to always follow local guidelines when collecting shells and be mindful of marine life.
Start your shell-cleaning project today and create a lasting display that captures the magic of the seashore in your own home.