Those tiny drywall dust particles are so small they can float in the air for several hours after you finish sanding. Most of us know the feeling – you’re ready to wrap up your home project, but then comes the messy cleanup. These specks of dust end up everywhere – on your furniture and even in the air you breathe. According to Bob Vila, a home improvement expert, “The best practice is to wait at least two hours after sanding before beginning cleanup, allowing the dust to fully settle.” While you might want to start cleaning right away, waiting a bit is actually the first step to getting rid of the dust properly. Once you know the right way to tackle it, cleanup becomes much easier and faster.
Some of the links in this article may be affiliate links. If you make a purchase through these links, we may earn a small commission at no extra cost to you. Thank you.
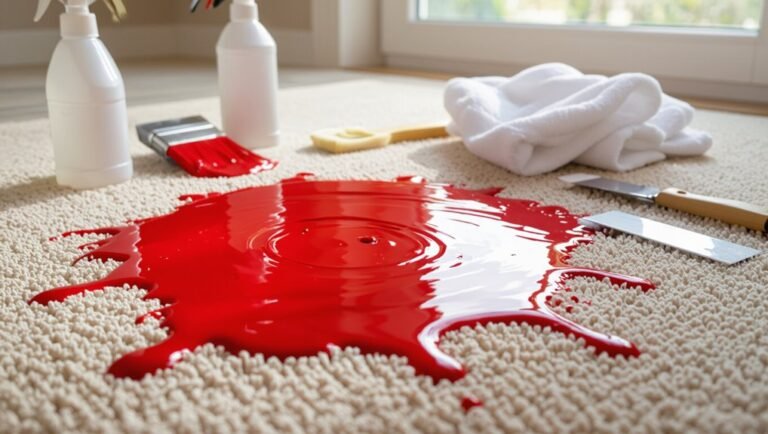
Dusty DIY Nightmare

Why does drywall dust seem to get absolutely everywhere during a DIY project?
It’s perhaps the most frustrating aspect of home renovation work.
We’ve found that even with careful preparation, that fine white powder infiltrates every surface, requiring multiple rounds of vacuuming and wiping.
Despite meticulous precautions, drywall dust has an uncanny ability to conquer every nook and cranny of your home.
It’s not just annoying—it’s potentially hazardous, containing crystalline silica that can irritate your respiratory system. Regular maintenance of your vacuum filters is essential to ensure effective dirt removal and to maintain indoor air quality during these projects.
##
We’ve tried countless methods for tackling drywall dust over the years, and trust me, having the right approach makes all the difference. Let’s look at what works best for eliminating that stubborn dust without creating more mess, and what mistakes you’ll definitely want to avoid during cleanup. I think sharing these specific steps will save you hours of frustration that most DIYers face when dealing with this particular home improvement challenge. Additionally, using mild cleaning solutions can help ensure that you don’t damage any paint while cleaning your walls.
Things to Do When Cleaning Drywall dust
Cleaning up drywall dust requires a methodical approach to effectively remove the fine particles that can otherwise spread throughout your home.
The cleanup process should begin 15-30 minutes after sanding, allowing airborne dust to settle first.
This waiting period greatly improves the effectiveness of your cleaning efforts and prevents you from simply redistributing the dust into the air again.
- Wait 15-30 minutes after sanding: Allow dust particles to settle before starting cleanup for more thorough removal.
- Brush down surfaces: Use a soft-bristled broom to gently sweep dust from walls and ceilings to the floor.
- Vacuum thoroughly: Go over the entire area three times with a HEPA vacuum to capture fine particles and prevent them from becoming airborne again.
- Mist walls with water: Use a paint sprayer filled with water to lightly dampen surfaces, which helps bind dust particles for easier removal.
- Work top to bottom: Clean from ceiling to floor to avoid contaminating already cleaned areas.
- Use a shop vac with sanding attachment: Consider using this during the sanding process itself to capture dust at the source.
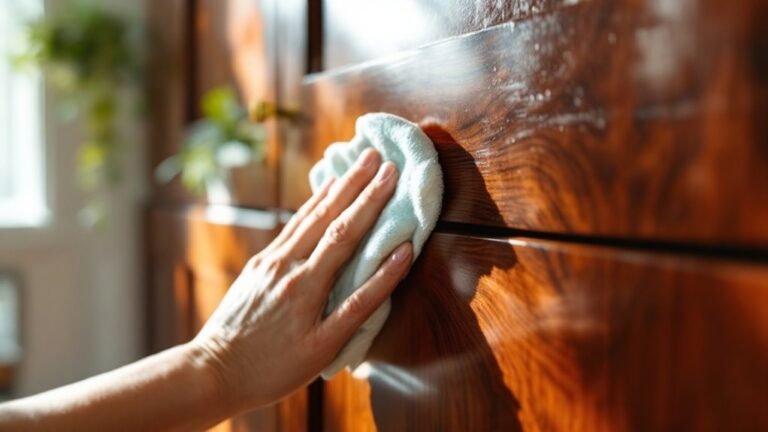
- Finish with damp microfiber cloth: Wipe all surfaces with a slightly damp microfiber cloth to catch any remaining dust particles.
Things to Avoid When Cleaning Drywall dust
Cleaning drywall dust requires careful attention to proper techniques to avoid damage to your surfaces, equipment, and health.
While it might seem like a simple cleanup task, drywall dust contains fine particles that can be both persistent and potentially harmful if not handled correctly.
Following proper cleanup protocols not only guarantees a cleaner result but also protects your investment in your walls and safeguards your respiratory health.
- Taped wall dust removal – Avoid wiping or brushing dust from freshly taped walls as this can damage the tape’s adhesion and compromise the final finish, instead paint directly over light dust.
- Excessive water spraying – Don’t oversaturate walls during cleanup as too much water can warp the drywall compound, leading to costly repairs and an uneven finished surface.
- Water spraying on exposed drywall paper – Skip the water spray method on areas with mostly exposed drywall paper, as it won’t effectively capture dust and may damage the paper surface.
- Working without protective gear – Never clean drywall dust without wearing a proper dust mask, safety goggles, and gloves, as silica dust can cause serious respiratory damage with prolonged exposure.
- Using standard vacuums – Avoid regular household vacuums without HEPA filters, as fine drywall particles can destroy the motor and allow hazardous silica dust to recirculate into the air.
Steps
Drywall dust is notorious for its ability to spread throughout a home and settle on every surface.
This fine powder can’t only create a mess but also potentially cause respiratory issues if not properly cleaned up.
Thorough removal requires a systematic approach that contains, captures, and eliminates all traces of dust from your work area while preventing it from migrating to other parts of your home.
Step 1: Wait 15-30 minutes after sanding for dust particles to settle on surfaces.
Step 2: Create negative air pressure by mounting a box fan in a window facing outward and sealing around it with plastic.
Step 3: Start cleaning from top to bottom, using a soft-bristled broom to loosen dust from walls and ceilings.
Step 4: Vacuum all surfaces with a brush attachment to remove loosened dust.
Step 5: Wipe down walls and ceilings with a damp microfiber cloth to capture remaining particles.
Step 6: Address joints and areas with semi-wet compound by wiping or lightly spraying with water before dust hardens.
Step 7: Carefully fold up any protective plastic sheeting from the floor to contain collected dust.
Step 8: Lightly sweep floors to gather larger dust piles.
Step 9: Vacuum floors thoroughly with a HEPA-filtered vacuum to capture fine particles.
Step 10: Complete the cleanup by mopping with a wet microfiber cloth to remove any remaining residue.
Final Thoughts
While the process of eliminating drywall dust might seem overwhelming, we’ve found that following a systematic approach makes all the difference between a mediocre and professional-quality result.
##

Cleaning up drywall dust doesn’t have to be the nightmare many DIYers fear.
By implementing proper containment strategies from the start, using innovative techniques like the water sprayer hack, and following a systematic cleaning approach, you can effectively manage even the most challenging drywall dust situations.
Remember that your health should always be the priority—wear appropriate protective gear and guarantee proper ventilation throughout the cleanup process.
The investment in quality tools like HEPA vacuums and microfiber cloths pays dividends not just in cleaning efficiency but in protecting your respiratory system from harmful silica particles. Regular maintenance is essential for peak performance in cleaning tasks.
Prevention is truly the best strategy.
By incorporating dust extraction systems during sanding and sealing surfaces properly afterward, you can minimize the amount of cleanup needed while guaranteeing better results for your finished project.
Whether you’re renovating a single room or tackling a whole-house project, these techniques will help you achieve a dust-free environment faster and with less frustration.
Take the time to plan your dust management strategy before you begin, and you’ll save countless hours of cleaning while protecting both your health and your home’s air quality.
Your future self will thank you for the extra care taken today.
Now go forth and conquer that drywall dust with confidence!