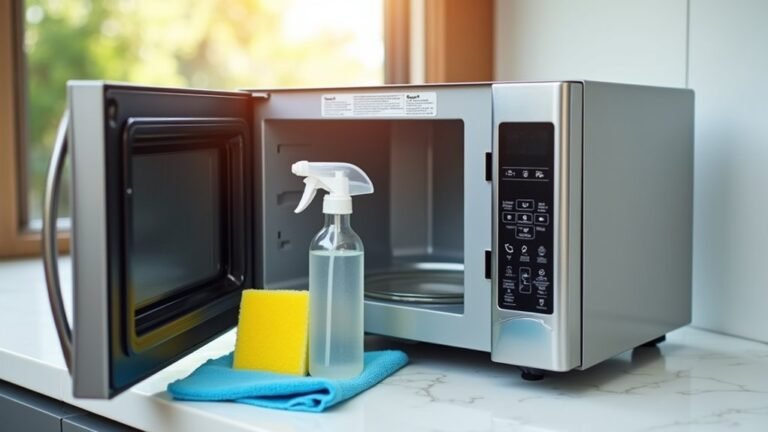
Stainless steel thermos bottles are beloved for their ability to keep drinks hot or cold for extended periods. However, that pristine, perfectly insulated performance can quickly degrade if your cleaning methods are…well, less than ideal. Over time, a build-up of residue, biofilm, and mineral deposits can not only reduce the temperature retention of your thermos but also impart unwanted flavors and odors to your beverages. This isn’t just about aesthetics; a neglected thermos can actually harbor bacteria and contribute to unpleasant tastes.
Some of the links in this article may be affiliate links. If you make a purchase through these links, we may earn a small commission at no extra cost to you. Thank you.
Things to Do When Cleaning a Stainless Steel Thermos Bottle
Cleaning a stainless steel thermos effectively goes beyond simply rinsing it out. It requires a methodical approach to tackle the various layers of build-up. Firstly, understand that stainless steel, while durable, isn’t impervious to staining or biofilm. A little preventative care goes a long way. Secondly, consider the purpose of your thermos. If it’s used primarily for hot beverages, you’ll need to address potential scaling. Thirdly, recognize that some residue, particularly coffee or tea, is unavoidable and needs specific treatment. Finally, regular cleaning – even a quick wipe-down after each use – significantly reduces the need for deep cleans.
Here’s a breakdown of key actions to take:</h3
- Empty and Rinse: Remove all remaining liquid and food particles. A thorough initial rinse is crucial.
- Warm Water Soak: Soaking the thermos in warm water for 15-30 minutes will help loosen residue.
- Gentle Scrubbing: Use a soft sponge, non-abrasive brush, or microfiber cloth to gently scrub the interior. Avoid steel wool or harsh scrub pads that can scratch the surface.
- Vinegar Solution: For tougher stains or mineral buildup, create a solution of equal parts white vinegar and warm water. This acidic solution is surprisingly effective.
- Baking Soda Paste: Mix baking soda with a small amount of water to form a paste. This mild abrasive can tackle stubborn residue without damaging the steel.
- Dish Soap: Use a small amount of mild dish soap to help cut through oils and fats. Rinse thoroughly.
- Rinse Thoroughly: Ensure all traces of cleaning solution are removed before reassembling.
Things to Avoid When Cleaning a Stainless Steel Thermos Bottle
While enthusiasm for cleaning is admirable, certain actions can severely compromise the integrity of your thermos. Avoid using abrasive cleaners, steel wool, or scouring pads – these will inevitably scratch the stainless steel surface, reducing its insulating properties and creating a rough surface that traps residue. Avoid harsh chemicals like bleach or chlorine-based cleaners, which can corrode the steel.
Steps
- Step 1: Initial Emptying and Rinse: Completely empty the thermos. Use warm water to thoroughly rinse the interior, removing any loose particles.
- Step 2: Soak in Warm Water: Fill the thermos with warm water (not scalding hot). Allow it to soak for at least 15 minutes, or up to 30 minutes for stubborn residue.
- Step 3: Apply Cleaning Solution: Choose your cleaning solution based on the level of build-up. For light cleaning, use dish soap. For moderate build-up, use the vinegar solution (1:1 ratio). For heavy residue, consider the baking soda paste.
- Step 4: Scrub Gently: Employ a soft sponge, microfiber cloth, or non-abrasive brush to gently scrub the interior of the thermos. Focus on areas with visible residue.
- Step 5: Thorough Rinse: Rinse the thermos multiple times with clean, warm water, ensuring all traces of the cleaning solution are removed. Residual cleaning agents can impart unwanted flavors.
- Step 6: Air Dry: Allow the thermos to air dry completely, preferably upside down, to prevent water from pooling inside and causing further residue buildup.
Final Thoughts
Cleaning your stainless steel thermos isn’t a daunting task; it’s an investment in its longevity and performance. Remember, a preventative approach – regular rinsing and occasional deep cleans – is significantly more effective than letting build-up accumulate. By following these steps and avoiding damaging techniques, you’ll maintain the insulating properties of your thermos and enjoy consistently delicious beverages.
Don’t underestimate the power of a simple cleaning routine – it’s a small effort that yields a big reward. Consider establishing a schedule for cleaning (perhaps after each use or weekly) and adapting the methods to suit your specific needs. If you notice persistent odors or stains, a deeper clean may be necessary, but starting with these guidelines should provide a solid foundation for keeping your thermos in top condition.