A clean boar bristle brush helps keep your hair looking its best, but many people don't know how to clean it the right way. While you might quickly pick out hair from your brush sometimes, there's more to keeping these brushes in good shape. Learning the right way to clean your brush will help it work better and last longer.
Some of the links in this article may be affiliate links. If you make a purchase through these links, we may earn a small commission at no extra cost to you. Thank you.
According to Jennifer Korab, a professional hairstylist, "It's really important to clean your boar bristle brush at least once a week to remove buildup of oils, dead skin cells, and styling products. If you don't, all that gunk just goes right back into your clean hair."
Think of your brush like a plate – you wouldn't eat off a dirty plate, so why brush with a dirty brush? Over time, hair products, natural oils, and dead skin cells stick to the bristles. When this happens, instead of helping your hair, the brush just puts all that dirt back into your clean hair.
Just pulling out loose hair isn't enough to keep your brush truly clean. Learning the right cleaning steps and what mistakes to stay away from will help you take better care of your brush and your hair.
Brush Care Basics
Taking care of your boar bristle brush doesn't have to be complicated, but it does require regular attention to maintain its effectiveness.
We need to clean our brushes regularly to prevent buildup from hair products and natural oils.
When we remove trapped hair and debris before each cleaning, we'll protect both the bristles and wooden handle, ensuring our brush stays in great condition for years to come.
Let's look at the essentials of cleaning your boar bristle brush, including key steps to follow and mistakes to avoid.
We'll walk you through each part of the cleaning process, from initial debris removal to proper drying techniques, so you can maintain your brush's quality and effectiveness.
Whether you're new to boar bristle brushes or just need a refresher, we've got the practical tips you'll need to keep your brush in top condition.
Things to Do When Cleaning A Boar Bristle Brush
Properly cleaning a boar bristle brush is essential for maintaining its effectiveness and ensuring it remains a hygienic tool for your hair care routine.
Regular cleaning prevents the buildup of oils, dead skin cells, and product residue that can transfer back to your hair and reduce the brush's ability to distribute natural oils effectively.
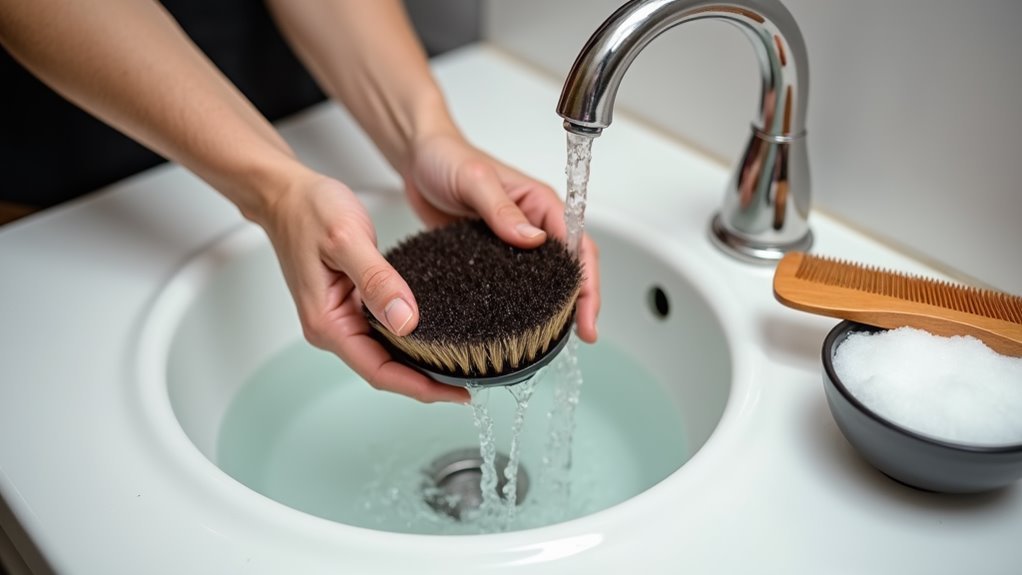
- Remove debris – Use fingers or comb to clear loose hair and particles from bristles
- Prepare cleaning solution – Mix warm water with mild soap in a shallow container
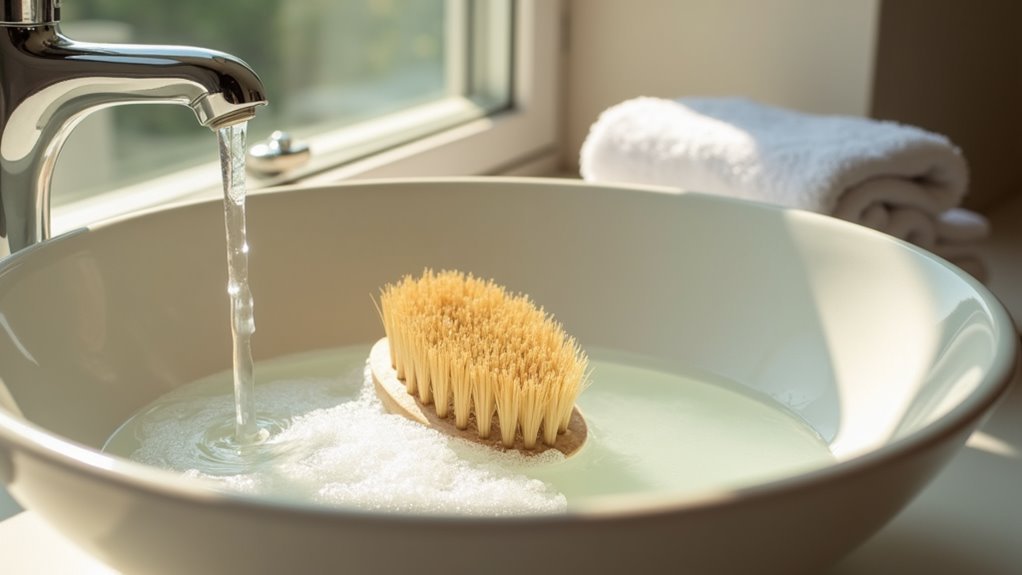
- Soak bristles – Immerse only the bristle portion for 10 minutes to loosen buildup
- Rinse thoroughly – Use cold running water until all soap residue is gone
- Initial drying – Shake off excess water and gently pat with microfiber towel
- Final drying position – Place brush bristle-side down to air dry completely
Things to Avoid When Cleaning A Boar Bristle Brush
When cleaning a boar bristle brush, it's vital to be mindful of certain practices that could potentially damage or reduce the longevity of your grooming tool.
Proper care and maintenance will guarantee that your brush remains effective and maintains its quality for years to come, making it essential to understand what actions should be avoided during the cleaning process.
- Complete water submersion: Soaking the brush entirely in water can damage the wooden handle and loosen the bristle base.
- Hot water exposure: Using hot water weakens the bristles and makes them prone to breakage.
- Harsh cleaning products: Chemical cleaners and strong detergents strip away natural oils and compromise bristle quality.
- Aggressive cleaning motions: Rough handling and vigorous scrubbing can bend, break, or permanently damage the bristles.
- Damp storage conditions: Storing the brush in humid areas leads to mold growth and deterioration of both bristles and handle.
- Excessive force when drying: Aggressive towel drying or using heat tools can cause bristle damage and misalignment.
- Improper positioning while drying: Laying the brush bristle-side down traps moisture and can lead to bristle deformation.
Steps
Maintaining a clean boar bristle brush is essential for peak hair care and brush longevity. A well-maintained brush effectively distributes natural oils throughout your hair while removing dirt and debris, but can only perform these functions when properly cleaned.
Regular cleaning prevents product buildup and guarantees the bristles remain effective at detangling and smoothing hair.
Step 1: Remove loose hair and debris from the brush using your fingers or a wide-toothed comb.
Step 2: Create a cleaning solution by mixing warm water with a few drops of gentle soap.
Step 3: Place the brush bristle-side down in the solution and soak for 10 minutes.
Step 4: Keep the wooden handle above water level to prevent damage.
Step 5: Rinse thoroughly with cold water until all soap residue is gone.
Step 6: Shake off excess water from the bristles.
Step 7: Pat the bristles gently with a microfiber towel.
Step 8: Place the brush bristle-side down on a flat surface to air dry completely.
Final Thoughts
A clean boar bristle brush serves as a powerful tool in your hair care routine.
We've found that regular maintenance is key to keeping your bristle hair brushes in top condition. The cleaning frequency depends on the products you use and your hair's natural oils.
Taking proper care of your boar bristle brush is a simple yet essential part of maintaining healthy hair. Regular cleaning not only extends the life of your brush but also guarantees you're getting the maximum benefits from this valuable hair care tool.
By following the basic steps of removing hair, soaking in gentle soap solution, thorough rinsing, and proper drying, you can keep your brush in ideal condition.
Remember that keeping your brush clean directly impacts your hair and scalp health – a clean brush distributes natural oils more effectively and prevents the transfer of buildup back onto your hair.
Make cleaning your boar bristle brush a regular part of your hair care routine, adjusting the frequency based on your personal needs.
Start implementing these cleaning practices today to get the most out of your boar bristle brush and enjoy healthier, more manageable hair. Your hair care tools are an investment in your appearance – treat them well, and they'll serve you better in return.


