Everyone knows how annoying it is when your Cricut mat gets dirty and loses its stick. While buying a new mat might seem like the easy fix, you don't have to waste your money. There are simple ways to clean your mat and make it sticky again. Whether you're dealing with bits of paper, loose threads, or sticky glue, you can bring your mat back to life without ruining it.
Some of the links in this article may be affiliate links. If you make a purchase through these links, we may earn a small commission at no extra cost to you. Thank you.
According to Jennifer Maker, a popular Cricut crafter, "A clean mat is essential for clean cuts and perfect projects. I clean my mats regularly to keep them working like new, and it saves me so much money in the long run."
From getting rid of paper bits to washing away dried glue, we'll show you the basic steps to keep your Cricut mat in great shape for all your crafting projects. These cleaning tricks work for all types of Cricut mats, whether they're brand new or have been used many times.
Essential Cricut Mat Maintenance Tips
While your Cricut mat may seem like a simple accessory, proper maintenance is essential for achieving clean cuts and professional results.
Whether you're using a Light Grip or Standard Grip mat, several methods work to extend the life of your crafting surface.
We recommend using a lint roller after each project, and when needed, gently scrub the surface with mild soap and water, then let it air dry to maintain mat stickiness.
Let's look at the key aspects of cleaning your Cricut mat, including what to do and what to avoid during the maintenance process.
We'll walk through the essential steps that'll help you maintain your mat's stickiness and extend its lifespan through proper cleaning techniques.
Since proper mat care directly impacts the quality of your crafting projects, we'll focus on both recommended cleaning methods and common mistakes to avoid.
Things to Do When Cleaning a Cricut Mat
Maintaining a clean Cricut mat is essential for achieving precise cuts and ensuring peak performance of your crafting projects. A well-maintained mat provides better adhesion and prevents material slippage during cutting, ultimately extending the life of your crafting investment and producing more professional results.
- Scrape debris gently – Use a flat tool to remove surface materials without gouging the mat surface.
- Apply lint roller – Roll in one direction to collect fine particles and maintain adhesive integrity.
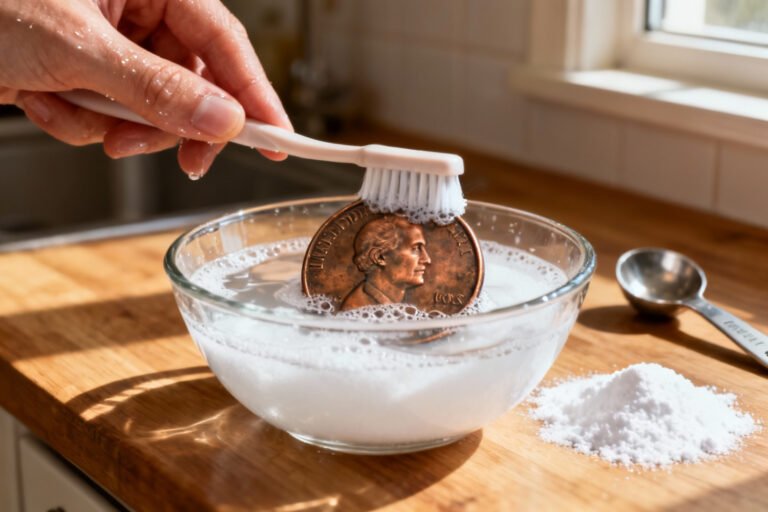
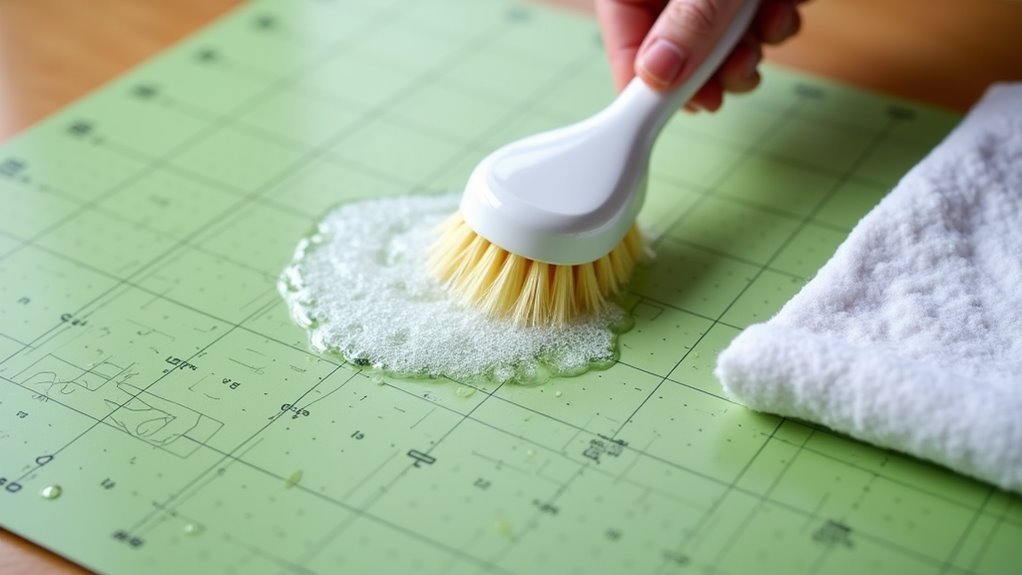
- Clean with soap solution – Mix mild soap with warm water and use circular motions with a soft sponge.
- Rinse thoroughly – Remove all soap residue under running water to prevent sticky buildup.
- Allow complete drying – Let mat air dry naturally to maintain adhesive properties.
- Store properly – Place protective sheet over mat surface when not in use to keep dust-free.
Things to Avoid When Cleaning a Cricut Mat
Maintaining your Cricut mat's effectiveness requires careful attention to what cleaning methods and materials you use. The wrong cleaning approach can permanently damage the mat's adhesive properties or surface integrity, greatly reducing its lifespan and cutting performance.
- Alcohol-based wet wipes – Breaks down the adhesive coating, causing premature loss of stickiness
- Abrasive cleaning tools – Scratches the mat surface and damages the adhesive layer underneath
- Harsh chemical cleaners – Deteriorates adhesive properties, especially harmful for FabricGrip mats
- Extended water exposure – Weakens adhesive bonds and reduces mat effectiveness
- Aggressive scraping – Creates gouges and uneven surfaces that affect cutting precision
Steps
Keeping your Cricut mat clean is essential for achieving precise cuts and maintaining the longevity of your crafting equipment. A well-maintained mat provides better adhesion and prevents material lifting during cutting, ensuring your projects turn out perfectly every time.
Regular cleaning removes built-up debris, adhesive residue, and other materials that can affect the mat's performance.
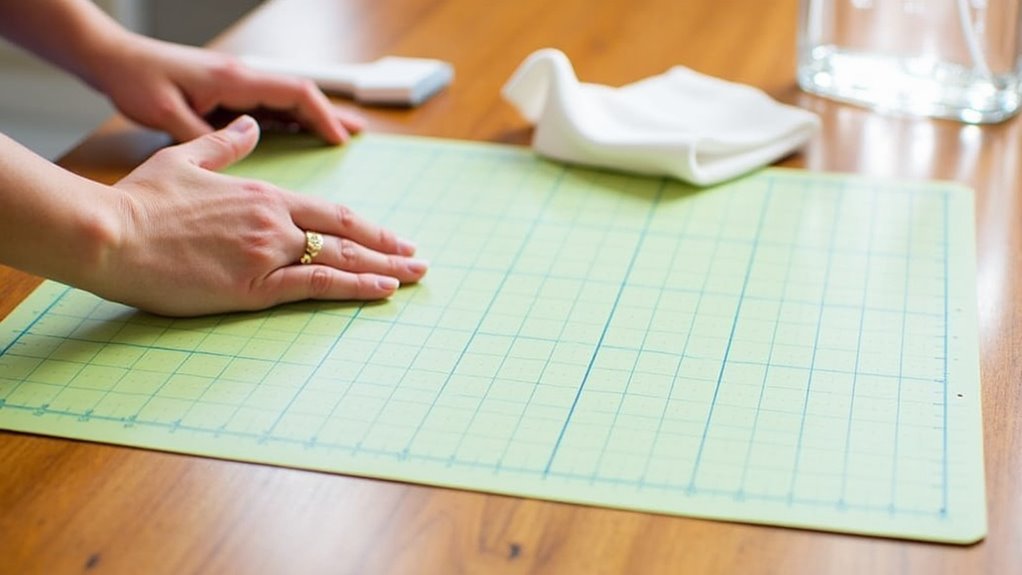
Step 1: Remove loose debris with a scraping tool, working gently across the mat's surface.
Step 2: Use a lint roller to pick up any remaining loose particles.
Step 3: Fill sink with warm water and add mild dish soap.
Step 4: Submerge mat and clean with a soft sponge using circular motions.
Step 5: Rinse thoroughly with warm water until all soap residue is gone.
Step 6: Place mat adhesive-side up on a flat surface.
Step 7: Allow mat to air dry completely before using.
Step 8: Check adhesive strength by touching the surface – it should feel tacky when dry.
Final Thoughts
A clean Cricut mat is the foundation of successful crafting projects, and following proper maintenance techniques will help you get the most value from your investment.
We recommend cleaning your mat every 2-4 cuts to extend its lifespan and maintain peak stickiness.
Remember to let your mat air dry completely, assess stickiness with a hand test, and always use the protective sheet during storage.
Regular mat maintenance is crucial for achieving consistently high-quality Cricut projects. By following proper cleaning techniques with mild soap and warm water, you can extend your mat's lifespan well beyond the typical 40-50 uses.
Remember that prevention is key – cleaning your mat every 2-4 cuts prevents stubborn buildup and maintains ideal stickiness.
Keep your Cricut mat at peak performance by cleaning it regularly – prevention beats trying to restore a neglected, sticky surface.
Don't give up on a mat that seems to have lost its grip. Often, a thorough cleaning and proper drying time are all that's needed to restore its adhesive properties.
For particularly challenging cases, resticking with a Zig 2 Way Glue Pen can give your mat a second life.
Start implementing these cleaning habits today to protect your investment and guarantee your crafting projects turn out perfectly every time.
Your Cricut mat is an essential tool in your crafting arsenal – treat it well, and it will serve you faithfully through countless creative projects.