We all love crispy fried foods, but cleaning a deep fryer isn't fun for anyone. Still, keeping it clean is important for safe food and tasty results. If you've been avoiding this kitchen task, you're not alone – but there's an easy way to get it done without all the stress.
Some of the links in this article may be affiliate links. If you make a purchase through these links, we may earn a small commission at no extra cost to you. Thank you.
According to Chef Devan Cameron of Braised & Deglazed, "The most important thing when cleaning a deep fryer is to let the oil cool completely – this prevents dangerous burns and helps you clean more thoroughly."
Let's look at how to make this job easier and help your fryer work better for longer. Putting it off only makes the job harder, and nobody wants that greasy mess building up in their kitchen.
Filter Oil First
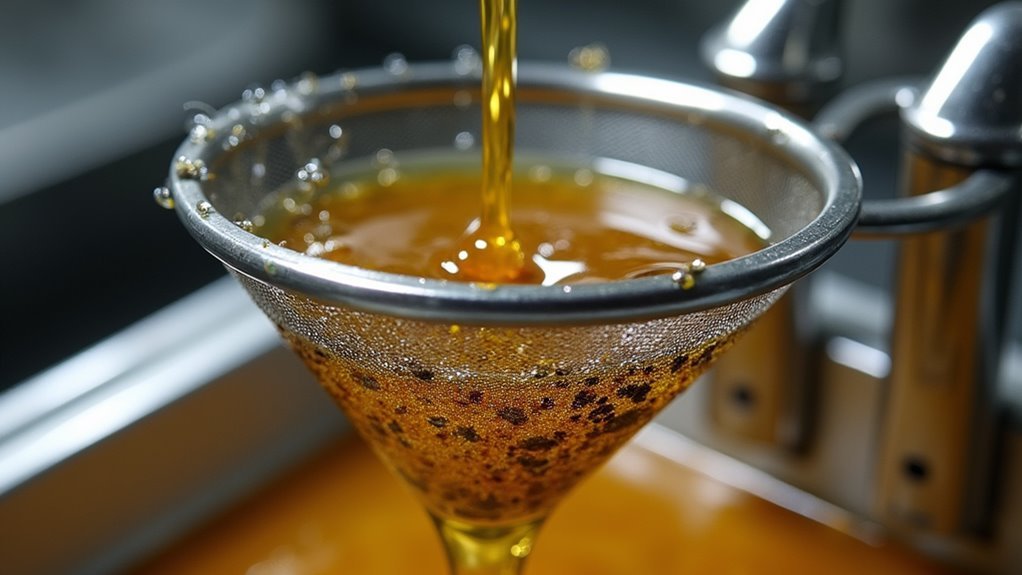
The first essential step in cleaning your deep fryer is properly filtering the oil.
Proper oil filtration isn't just about cleanliness – it's the foundation of maintaining your deep fryer and ensuring food quality.
Let's start by ensuring the oil has cooled to a safe temperature.
We'll strain it through a cheesecloth-lined sieve to remove food particles before storing it in a suitable container.
If you notice the oil's cloudy or has an off smell, don't reuse the oil – it's time to dispose of it properly.
##
Let's look at the key things to do and avoid when cleaning your deep fryer, along with the essential steps you'll need to follow.
We'll start with proper safety precautions, like unplugging the unit and letting it cool completely, before moving on to the actual cleaning process.
While it might seem like a chore, regular cleaning will keep your deep fryer running efficiently and producing delicious results for years to come.
Things to Do When Cleaning a Deep Fryer
Maintaining a clean deep fryer is essential for both food safety and ideal cooking performance. Regular cleaning prevents the buildup of harmful bacteria, guarantees better-tasting food, and extends the life of your appliance.
When done correctly, the cleaning process removes accumulated grease, food particles, and other residues that can affect the quality of your fried foods.
- Unplug and cool: Allow the fryer to completely cool down before handling to prevent burns and injuries.
- Remove and strain oil: Filter used oil through a fine-mesh strainer to remove debris and store if still usable.
- Prepare cleaning solution: Mix hot water with dish soap in the fryer basin.
- Boil cleaning mixture: Heat the soapy water solution for 10-15 minutes to break down grease.
- Cool and drain: Let the solution cool for 30 minutes before emptying.
- Rinse thoroughly: Use warm water to remove all soap residue from the basin.
- Clean removable parts: Wash basket, lid, and other components with soap and water.
- Dry completely: Verify all parts are thoroughly dried before reassembly.
- Reassemble and refill: Put the fryer back together and add fresh oil if needed.
- Regular maintenance: Repeat the process weekly for best results and longevity.
Things to Avoid When Cleaning a Deep Fryer
When cleaning a deep fryer, it's essential to follow proper maintenance procedures to guarantee both safety and longevity of the appliance. Improper cleaning methods can't only damage the fryer but also create potentially hazardous situations or compromise the quality of food cooked in it.
- Water submersion – Never submerge the electrical components in water as this can cause serious damage and create electrical hazards.
- Abrasive materials – Using steel wool or harsh scrubbers will scratch non-stick surfaces and make future cleaning more difficult.
- Sink disposal of oil – Pouring used oil down drains causes pipe blockages and environmental problems; collect in containers for proper disposal.
- Chemical cleaners – Harsh or non-food-safe cleaning products can leave toxic residues that contaminate future cooking.
- Delayed cleaning – Letting oil and food particles accumulate makes cleaning harder and affects cooking performance.
- Hot cleaning – Attempting to clean while the fryer or oil is still hot can result in severe burns and accidents.
- Wet reassembly – Putting the fryer back together while components are still wet can lead to electrical issues and rusting.
Steps
Regular cleaning of your deep fryer is essential for maintaining food quality, safety, and extending the appliance's lifespan. A thorough cleaning removes accumulated grease, food particles, and prevents off-flavors from contaminating fresh oil, ensuring peak cooking performance and reducing the risk of fire hazards.
- Unplug the deep fryer and allow it to cool completely.
- Strain used oil into a storage container and remove food debris.
- Dispose of any rancid or cloudy oil properly.
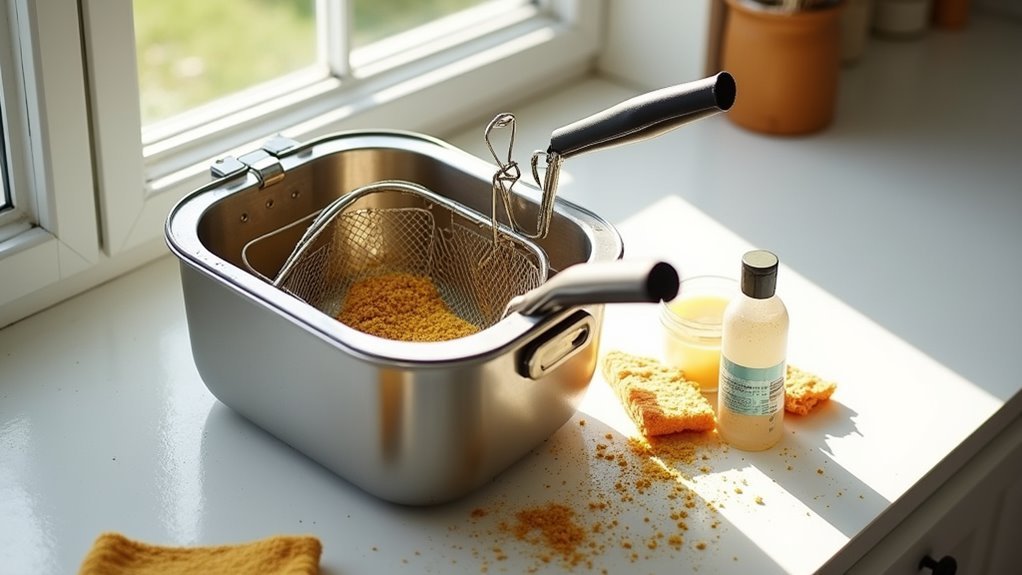
- Remove and soak the fryer basket in warm, soapy water.
- Scrub the interior surfaces with a soft-bristled brush to remove grease.
- Fill the fryer basin with water and dish soap.
- Boil the cleaning solution for 10-15 minutes.
- Drain the cleaning solution and rinse thoroughly.
- Clean the exterior with a damp cloth.
- Dry all components completely.
- Reassemble the fryer for next use.
Final Thoughts
Taking proper care of your deep fryer through consistent cleaning brings significant rewards in both food quality and equipment longevity.
When you're diligent about cleaning a deep fryer, removing bits of food, and regularly changing the oil, you'll see better results in your cooking.
##
Regular deep fryer maintenance isn't just about cleanliness – it's an investment in better-tasting food, safer cooking, and longer-lasting equipment.
By following proper cleaning procedures and maintaining a consistent cleaning schedule, you'll guarantee your deep fryer performs at its best and produces consistently delicious results.
Remember that prevention is key. Using high-quality oils, filtering regularly, and quick cleanup after each use will greatly reduce the time and effort needed for deep cleaning sessions.
While the cleaning process might seem tedious, the rewards of properly maintained equipment far outweigh the effort involved.
Start implementing these cleaning practices today to extend your fryer's lifespan, improve food quality, and maintain a safer cooking environment.
Your taste buds – and your customers or family members – will thank you for it.
Take action now by creating a cleaning schedule and sticking to it.
Your deep fryer is a valuable kitchen tool – treat it right, and it will serve you well for years to come.