Keeping your outside oil tank filter clean helps your home's heating system work better and saves you money on repairs. A clogged or dirty filter makes it harder for oil to flow properly, which can harm your heating system over time.
Some of the links in this article may be affiliate links. If you make a purchase through these links, we may earn a small commission at no extra cost to you. Thank you.
According to Matt Daigle, CEO of Rise Home Services, "Regular oil tank filter maintenance is one of the most overlooked but important tasks for homeowners with oil heating systems. A clean filter can improve your system's efficiency by up to 10-15%."
Think of your oil tank filter like the air filter in your car – it needs regular cleaning to keep everything running smoothly. When oil can't flow freely through a dirty filter, your heating system has to work harder, using more energy and potentially wearing out faster.
We're going to walk you through cleaning your outside oil tank filter step by step, using simple terms and clear directions. This is a task most homeowners can handle themselves with basic tools and a little guidance. By learning to clean your filter properly, you'll help protect your heating system and keep your home warm all winter long.
Oil Tank Maintenance Guide
When it comes to maintaining your home's heating system, keeping your outside oil tank in top condition is essential for efficient and reliable performance.
We recommend evaluating your oil filter needs annually, particularly before winter arrives.
Whether you clean your oil tank yourself or opt for professional cleaning, regular maintenance helps prevent sludge buildup and guarantees your heating system works effectively when you need it most.
##
Let's explore the essential aspects of cleaning your outside oil tank's filter, including both the recommended steps and common mistakes to avoid.
We'll break down the process into clear, actionable steps that'll help you maintain your heating system's efficiency and prevent costly repairs.
Our guide will cover everything from safety preparations to final testing, ensuring you'll have all the knowledge needed to complete this important maintenance task with confidence.
Things to Do When Cleaning a Filter on an Outside Oil Tank
Cleaning a filter on an outside oil tank is a critical maintenance task that helps guarantee the efficient operation of your heating system while preventing potential issues caused by debris and contamination.
Regular filter cleaning not only extends the life of your oil tank but also maintains ideal fuel flow and system performance throughout the year.
- Turn off power supply and oil flow – Prevent accidents and spills during maintenance
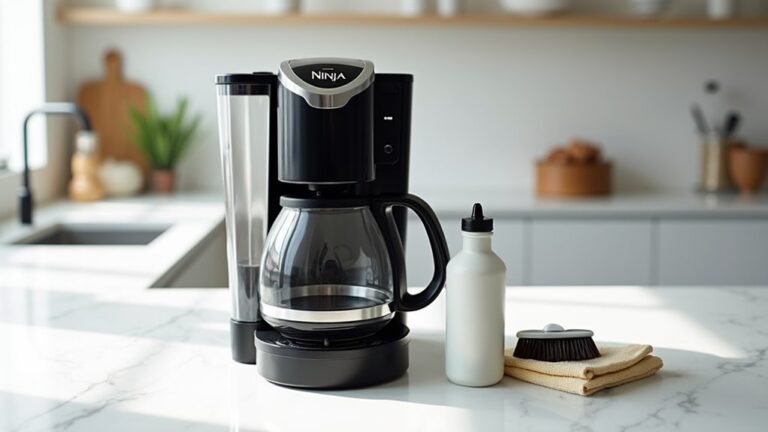
- Gather necessary materials – Bucket, protective gloves, warm soapy water, soft brush
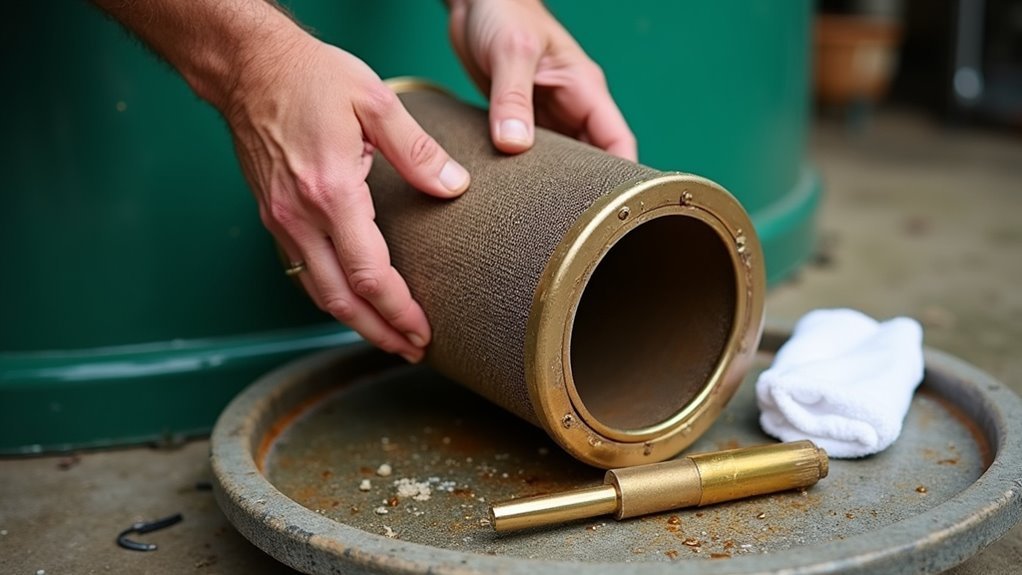
- Remove filter housing – Carefully unscrew while catching any oil drips
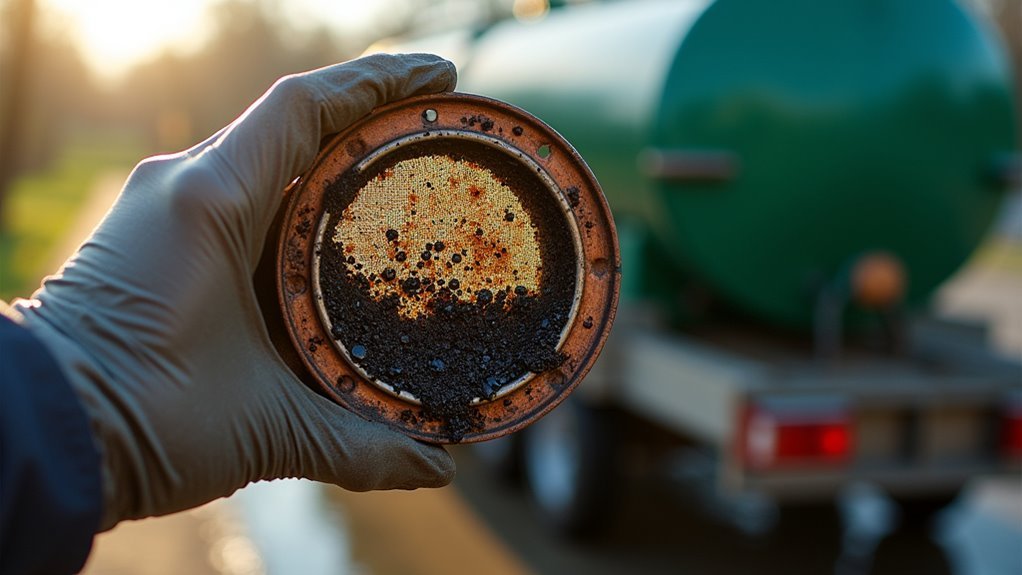
- Inspect filter condition – Check for damage, excessive debris, or wear
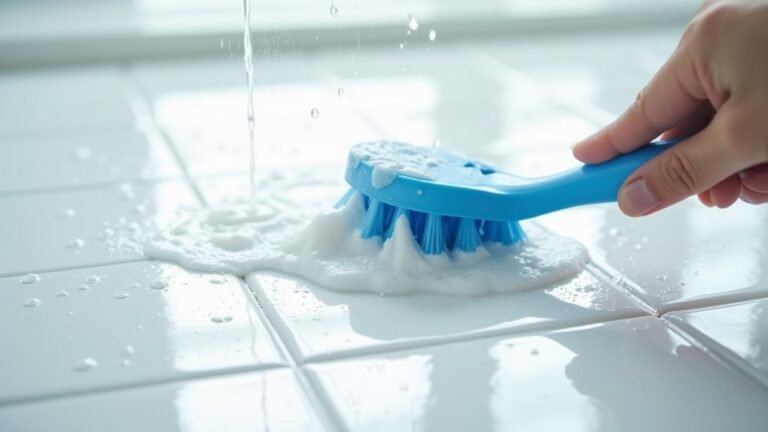
- Clean filter thoroughly – Use warm soapy water and soft brush to remove buildup
- Rinse completely – Guarantee all soap residue is removed from filter
- Dry filter completely – Prevent moisture from entering the system
- Check housing seal – Guarantee gasket or seal is in good condition
- Reassemble filter – Install cleaned filter back into housing
- Tighten securely – Guarantee proper seal to prevent leaks
- Test system – Turn power and oil flow back on, check for proper operation
Things to Avoid When Cleaning a Filter on an Outside Oil Tank
When cleaning a filter on an outside oil tank, it's essential to be aware of potential mistakes that could compromise both safety and the efficiency of your heating system. Following proper procedures and being mindful of hazards will help guarantee the cleaning process is completed successfully while protecting both you and your equipment.
- Using harsh chemicals or solvents – These can degrade the filter material and contaminate your oil supply, leading to system damage.
- Skipping personal protective equipment – Working without gloves and goggles puts you at risk of injury from oil exposure.
- Cleaning during bad weather – Rain, snow, or freezing conditions increase accident risks and make thorough cleaning difficult.
- Working with power on – Failing to shut off power and oil flow first can result in dangerous spills and injuries.
- Installing wet or dirty filter – Reassembling before the filter is completely dry and clean leads to poor system performance.
- Rushing the process – Taking shortcuts during cleaning can miss contamination and cause future system problems.
- Working alone – Having no assistance nearby in case of emergency creates unnecessary safety risks.
- Improper disposal – Discarding contaminated cleaning materials or old filters incorrectly harms the environment.
Steps
Cleaning the filter on an outside oil tank is an essential maintenance task that helps guarantee your heating system operates efficiently and prevents costly damage.
A clean filter removes contaminants from the oil before it enters your heating system, protecting important components and maintaining peak performance throughout the heating season.
Step 1: Turn off the power to the oil tank and shut off the oil flow valve
Step 2: Locate the oil filter near the oil line connection
Step 3: Place a container beneath the filter to catch any oil drips
Step 4: Use appropriate tools to loosen and remove the filter from its housing
Step 5: Inspect the filter for accumulated dirt and debris
Step 6: Clean the filter thoroughly using warm soapy water and a soft brush
Step 7: Rinse the filter completely and allow it to dry
Step 8: Check the filter housing for any debris and clean if necessary
Step 9: Reinstall the filter in its original orientation
Step 10: Verify all connections are tight and secure
Step 11: Restore oil flow and power to the tank
Step 12: Check for leaks around the filter and connections
Step 13: Monitor the system to verify proper operation
Final Thoughts
Maintaining your outside oil tank's filter through proper cleaning techniques will help you avoid costly repairs and guarantee reliable heating throughout the year.
While we've shared essential steps to clean the filter, don't hesitate to consult a professional if you're unsure about any part of the process.
##
Regular maintenance of your oil tank filter is a simple but essential task that helps guarantee your heating system runs efficiently and reliably.
While the cleaning process requires careful attention to detail and safety precautions, it's a manageable DIY job that can save you money and prevent larger issues down the line.
By following proper cleaning procedures and maintaining an annual maintenance schedule, you can extend the life of your heating system and keep it operating at peak performance.
Don't wait for problems to develop – take control of your heating system's maintenance today by inspecting your oil tank filter and establishing a regular cleaning routine.
Your heating system will reward you with better efficiency, fewer problems, and lower operating costs in the long run.