Let's get your Yeti cooler clean and ready for action! These coolers are tough, but they still need good care to stay in great shape. We'll walk you through simple steps to keep your cooler clean without damaging it. With the right cleaning routine, your Yeti will stay fresh and work great for many adventures ahead.
Some of the links in this article may be affiliate links. If you make a purchase through these links, we may earn a small commission at no extra cost to you. Thank you.
According to Rick Blevins, Yeti's Product Education Manager, "The best way to clean your Yeti is with warm water, mild dish soap, and a soft brush or cloth. Never use bleach or abrasive cleaners as they can damage the cooler's surface."
You don't need fancy products or special tools – just basic supplies you probably already have at home. Think of cleaning your Yeti like washing your car: gentle care works better than harsh scrubbing. When you take good care of your cooler, it takes good care of your food and drinks.
Maintain Cooler Quality Daily

While Yeti coolers are built to last, daily maintenance is essential to keep them in pristine condition for years to come.
We recommend wiping down your cooler with a damp cloth before and after each use, and don't forget to line it with a garbage bag.
For regular cleaning, a simple soap and water mixture works perfectly.
Be sure to address any spills immediately to prevent stubborn stains.
##
Let's look at the key aspects of cleaning your Yeti cooler, from what works best to what you'll want to avoid.
We'll break down the essential steps that'll keep your cooler in top shape, including the right cleaning solutions and tools to use for different situations.
While proper cleaning methods will extend your cooler's life, improper techniques can damage it, so it's important to understand both the do's and don'ts of Yeti cooler maintenance.
Things to Do When Cleaning a Yeti Cooler
Cleaning a Yeti cooler properly guarantees its longevity and maintains its performance for all your outdoor adventures. The key to successful cleaning lies in using the right cleaning solutions and following a systematic approach that addresses both routine maintenance and stubborn stains, while being careful not to damage the cooler's surfaces or compromise its insulating properties.
- Empty and rinse – Remove all contents and debris, then rinse thoroughly with clean water to prepare for cleaning.
- Mix cleaning solution – Prepare either mild soap and warm water, or equal parts vinegar and water for deeper cleaning.
- Wipe down surfaces – Use a soft cloth or sponge with your chosen solution to clean all interior and exterior surfaces.
- Address tough stains – Apply baking soda paste to stubborn spots and gently scrub with a non-abrasive brush.
- Rinse thoroughly – Remove all cleaning solutions with clean water to prevent residue buildup.
- Dry completely – Allow the cooler to air dry with the lid open to prevent mold and mildew growth.
- Apply preventive measures – Insert a liner or garbage bag before next use to protect against future stains.
- Regular maintenance – Wipe down after each use with a mild cleaning solution to maintain cleanliness.
Things to Avoid When Cleaning a Yeti Cooler
Maintaining a Yeti cooler's pristine condition requires careful attention to cleaning methods, as improper techniques can permanently damage this premium cooling equipment.
Using the wrong cleaning materials or methods can compromise the cooler's insulation, appearance, and overall functionality, potentially reducing its lifespan and performance.
- Bleach and harsh chemicals – These corrosive substances can break down the cooler's surface and damage its insulation properties.
- Abrasive scrubbers – Steel wool and rough scouring pads can create scratches that trap bacteria and affect the cooler's appearance.
- Complete submersion – Soaking the entire cooler can compromise seals and damage the insulation structure.
- Extended food storage without cleaning – Leaving food residue leads to difficult-to-remove stains and unpleasant odors.
- Pressure washing – High-pressure water can force moisture into seals and joints, causing leaks and reducing insulation effectiveness.
Steps
Maintaining a clean Yeti cooler is essential for both hygiene and longevity of the product. Regular cleaning not only keeps your cooler fresh and odor-free but also guarantees it continues to perform at its best for years to come.
Whether dealing with light dirt or stubborn stains, using the right cleaning methods and materials will protect your cooler's surfaces while effectively removing unwanted residues.
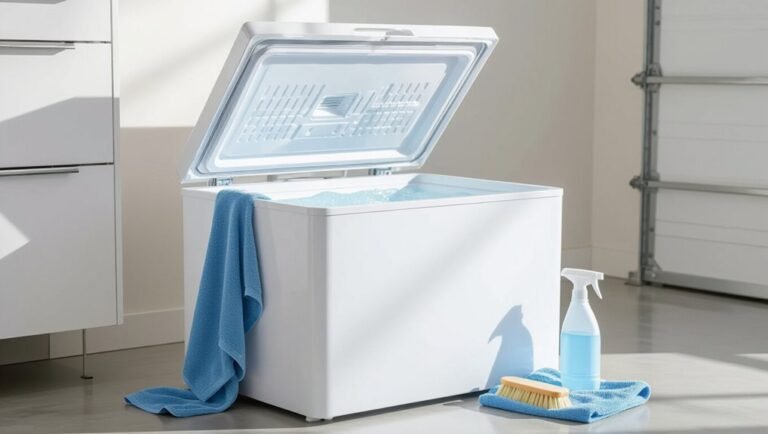
Step 1: Create a basic cleaning solution by mixing warm water with mild dish soap.
Step 2: Remove all contents and drain any liquid from the cooler.
Step 3: Wipe down the interior and exterior with the soap solution using a soft cloth.
Step 4: For tough stains, apply a vinegar-water solution and let it sit for 5-10 minutes.
Step 5: Use a baking soda paste for stubborn spots, gently scrubbing with a non-abrasive sponge.
Step 6: Rinse thoroughly with clean water to remove all cleaning solutions.
Step 7: Dry completely with a clean towel or allow to air dry with the lid open.
Step 8: Apply a cooler liner or garbage bag before next use to prevent future staining.
Final Thoughts
While proper care of your Yeti cooler might seem like a hassle, we've found that developing good cleaning habits will save you time and hassle in the long run.
Regular maintenance, especially for a white Yeti, prevents tough stains from setting in. By using the right cleaning agents and taking preventive measures like cooler liners, you'll keep your investment looking great for years to come.
##

Keeping your Yeti cooler clean doesn't have to be complicated or time-consuming. With basic household cleaning supplies and regular maintenance, you can maintain your cooler's pristine condition for years to come.
A simple routine of wiping down after each use, combined with occasional deep cleaning when needed, will guarantee your cooler stays fresh and performs at its best. Using preventive measures like cooler liners can make the cleaning process even easier.
Take action today by establishing a quick cleaning routine for your Yeti. Your future self will thank you for preserving the quality of your investment, and you'll always have a clean, ready-to-use cooler for your next adventure.


