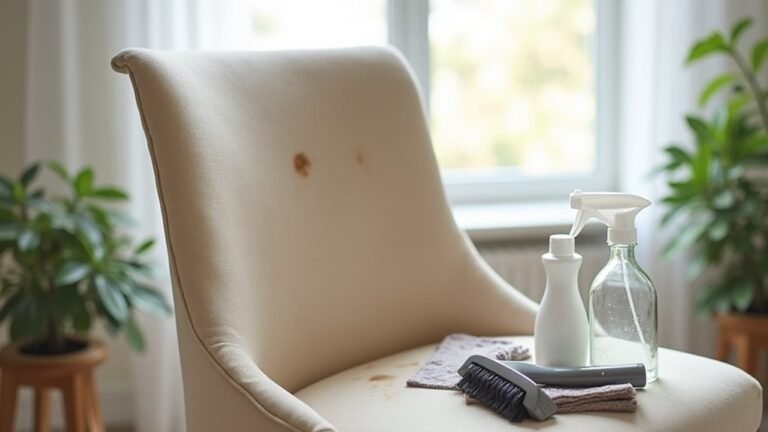
Like keeping your room tidy, having a clean air fryer means better-tasting food. Many of us know the feeling of finding stuck-on food and grease when we open our air fryer. While cleaning kitchen tools isn't fun, knowing the right way to do it makes the job much easier. According to Jennifer Pattison Tuohy, a kitchen appliance expert at The Wirecutter, "Regular cleaning not only extends the life of your air fryer but also prevents your food from picking up unwanted flavors from old, burnt bits." Let's learn how to keep our air fryers clean and working well, so we can keep making tasty, less oily foods.
Some of the links in this article may be affiliate links. If you make a purchase through these links, we may earn a small commission at no extra cost to you. Thank you.
Clean Cooking, Safer Meals
When it comes to air fryer maintenance, keeping your appliance clean isn't just about appearances – it's essential for food safety and meal quality.
We've found that regular cleaning prevents bacteria buildup and food particles from contaminating our meals.
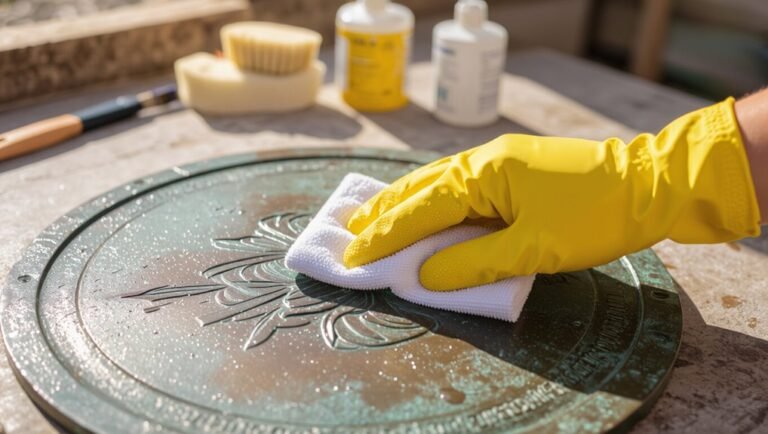
Let's protect our health by deep cleaning every few weeks, paying special attention to the heating element, and using parchment paper for safer meals.
##
Let's look at how to clean your air fryer safely and effectively, covering both the essential steps and what to avoid.
We'll walk through the cleaning process from start to finish, including the proper techniques for handling removable parts and tackling stubborn residue.
When we're done, you'll know exactly what to do and what not to do to keep your air fryer in top condition, ensuring it continues to make delicious meals for years to come.
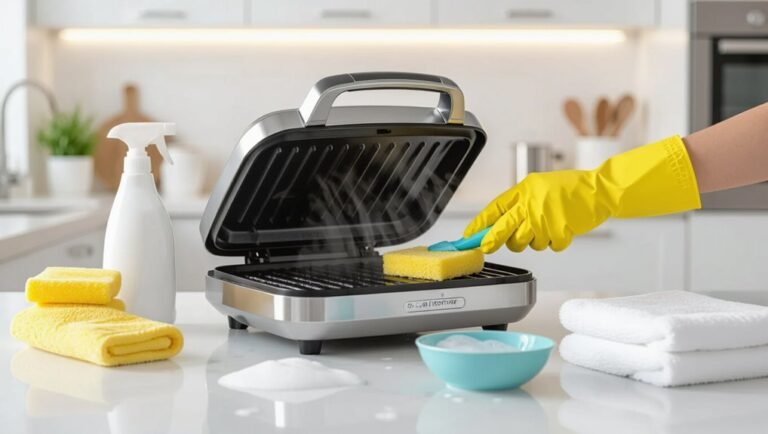
Things to Do When Cleaning an air fryer
Proper air fryer cleaning is essential for maintaining the appliance's performance and guaranteeing food safety. Regular cleaning prevents grease buildup, eliminates unwanted odors, and extends the life of your air fryer while assuring consistent cooking results.
A thorough cleaning process involves both the removable components and the main unit itself, requiring careful attention to avoid damaging the electrical components.
- Unplug and cool down – Wait until the air fryer is completely cool to prevent burns and electrical risks.
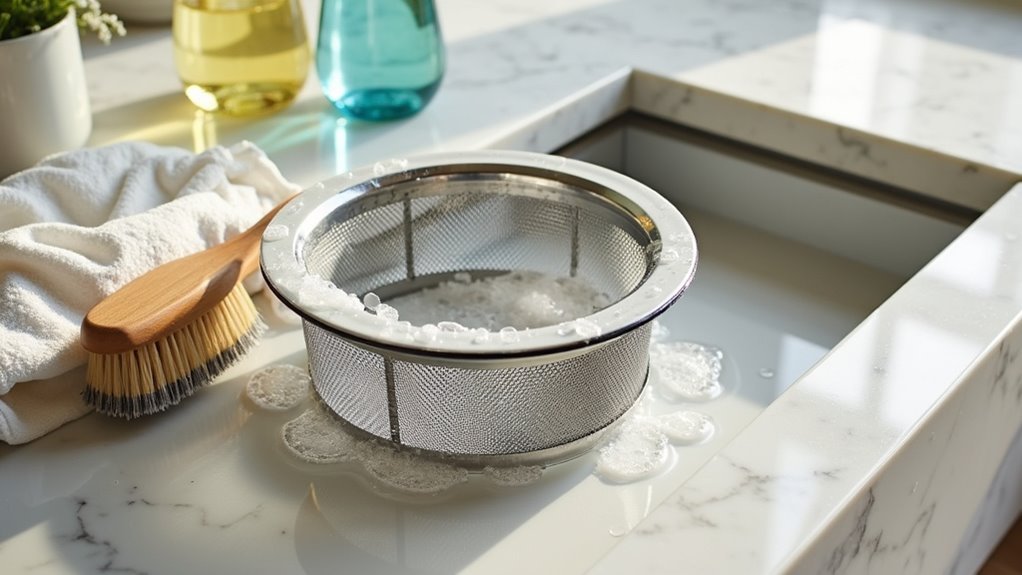
- Remove and wash components – Clean basket and tray with warm, soapy water.
- Clean interior surfaces – Wipe inside with damp, soapy cloth, including heating element.
- Address stubborn residue – Apply baking soda paste to tough stains and gently scrub.
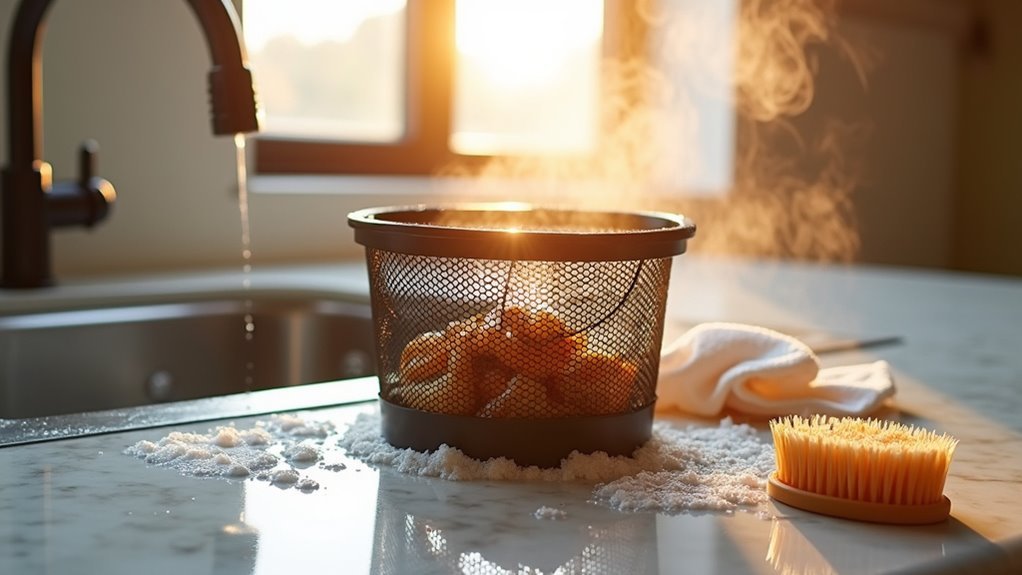
- Dry thoroughly – Guarantee all parts are completely dry before reassembly.
- Inspect for damage – Check for wear and tear on components while cleaning.
- Clean exterior – Wipe outside surfaces with damp cloth to remove dust and grease.
- Regular maintenance – Clean after each use to prevent buildup and maintain performance.
Things to Avoid When Cleaning an air fryer
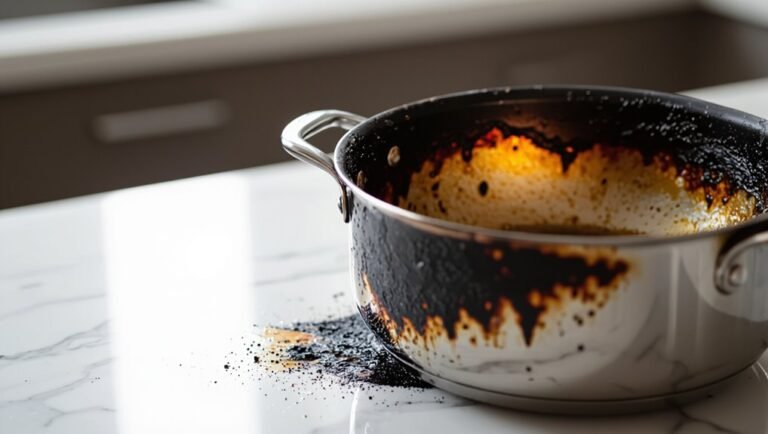
Maintaining your air fryer's longevity requires careful attention to cleaning practices that won't damage its components or compromise its functionality. While regular cleaning is essential, using the wrong methods or materials can lead to permanent damage, reduced performance, and potential safety hazards.
- Steel wool or abrasive scrubbers – These can scratch and remove the nonstick coating, making future cleaning more difficult and potentially releasing harmful materials.
- Dishwasher cleaning for all parts – Some components aren't dishwasher safe and can be damaged by high heat and harsh detergents.
- Complete water submersion – Soaking the entire unit will damage electrical components and create shock hazards.
- Chemical cleaners and bleach – These harsh substances can corrode surfaces and leave harmful residues.
- Cleaning while unit is hot – This can cause burns and damage to the appliance's surfaces.
- Wet storage – Putting away parts before they're completely dry leads to mold and unpleasant odors.
- Heavy scraping of stuck-on food – This can damage the protective coating; instead, soak parts in warm soapy water.
- Neglecting the heating element – Avoiding this area during cleaning allows grease buildup and creates fire risks.
Steps
Properly cleaning your air fryer is essential for maintaining its performance and ensuring the safety of your cooking. Regular cleaning prevents the buildup of grease and food particles that can affect the taste of your food and potentially create smoke during operation.
A thorough cleaning process not only extends the life of your appliance but also helps maintain ideal cooking results and prevents any unwanted odors from developing.
Step 1: Unplug the air fryer and let it cool completely
Step 2: Remove the basket, pan, and any removable parts
Step 3: Fill sink with warm, soapy water and soak removable components
Step 4: Clean the interior with a damp, soapy cloth, avoiding electrical components
Step 5: Use a soft-bristled toothbrush to scrub stubborn residue
Step 6: Rinse removable parts thoroughly and dry completely
Step 7: Wipe down the exterior with a clean, damp cloth
Step 8: Reassemble the air fryer once all parts are completely dry
Final Thoughts
Regular cleaning of your air fryer doesn't have to be an intimidating task when you follow the right steps and develop good habits.
By wiping down removable parts with a soft sponge and soapy water after each use, you'll protect the nonstick coating and maintain peak performance.
Remember to avoid abrasive cleaners, tackle food residue promptly, and schedule periodic deep cleans to keep your air fryer running efficiently.
##
Keeping your air fryer clean is essential for both food safety and maintaining the appliance's performance. While it may seem like another kitchen chore, regular maintenance only takes a few minutes and prevents more difficult cleaning tasks down the road.
By incorporating quick cleanings after each use and scheduling periodic deep cleans, you'll extend your air fryer's life and guarantee your food always tastes its best. Start implementing these cleaning habits today, and you'll enjoy consistently delicious, healthy meals from your well-maintained air fryer for years to come.
Take the first step by cleaning your air fryer after your next use – your future self will thank you for developing this simple but important kitchen habit.