Patent leather can last for many years when you take good care of it. Many people find it hard to keep their shiny leather items looking good, and sometimes they use strong cleaners that can actually damage the leather. While you might want to use whatever cleaner you have at home, patent leather needs special care to stay glossy and prevent it from cracking.
Some of the links in this article may be affiliate links. If you make a purchase through these links, we may earn a small commission at no extra cost to you. Thank you.
According to Linda Cobb, known as the "Queen of Clean," "Patent leather should never be exposed to harsh chemicals or abrasive cleaners, as these can strip away the protective coating that gives patent leather its shine."
The surface of patent leather has a special coating that makes it shiny and helps protect it. Using the wrong cleaning products can ruin this coating, leaving your shoes, bags, or other items looking dull and worn out. Let's look at the best ways to keep your patent leather items looking amazing year after year.
Shiny Leather Needs Care

While patent leather's stunning shine is what makes it so appealing, that glossy surface needs regular attention to maintain its eye-catching appearance.
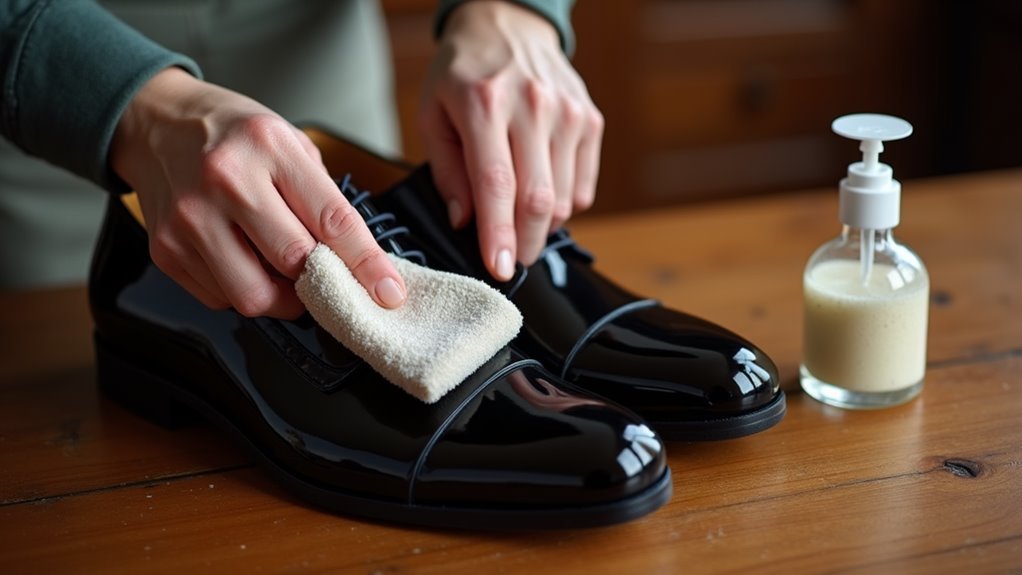
We recommend cleaning patent leather with water and mild soap using a soft cloth, making sure to remove any excess moisture right away.
Regular maintenance helps keep shiny leather looking pristine, so wipe away dirt and stains after each use with a clean cloth.
Let's look at the essential things we need to know about cleaning patent leather, including both helpful techniques and practices to avoid.
We'll walk through the proper cleaning steps that'll keep your patent leather items looking their best, from basic cleaning to tackling tough stains.
Things to Do When Cleaning Patent Leather
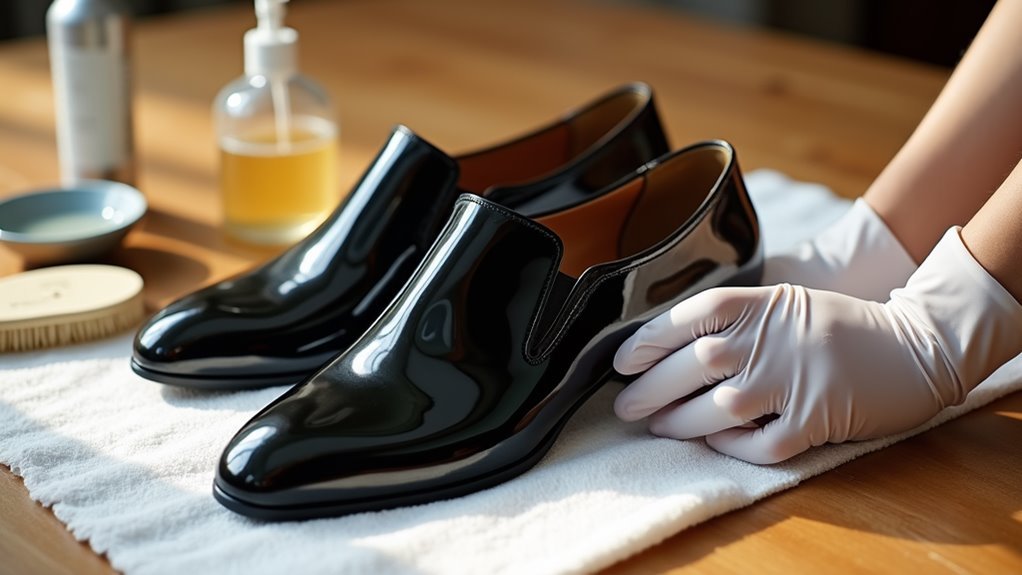
Cleaning patent leather requires a methodical approach to maintain its signature glossy finish while preventing damage during the cleaning process. The key is to be gentle yet thorough, using appropriate cleaning solutions and tools that won't compromise the leather's delicate surface.
- Remove surface dust – Use a dry microfiber cloth to wipe away loose debris before applying any cleaning solutions.
- Prepare cleaning mixture – Combine mild dish soap with water to create a gentle cleaning solution.
- Dampen cloth properly – Confirm cleaning cloth is just damp, not soaking wet, to prevent water damage.
- Scrub carefully – Use a soft-bristled brush with light pressure to remove stubborn dirt and grime.
- Dry thoroughly – Wipe down with a clean, dry microfiber cloth to prevent moisture-related damage.
- Apply protectant – Use a specialized patent leather cleaner or protective spray to maintain shine and prevent staining.
Things to Avoid When Cleaning Patent Leather
Patent leather requires careful handling to maintain its glossy, pristine appearance, and using the wrong cleaning methods or products can permanently damage its surface.
Understanding what to avoid is just as important as knowing the proper cleaning techniques, as mistakes can lead to dulling, cracking, or complete deterioration of the material.
- Harsh chemicals (vinegar, bleach, acetone) – These substances break down the protective coating and can cause the patent leather to crack or peel.
- Kitchen oils and cooking products – Create sticky residue that attracts dirt and ruins the shine.
- Abrasive materials and scrubbers – Cause visible scratches and permanent damage to the glossy surface.
- Excess water or moisture – Can seep into the material and lead to warping or separation of layers.
- Heat and direct sunlight – Causes fading, cracking, and deterioration of the patent leather finish.
- Heavy-duty cleaners – Too aggressive for the delicate surface and can strip the protective coating.
- Colored cloths or sponges – May transfer dye onto the patent leather surface.
- Air drying in extreme temperatures – Can lead to material shrinkage or warping.
Steps
Keeping patent leather clean and shiny requires a careful, systematic approach to avoid damaging its delicate surface while effectively removing dirt and stains.
The key is to start with gentle cleaning methods before progressing to more intensive treatments, always ensuring that the leather is properly dried and protected after cleaning.
Step 1: Remove loose dust and dirt with a dry microfiber cloth
Step 2: Create a cleaning solution by mixing mild dish soap with water
Step 3: Dampen a clean microfiber cloth in the solution and wring out excess water
Step 4: Gently wipe the patent leather surface with the damp cloth
Step 5: For stubborn stains, apply specialized patent leather cleaner as directed
Step 6: Thoroughly dry the surface with a clean, dry microfiber cloth
Step 7: Apply a protective spray designed for patent leather
Step 8: Allow the protective coating to dry completely before use
Final Thoughts
Taking good care of your patent leather items doesn't have to be complicated when you follow the right steps and maintain a consistent cleaning routine.
We recommend a weekly cleaning with a damp cloth and mild dish soap to remove dirt and preserve that glossy finish.
Remember to gently wipe, avoid harsh chemicals, and store patent leather properly to guarantee your items stay beautiful for years.

Maintaining patent leather doesn't have to be an intimidating task when you follow proper cleaning methods.
With regular care using gentle products like mild soap solutions and microfiber cloths, your patent leather items can maintain their signature glossy finish for years to come.
The key is consistency – wiping down your items after each use, addressing stains promptly, and avoiding harsh chemicals that could compromise the surface.
By incorporating these simple cleaning habits into your routine, you'll protect your investment and keep your patent leather looking pristine.
Start implementing these care techniques today to give your patent leather accessories the attention they deserve and enjoy their classic shine for many seasons ahead.


