The tops of kitchen cabinets are like hidden dust magnets in our homes. While we might scrub our counters daily, those hard-to-reach cabinet tops often get forgotten until we spot the buildup of dust and sticky kitchen grease. It’s a cleaning task many of us avoid – after all, who wants to balance on a wobbly chair to clean something nobody sees? But keeping these spaces clean is important for a healthy kitchen.
Some of the links in this article may be affiliate links. If you make a purchase through these links, we may earn a small commission at no extra cost to you. Thank you.
According to cleaning expert Melissa Maker of Clean My Space, “The top of cabinets are notorious for collecting not just dust, but also cooking grease that becomes sticky and traps even more dirt over time. Regular cleaning prevents this tough buildup and makes future cleaning much easier.”
Just like our visible kitchen surfaces, those cabinet tops need regular attention to stay clean. Whether your cabinets go all the way to the ceiling or have that awkward gap on top, having a plan to tackle this cleaning job can make it less overwhelming and more manageable.
Eliminate Hidden Dust Zones

Where does dust hide in your kitchen?
Well, those cabinet tops are perhaps the biggest culprits.
We’ve found that dust loves to settle in ledges, corners, and crevices – especially near the stove where it mixes with grease.
Dust finds its favorite hiding spots in those forgotten corners and edges, creating stubborn grime when kitchen grease joins the party.
Start with a fluffed Swiffer Duster or vacuum with a soft bristle attachment, working from top to bottom.
Those hidden zones need weekly attention, particularly for white cabinets that might stain. Regular maintenance takes less than 10 minutes weekly for best results.
##
We’ve all been there – staring up at the tops of our kitchen cabinets wondering what dust monsters might be lurking up there.
I think cleaning these often-neglected spaces requires a strategic approach, from using the right tools to knowing which cleaning solutions won’t damage your cabinet finishes. Starting with a mild detergent solution can help ensure that your cleaning process is both effective and safe for your cabinet surfaces.
Let’s walk through exactly how to tackle this chore (and what mistakes to avoid) so you can finally check “clean cabinet tops” off your to-do list.
Things to Do When Cleaning the top of kitchen cabinets
When cleaning the top of kitchen cabinets, it’s crucial to follow a systematic approach that tackles dust and grime effectively.
Starting from the highest point prevents dirt from falling onto already-cleaned areas, while using the right cleaning agents for specific types of buildup guarantees thorough results without damaging the cabinet surfaces.
- Fluff a Swiffer Duster by spinning it to maximize dust collection, then use it to remove the initial layer of debris from cabinet tops.
- Work from top to bottom throughout the cleaning process to prevent cleaning solution drips from soiling already cleaned areas.
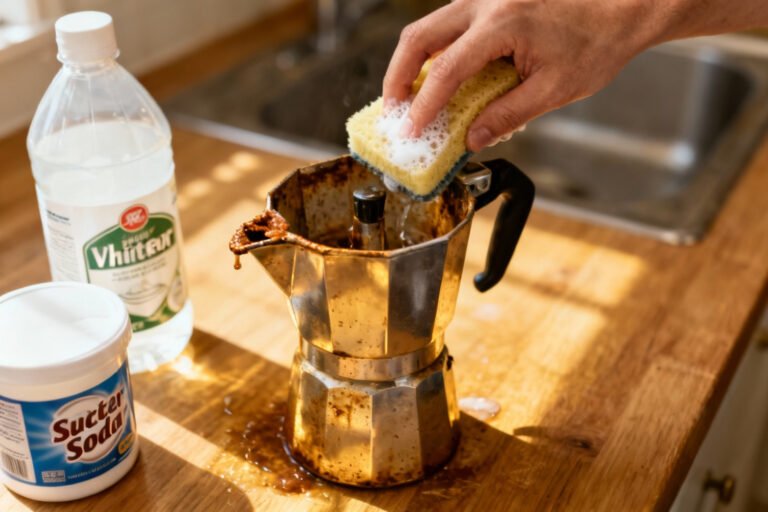
- Create a paste using baking soda and water for stubborn spots, applying it to problem areas and allowing it to sit for a few minutes before wiping with a soft cloth.
- Apply vinegar directly to greasy areas, letting it break down the accumulated grease before rinsing with clean water and thoroughly drying the surface.
- Use a clean toothbrush to detail clean ledges and crevices where dust and grime tend to accumulate, paying special attention to high-touch areas.
Things to Avoid When Cleaning the top of kitchen cabinets
Cleaning the top of kitchen cabinets requires careful attention to prevent damage to these often-neglected surfaces that tend to accumulate grease, dust, and grime.
The upper reaches of your cabinets may have different finishes or materials than the more visible areas, making proper cleaning techniques especially important to maintain their appearance and structural integrity.
- Harsh chemical cleaners – These can strip protective finishes and damage wood or laminate surfaces, causing discoloration or deterioration that’s particularly visible on cabinet tops.
- Standing on unstable surfaces – Using wobbly chairs or stacking items to reach high cabinets creates dangerous fall hazards; always use a proper step ladder.
- Excessive moisture – Saturating the tops of cabinets can lead to warping, swelling, or water damage, especially on wood surfaces or where seams exist.
- Abrasive tools – Steel wool, rough scrub brushes, or abrasive sponges can scratch and permanently damage cabinet finishes.
- Neglecting to remove items first – Attempting to clean around decorative items results in missed spots and ineffective cleaning of accumulated grime.
- Forgetting to dust before wet cleaning – Skipping the dusting step creates mud-like residue when liquid cleaners are applied to dry dust.
- Using paper towels on wood – The rough texture can leave scratches; opt for microfiber cloths instead for gentle cleaning.
- Leaving residue behind – Failing to properly rinse cleaning solutions can attract more dust and create a sticky film on cabinet tops.
Steps
Cleaning the tops of kitchen cabinets can be a challenging task due to their hard-to-reach location and tendency to accumulate stubborn grease and dust.
Regular maintenance of these surfaces not only improves the appearance of your kitchen but also prevents dust and grease from becoming airborne and settling on your clean countertops and dishes.
The following step-by-step process will help you effectively clean the tops of your cabinets, leaving them spotless and well-maintained.
Step 1: Start by using a fluffed Swiffer Duster at the highest points of your cabinets to remove loose dust and debris.
Step 2: Prepare a cleaning solution by mixing a few drops of Dawn dish soap in hot water.
Step 3: Gather three towels—one for applying the cleaning solution, one for rinsing with clean water, and one for drying.
Step 4: Dampen the first towel in the soap solution and wipe the cabinet tops, working from one end to the other.
Step 5: Use the second towel, dampened with clean water, to remove soap residue from the surfaces.
Step 6: For stubborn spots, create a paste using baking soda and water, apply it to the problem areas, and let it sit for a few minutes.
Step 7: Gently scrub the paste on tough spots with a soft-bristled brush until the grime loosens.
Step 8: For greasy areas, especially near the stove, apply white vinegar directly to the surface, let it sit briefly, then wipe clean.
Step 9: Thoroughly dry all surfaces with the third clean, dry towel to prevent moisture damage.
Step 10: Consider placing paper towels or liner paper on top of cabinets to catch dust and make future cleaning easier.
Final Thoughts
Maintaining your kitchen cabinets doesn’t have to be a dreaded chore. With regular attention, those hard-to-reach tops can stay surprisingly clean.
We’d love to answer any questions you might’ve in the comments section.
Don’t forget to subscribe for more cleaning tutorials and perhaps consider joining our Patreon for exclusive content.
Check the description for product links we think you’ll find helpful!
##

Cleaning the tops of your kitchen cabinets might seem like a challenging task that’s easy to overlook, but with the right approach, it becomes a manageable part of your cleaning routine.
Remember to always start with dusting or vacuuming to remove loose debris before tackling grease and grime.
Begin with a clean slate by dusting away loose debris before battling the tougher kitchen grime.
Soft bristle brushes work wonders for those hard-to-reach crevices, while baking soda paste can handle stubborn spots without damaging surfaces.
Pay special attention to white cabinets near your stove, which require more frequent cleaning to prevent yellowing.
And don’t forget the essential final step—thoroughly drying all surfaces to prevent moisture damage and warping. Additionally, using gentle cleaning solutions will help maintain the integrity of your cabinet surfaces while effectively removing dirt and grime.