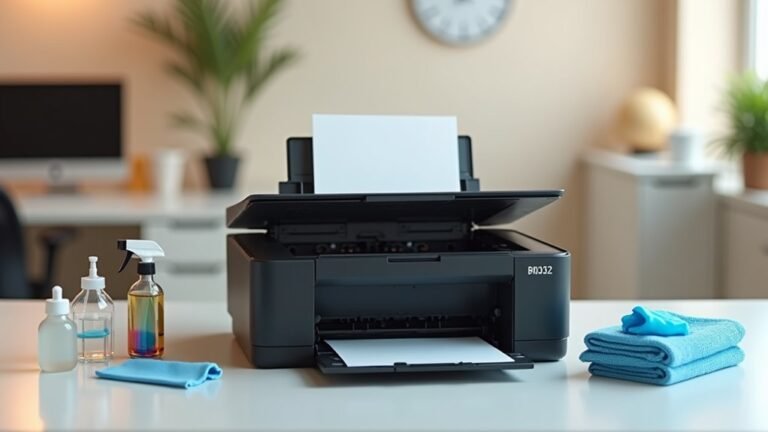
Dealing with a dirty dry erase board can be super annoying, especially when markers leave behind those hard-to-remove marks. But don't worry – cleaning your whiteboard doesn't have to be complicated, and you won't need fancy products to get it looking clean again.
Some of the links in this article may be affiliate links. If you make a purchase through these links, we may earn a small commission at no extra cost to you. Thank you.
According to Dr. Penny Whitehouse, a science educator at Learning Through STEM, "The key to maintaining a whiteboard is regular cleaning. The longer marker residue stays on the board, the harder it becomes to remove."
Most of us just grab the eraser and start wiping, but there's a better way to keep your board looking fresh. Think of your whiteboard like a window – sometimes you need more than just a quick wipe to get it really clean. When regular erasing doesn't work, simple household items like rubbing alcohol, vinegar, or even toothpaste can help remove tough stains and that cloudy film that builds up over time.
Knowing how to clean your board the right way means you won't accidentally damage it or make the problem worse. With the right cleaning method, you can bring back that bright white surface and make your writing pop again like it did when the board was new.
Just remember to test any cleaning solution on a small corner first to make sure it won't harm your board's surface. Stay away from harsh cleaners or rough scrubbing tools that might scratch the surface – gentle cleaning is the way to go.
Restore Cloudy Whiteboard Surfaces

When your whiteboard becomes cloudy and difficult to erase, it's time for a deep cleaning restoration.
We'll start by removing marker stains with an eraser, then apply toothpaste in circles across the whiteboard surface.
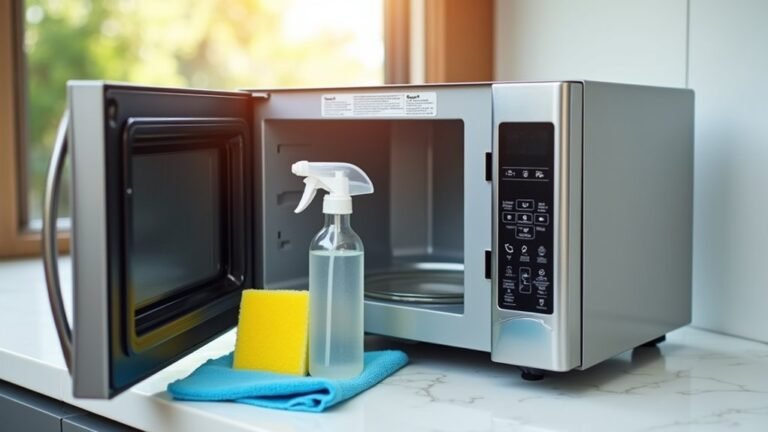
Next, we'll clean with isopropyl alcohol before coating the board with WD-40.
Let it sit for 2 hours.
Regular maintenance keeps your clean whiteboard looking fresh.
Let's explore the essential dos and don'ts of whiteboard maintenance to keep your dry erase board looking clean and professional.
We'll walk through important cleaning steps, from choosing the right materials to implementing effective cleaning techniques that won't damage your board's surface.
Things to Do When Cleaning a Dry Erase Board
Keeping your dry erase board clean and well-maintained requires a systematic approach that combines regular maintenance with proper cleaning techniques. By following the correct cleaning methods, you can extend the life of your whiteboard while guaranteeing it remains clear and functional for everyday use, preventing stubborn stains and ghosting that often occur with improper care.
- Use a soft eraser to remove as much dry-erase marker as possible before applying any cleaning solutions – this prevents smearing and makes deep cleaning easier.
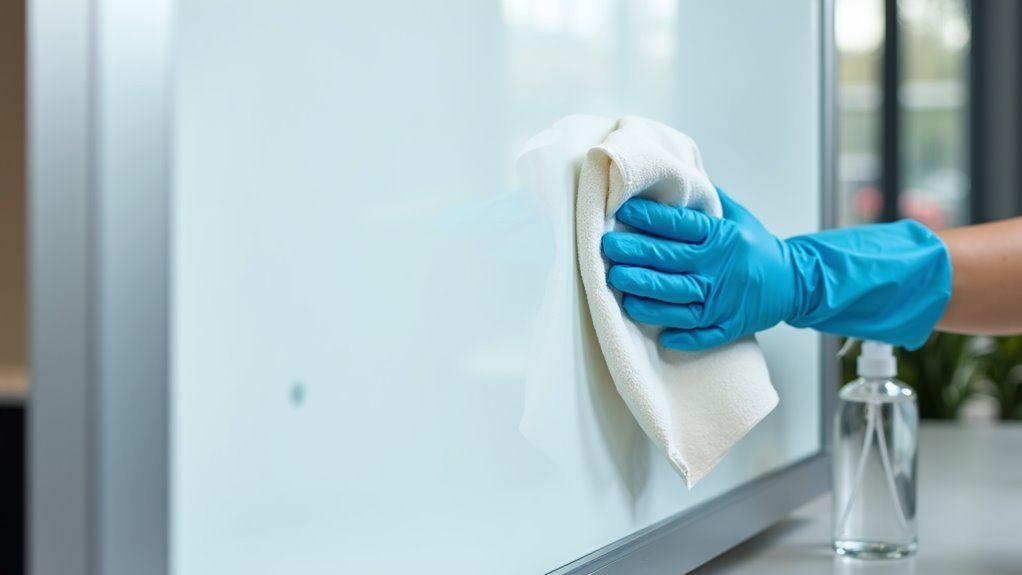
- Mix equal parts isopropyl alcohol and water for stubborn stains – apply with a microfiber cloth using gentle circular motions.
- Remove permanent marker by writing over it with dry-erase marker – allow it to dry briefly before wiping clean.
- Clean the board surface every 2-3 days – prevents ink buildup and reduces the chance of permanent staining.
- Apply cleaning solutions with non-abrasive materials only – protects the board's surface from scratches and damage.
- Work in small sections when cleaning – guarantees thorough removal of all marker residue.
- Allow the board to dry completely before using – prevents new markers from becoming diluted or streaky.
Things to Avoid When Cleaning a Dry Erase Board
When cleaning a dry erase board, it's crucial to understand what practices can potentially damage or compromise its surface. Improper cleaning methods can lead to permanent staining, scratches, or deterioration of the board's special coating, making it less effective for future use and potentially requiring premature replacement.
- Abrasive materials (scouring pads, magic erasers) – These can create microscopic scratches that trap ink and lead to permanent staining.
- Harsh chemical cleaners – Non-whiteboard cleaners can break down the board's protective coating.
- Mixed cleaning products – Combining different cleaners can create harmful fumes and damage the board's surface.
- Permanent markers – These contain inks that penetrate the board's surface and are difficult to remove.
- Irregular cleaning habits – Letting ink sit for extended periods makes it harder to remove and can result in ghosting.
- Excessive force when cleaning – Pressing too hard while wiping can wear down the board's surface prematurely.
Steps
Maintaining a clean dry erase board is essential for its longevity and effectiveness in daily use. A well-maintained board not only looks professional but also guarantees clear visibility of written content.
Using the right cleaning methods and materials can prevent permanent staining and extend the life of your dry erase board while keeping it in prime condition for regular use.
Step 1: Gather supplies – microfiber cloth, cleaning solution, and water
Step 2: Mix isopropyl alcohol and water in equal parts for a homemade cleaning solution
Step 3: Dampen the microfiber cloth with the cleaning solution
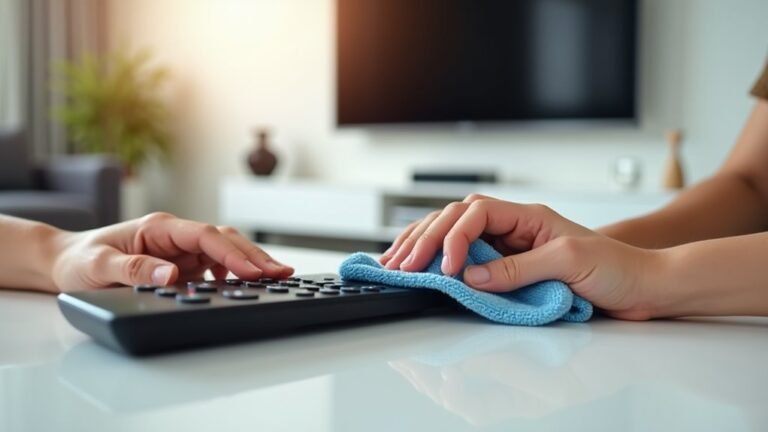
Step 4: Clean the board using circular motions to lift ink residue
Step 5: For stubborn stains, apply the alcohol-water solution and let it sit for 30 seconds
Step 6: If permanent marker is present, trace over it with dry-erase marker
Step 7: Wait a few seconds, then wipe away the marker residue
Step 8: Use a clean, dry portion of the microfiber cloth to buff the board
Step 9: Repeat cleaning every 2-3 days for regular maintenance
Step 10: Store cleaning supplies nearby for convenient regular upkeep
Final Thoughts
A clean dry erase board can transform any workspace into an efficient hub for communication and creativity.
We've learned that regular cleaning with the right tools, from microfiber cloths to rubbing alcohol solutions, keeps our whiteboards pristine.
Whether we're dealing with stubborn permanent marker stains or daily maintenance, proper care guarantees our boards remain clear and functional for years to come.
Maintaining a clean dry erase board doesn't have to be complicated or time-consuming. By following a regular cleaning schedule with the right materials – particularly microfiber cloths and isopropyl alcohol solutions – you can keep your board looking fresh and functioning properly.
Remember to avoid harsh scrubbing materials that could damage the surface, and tackle stubborn stains promptly using the dry-erase marker method. With these simple maintenance habits, your dry erase board will remain a reliable tool for years to come.
Take action today by setting up a cleaning routine and stocking up on appropriate supplies. Your presentations, brainstorming sessions, and daily planning will benefit from a clear, pristine writing surface that's always ready for your next big idea.