The garbage disposal in your kitchen can last about 15 years if you take good care of it. A dirty or smelly disposal can make washing dishes a real pain, but cleaning it doesn't have to be difficult or expensive. According to Bob Vila, home improvement expert and former host of "This Old House": "Most disposal problems can be prevented with regular cleaning using simple household items like ice, salt, and citrus peels." The good news is you probably have everything you need to fix these common issues right in your kitchen cabinets, and keeping your disposal clean will help it work better and smell fresher.
Some of the links in this article may be affiliate links. If you make a purchase through these links, we may earn a small commission at no extra cost to you. Thank you.
Smelly Sink Drains Stink
When your kitchen starts to smell like a dumpster, there's a good chance your garbage disposal is the culprit.
Food residue and grease build up over time, creating lingering odors that won't go away on their own.
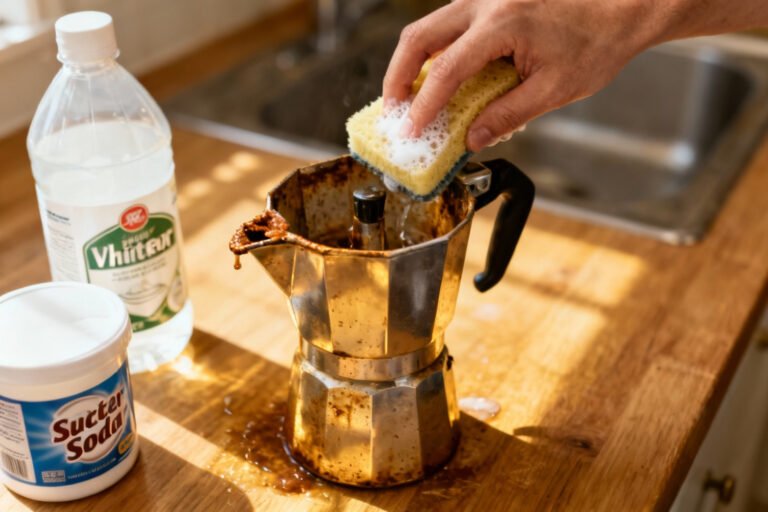
To get your disposal smelling fresh again, we'll need to deep clean the blades with baking soda and vinegar, followed by citrus peels for an extra boost of freshness.
##
Let's explore the essential aspects of garbage disposal maintenance to keep our units running smoothly and odor-free.
We'll cover the best practices for cleaning your disposal unit safely, including what tools and materials you'll need, along with common mistakes to avoid during the process.
Our focus will be on both daily maintenance tips and deep cleaning methods that'll help extend your disposal's life while keeping your kitchen fresh and sanitary.
Things to Do When Cleaning a Garbage Disposal Unit
Cleaning a garbage disposal unit requires careful attention to safety and proper technique to guarantee effective results while preventing damage to the appliance. Following a systematic approach will help eliminate unwanted odors, maintain peak performance, and extend the lifespan of your disposal unit while keeping your kitchen sink fresh and sanitary.
- Disconnect power – Turn off the electrical supply to prevent accidental activation during cleaning.
- Remove visible debris – Use pliers or tongs to extract large objects while illuminating the area with a flashlight.
- Clean splash guard – Scrub with soap and warm water to remove accumulated grime and bacteria.
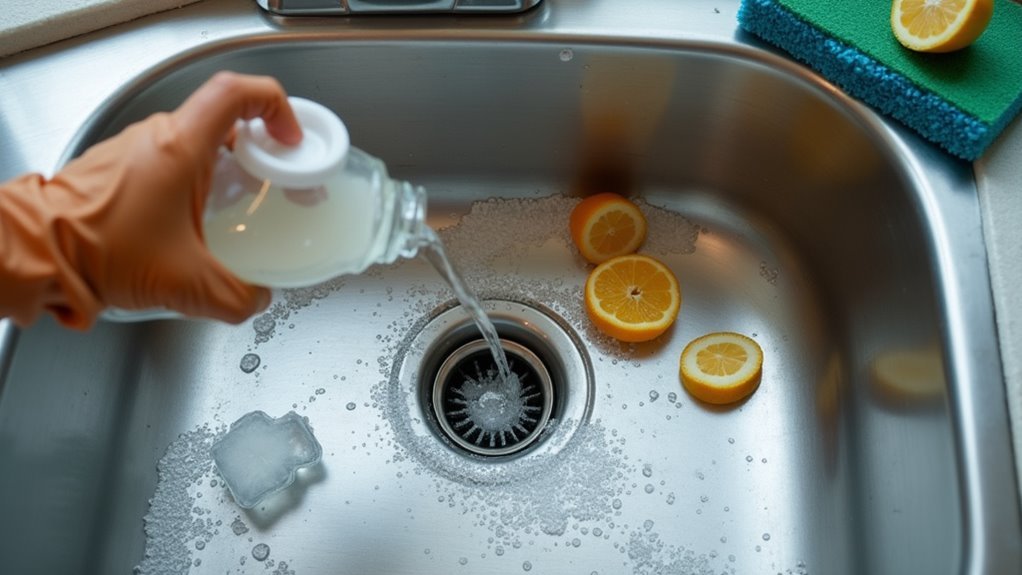
- Apply baking soda and vinegar – Pour mixture into disposal to break down buildup and deodorize.
- Wait 10 minutes – Allow cleaning solution to work on stuck-on debris and mineral deposits.
- Rinse thoroughly – Flush with hot water to remove loosened debris and cleaning solutions.
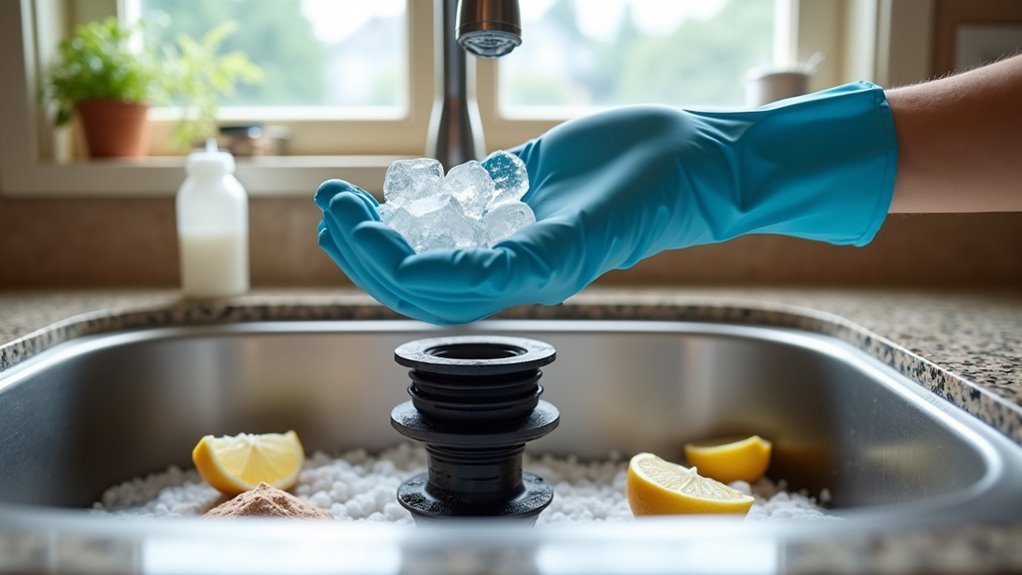
- Grind ice and salt – Run disposal with ice cubes and coarse salt to sharpen blades and remove residue.
- Final rinse – Run cold water for 30 seconds to clear any remaining particles.
Things to Avoid When Cleaning a Garbage Disposal Unit
Maintaining a garbage disposal requires careful attention to cleaning methods that won't compromise its functionality or safety.
While regular cleaning is essential for peak performance and preventing odors, using incorrect cleaning techniques can lead to serious damage, costly repairs, or even personal injury.
Understanding what not to do is just as important as knowing the proper cleaning procedures.
- Harsh Chemical Cleaners – These can corrode metal components and damage rubber gaskets inside the unit.
- Wire Brushes or Steel Wool – Abrasive tools can scratch and damage the grinding chamber and blades.
- Bleach-Based Products – Can deteriorate rubber parts and cause leaks around seals.
- Hot Water During Cleaning – Causes grease to liquefy and coat internal components.
- Bare Hands for Cleaning – Poses serious risk of cuts and injury from sharp blades.
- Commercial Drain Cleaners – Too caustic for disposal components and can cause permanent damage.
- Pressure Washers – The intense force can damage internal mechanisms and seals.
- Ice and Salt Together – While ice alone is fine, adding salt can promote corrosion.
- Large Objects as Cleaning Tools – Can get stuck or damage the motor if they fall in.
- Running Unit While Cleaning – Always disconnect power to prevent accidental activation.
Steps
Cleaning your garbage disposal regularly helps maintain its efficiency and prevents unpleasant odors from developing in your kitchen.
A thorough cleaning process combines mechanical removal of debris with natural cleaning agents to dissolve buildup, sharpen blades, and leave a fresh scent, ensuring your disposal continues to function properly and remain odor-free.
Step 1: Turn off the power to the garbage disposal at the electrical source
Step 2: Use pliers or tongs to remove visible food debris from the disposal opening
Step 3: Pour half a cup of baking soda into the disposal
Step 4: Add one cup of vinegar and let the mixture fizz for 10 minutes
Step 5: Flush thoroughly with hot water
Step 6: Add one cup of ice cubes mixed with one cup of rock salt
Step 7: Run cold water and turn on the disposal to grind the ice mixture
Step 8: Feed citrus peels into the running disposal with cold water
Step 9: Run water for an additional 30 seconds after grinding citrus peels
Step 10: Restore power to the disposal unit
Final Thoughts
While a garbage disposal may seem like a simple appliance, keeping it clean and well-maintained is essential for your kitchen's hygiene and functionality.
By following regular maintenance with baking soda, vinegar, and ice, we can prevent foul odors and guarantee peak performance.
##
Maintaining a clean garbage disposal is a simple yet essential part of kitchen maintenance that pays off in both performance and hygiene. Regular monthly cleaning prevents costly repairs, eliminates unpleasant odors, and extends the life of your disposal unit.
A clean garbage disposal isn't just about freshness – it's an investment in your kitchen's longevity and efficient operation.
By following these cleaning methods – from the baking soda and vinegar treatment to using ice and salt for blade maintenance – you can keep your disposal running efficiently.
Remember to be mindful of what goes into your disposal and make cleaning it a regular part of your household routine. A well-maintained disposal not only works better but also contributes to a cleaner, fresher-smelling kitchen environment.
Start implementing these cleaning practices today, and you'll notice the difference in your disposal's performance and your kitchen's overall cleanliness.