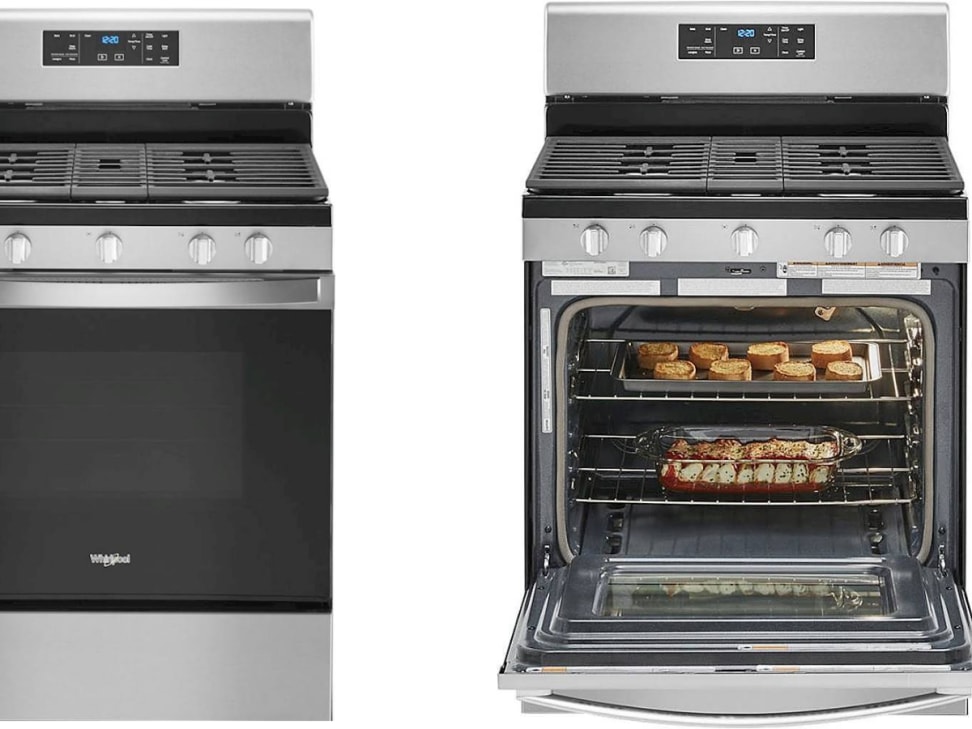
We all know how annoying it is to clean a dirty gas oven – the burnt food, tough stains, and bad smells make cooking less fun and can change how our food tastes. While many of us keep putting off this cleaning job, making your oven spotless doesn't have to be hard or take all day.

According to Sarah Brown, a cleaning expert at Good Housekeeping, "The biggest mistake people make is waiting too long between cleanings. It's much easier to clean your oven every few months than to tackle years of built-up grime."

Let's look at the best ways to get your oven clean, and first, we'll talk about what not to do.

Dirty Ovens Waste Energy

unclean ovens consume energy

While many homeowners don't realize it, a dirty oven can considerably impact their monthly energy bills.

When we don't clean our oven regularly, grease buildup creates hot spots that force it to work harder, increasing energy usage by up to 20%.

To maintain efficiency, we need to clean a greasy oven thoroughly, ensuring even heat distribution and reducing the extra gas consumption that drives up utility costs.

##

Let's look at what we need to know about cleaning our gas ovens safely and effectively.

We'll walk through the essential steps to get your oven sparkling clean, including which cleaning products work best and which ones to avoid.

Before we start with our detailed cleaning guide, it's important to understand that proper cleaning not only keeps your oven looking great but also helps maintain its efficiency and extends its lifespan.

Things to Do When Cleaning a Gas Oven

Cleaning a gas oven effectively requires careful preparation and the right approach to guarantee both safety and cleanliness.

A thorough cleaning not only maintains the appliance's efficiency but also prevents the buildup of harmful residues that can affect food taste and cooking performance.

  1. Turn off and cool down – Allow the oven to completely cool before starting to prevent burns or accidents.
  2. Remove racks and parts – Take out all removable components for separate cleaning and better access.
  3. Mix cleaning paste – Combine baking soda and water in equal parts to create an effective cleaning solution.
  4. Apply paste thoroughly – Cover all interior surfaces with the baking soda mixture, avoiding heating elements.
  5. Wait patiently – Let the paste sit for 12 hours to break down grease and stubborn residues.
  6. Spray with vinegar – Use vinegar to create a reaction that helps lift remaining dirt.
  7. Wipe clean – Remove all residue with a damp cloth or sponge, guaranteeing no cleaning products remain.
  8. Replace components – Return all cleaned racks and parts to their proper positions.
  9. Regular maintenance – Check frequently for spills and clean promptly to prevent heavy buildup.

Things to Avoid When Cleaning a Gas Oven

Cleaning a gas oven requires careful attention to protect both the appliance and your safety. Using improper cleaning methods or materials can result in permanent damage to the oven's surfaces, compromise its functionality, or create dangerous situations that could lead to electrical hazards or gas-related incidents.

Understanding what not to do is just as important as knowing the correct cleaning procedures.

  • Harsh chemical cleaners – These can corrode oven surfaces and leave harmful residues that may affect food taste and safety.
  • Hot oven cleaning – Attempting to clean while the oven is still warm increases risk of burns and makes cleaning products less effective.
  • Steel wool or metal scrapers – These abrasive tools can scratch and permanently damage the oven's protective finish.
  • Wet cleaning of electrical components – Water contact with electrical parts can cause short circuits or system failure.
  • Non-manufacturer approved cleaners – Using unauthorized products may void warranty and potentially damage specialized coatings.
  • Excessive water – Too much moisture can seep into gas ports or electrical connections, creating safety hazards.
  • Improper cleaning timing – Allowing spills and stains to sit too long makes them harder to remove and may cause permanent staining.

Steps

Cleaning a gas oven effectively requires careful preparation and patience to achieve ideal results. The combination of baking soda and vinegar creates a powerful natural cleaning solution that breaks down stubborn grease and food residue without the harsh chemicals found in commercial cleaners.

This method is particularly suitable for gas ovens as it's gentle on the surfaces while still being highly effective at removing built-up grime.

Step 1: Verify the oven is completely cool and turn off the gas supply, then remove all racks.

Step 2: Mix 1 cup of baking soda with 1 cup of water to create a thick paste.

Step 3: Apply the paste generously throughout the oven interior, avoiding gas elements and openings.

Step 4: Let the paste sit for 12 hours or overnight.

Step 5: Spray white vinegar over the dried baking soda paste.

Step 6: Wait for the foaming reaction to subside.

Step 7: Wipe all surfaces thoroughly with a damp cloth or sponge.

Step 8: Repeat wiping process until all residue is removed.

Step 9: Dry the oven interior completely with a clean cloth.

Step 10: Replace the oven racks before using.

Final Thoughts

Maintaining a gas oven doesn't have to be a challenging task when you follow the right approach.

By using natural cleaning methods like baking soda paste and implementing routine maintenance, we can keep our ovens performing efficiently.

Regular attention to spills and grease buildup will reduce the need for deep cleaning sessions.

##

reflecting on key insights

Keeping your gas oven clean isn't just about aesthetics – it's essential for safety, efficiency, and the quality of your cooking. While deep cleaning may seem like an intimidating task, breaking it down into manageable steps makes it much more approachable.

Regular maintenance through simple habits like wiping spills immediately and using oven liners can greatly reduce the frequency of deep cleaning sessions.

Remember that a well-maintained oven will serve you better and longer, producing better-tasting food while minimizing fire hazards and unpleasant odors.

Take action today by establishing a regular cleaning schedule for your gas oven. Start with basic cleaning steps and work your way up to deeper cleanings as needed. Your future self – and your taste buds – will thank you for maintaining a clean, efficient cooking environment.

Take the first step now by checking your oven's condition and gathering the necessary cleaning supplies. A small investment in time and effort today will pay off in years of safe, effective cooking tomorrow.

Similar Posts

Leave a Reply

Your email address will not be published. Required fields are marked *