A clean mop bucket isn’t just about a pleasant smell; it’s the bedrock of a truly effective cleaning routine. Without proper maintenance, your mop bucket becomes a breeding ground for bacteria, mold, and mildew, ultimately contaminating your floors and potentially impacting your health. A neglected bucket can introduce unpleasant odors, harbor harmful microorganisms, and significantly reduce the effectiveness of your cleaning solutions. Over time, a dirty bucket will essentially dilute your cleaning products, making them less potent and, crucially, spreading dirt and grime back onto the surfaces you’re trying to clean. Let’s dispel some common misconceptions – cleaning a mop bucket isn’t a daunting task, and a little regular attention can dramatically improve the quality of your cleaning.
Some of the links in this article may be affiliate links. If you make a purchase through these links, we may earn a small commission at no extra cost to you. Thank you.
THINGS TO DO WHEN CLEANING A MOP BUCKET
- Drain Immediately:
- Don’t let the dirty water sit in the bucket for an extended period. This allows the grime and residue to set in and become much harder to remove.
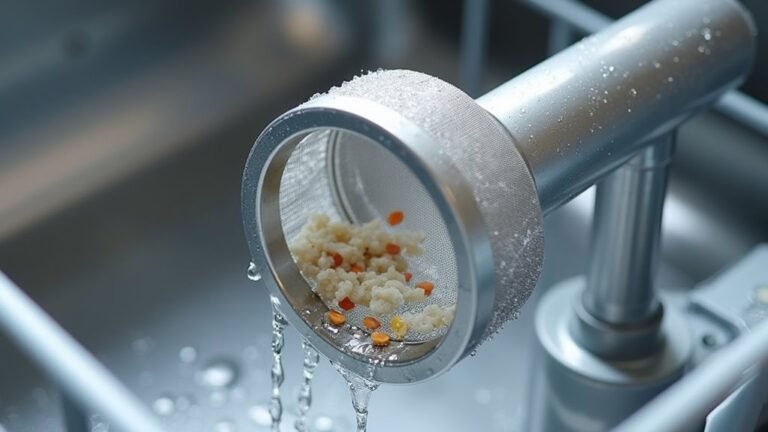
- Rinse Thoroughly:
- After draining, rinse the bucket with hot water to remove any remaining cleaning solution and loosened dirt.
- Use a Mop Bucket Cleaner:
- These cleaners are specifically formulated to tackle the tough buildup of grime and bacteria common in mop buckets. Look for products containing disinfecting agents.
- DIY Sanitizing Solution:
- A mixture of equal parts white vinegar and water is a fantastic, natural disinfectant. Use this to rinse and sanitize the bucket.
- Dry Completely:
- This is arguably the most crucial step. Allow the bucket to air dry completely, ideally with the lid off, to eliminate any remaining moisture where bacteria can thrive.
THINGS TO AVOID WHEN CLEANING A MOP BUCKET
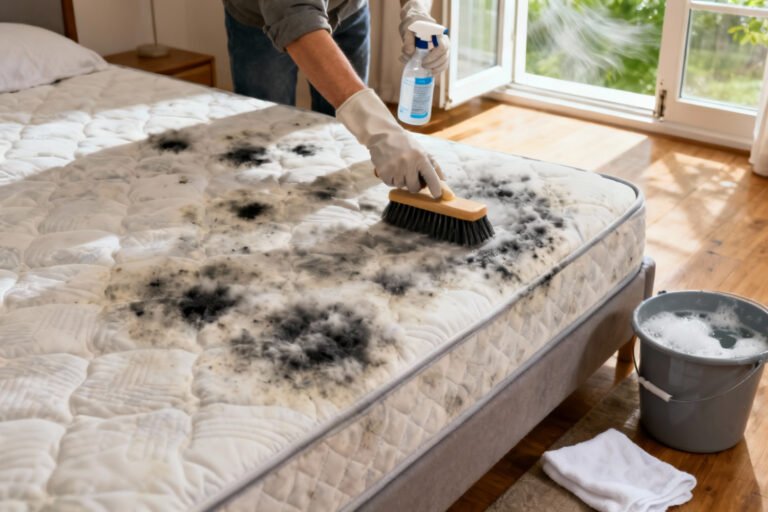
- Don’t use abrasive cleaners or scouring pads, as these can damage the bucket’s surface and create tiny scratches that harbor dirt.
- Also, avoid simply wiping the bucket down with a damp cloth – this only pushes the dirt around, it doesn’t effectively remove it.
- Lastly, don’t let standing water linger in the bucket for extended periods – this encourages bacterial and mold growth.
STEPS
-
- Remove the Mop Head:
Take out the mop head and allow it to dry separately – it needs its own cleaning cycle.
-
- Rinse the Bucket:
Pour out the dirty water from the bucket. Immediately rinse the bucket with hot water to loosen dirt and grime.
-
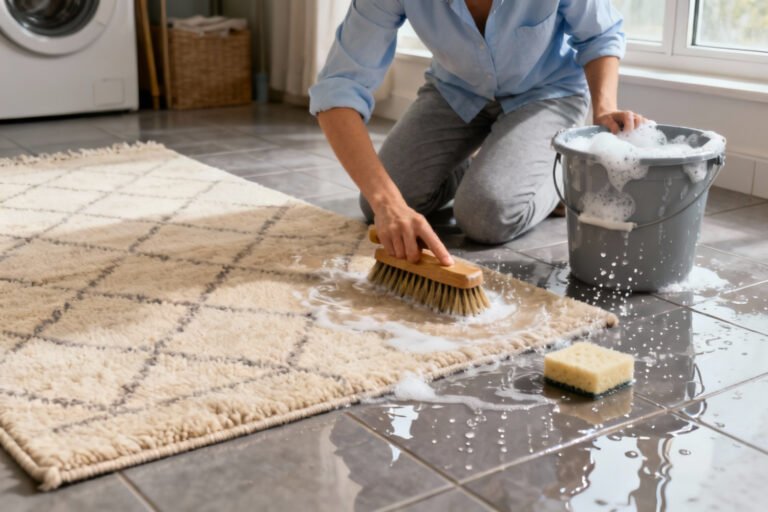
- Apply Cleaning Solution:
Add your chosen cleaning solution – either a commercially available mop bucket cleaner or a DIY vinegar solution – to the rinsed bucket.
-
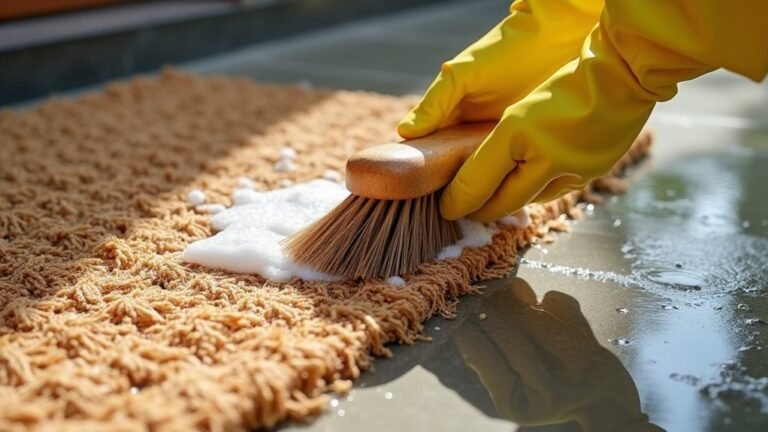
- Scrub Thoroughly:
Use a non-abrasive sponge or brush to scrub the interior surfaces of the bucket, paying particular attention to the bottom and any areas with stubborn buildup.
-
- Rinse Again:
Rinse the bucket thoroughly with clean water, ensuring all traces of the cleaning solution are removed.
-
- Dry Completely:
Allow the bucket to air dry completely, ideally with the lid off. You can speed up the process by placing it in a well-ventilated area.
FINAL THOUGHTS
Maintaining a clean mop bucket is a deceptively simple act that yields significant rewards – healthier floors and more effective cleaning. By following these steps, you’re not just cleaning a bucket; you’re investing in the quality of your cleaning routine. Remember that regular maintenance is far more effective than infrequent deep cleans.
If you’re finding yourself constantly struggling to achieve truly clean floors, consider reviewing your entire cleaning approach – from the type of cleaning solution you’re using to the technique you’re employing. A well-maintained mop bucket is a cornerstone of a successful cleaning strategy. Would you like to explore different cleaning solutions or perhaps delve deeper into the science of disinfection?