CONTENT PROCESSING:
Process all content from ## How to Clean a Sponge in a Microwave: A Thorough Guide
Some of the links in this article may be affiliate links. If you make a purchase through these links, we may earn a small commission at no extra cost to you. Thank you.
Let’s be honest: sponges are essential.
They’re the workhorses of our kitchens, tackling spills, grime, and messes with surprising efficiency. But they also harbor a dark secret – bacteria. Sponges, while effective at cleaning, are breeding grounds for bacteria, mold, and mildew due to their porous structure and tendency to trap moisture. Leaving a sponge in a damp state is an invitation for these microorganisms to thrive, leading to unpleasant odors, potential food contamination, and, frankly, a less-than-hygienic kitchen environment.
While some may have heard that microwaving a sponge is a quick and easy way to sanitize it, the reality is more nuanced. This guide will delve into the science behind the process, provide a detailed, step-by-step approach, and help you understand what to do – and crucially, what *not* to do – for the most effective and safe results.
We’ll go beyond the hype and equip you with the knowledge to confidently tackle the issue of dirty sponges.
Things to Do When Cleaning a Sponge in a Microwave
The core principle behind microwaving a sponge is to use the heat generated to kill bacteria and reduce the moisture content, hindering their growth. However, simply tossing a damp sponge into a hot microwave won’t guarantee complete sanitation. It’s about precision and understanding the process.
To achieve the best results, focus on ensuring maximum heat exposure and effectively drying the sponge afterwards.
- Soak Thoroughly:
- Begin by soaking the sponge in warm water for 5-10 minutes. This pre-wetting softens the sponge and ensures that the heat penetrates effectively.
- Add Baking Soda:
- Incorporating 1-2 tablespoons of baking soda into the warm water boosts the cleaning power and helps neutralize odors.
- Ensure Adequate Space:
- Don’t overcrowd the microwave. The sponge needs room to move around and be exposed to the heat from all angles.
- Cover with a Microwave-Safe Lid:
- Place a microwave-safe lid or plate over the sponge to contain the steam and prevent splattering.
- Monitor Steam Levels:
- Observe the steam build-up within the microwave. This indicates heat is being generated and the water is evaporating.
Things to Avoid When Cleaning a Sponge in a Microwave
Despite the popularity of this method, there are several pitfalls to avoid. Missteps can lead to ineffective cleaning, damage your microwave, and even create a hazardous situation.
- Don’t Use Excessive Water:
- Overloading the sponge with water will steam up the microwave excessively, reducing the effectiveness of the heat. Less is more.
- Don’t Use Metal:
- Never, ever put metal objects in the microwave. This is a fire hazard and can damage your appliance.
- Don’t Overheat:
- Heating the sponge for an extended period (more than 60-90 seconds) can damage the sponge fibers and potentially warp the microwave.
- Don’t Rely on It as a Sole Method:
- Microwaving a sponge is a supplementary cleaning method, not a replacement for regular replacement. Sponges still require thorough washing and drying between uses.
Steps
- Step 1: Prepare the Sponge:
- Soak the sponge in warm water for 5-10 minutes.
- Step 2: Add Baking Soda:
- Step 3: Microwave:
- Place the sponge and water mixture in a microwave-safe container. Cover with a microwave-safe lid.
- Step 4: Heat:
- Microwave on high for 90 seconds.
- Step 5: Cool Down:
- Carefully remove the container from the microwave. Allow the sponge to cool for a few minutes. Don’t immediately handle it – it will be extremely hot.
- Step 6: Dry Thoroughly:
- Squeeze out excess water and hang the sponge to air dry completely.
Final Thoughts
Microwaving a sponge is a surprisingly effective technique for reducing bacteria and freshening it up, but it’s most effective when combined with proper hygiene practices. The key takeaway is to view this method as a supplementary cleaning step, not a magic bullet.
Regular replacement of your sponge every 1-2 weeks (or sooner if it starts to smell or appear visibly worn) is crucial to prevent the build-up of harmful bacteria. Remember, a clean sponge is a happy sponge – and a happy sponge contributes to a healthier and more hygienic kitchen.
This method primarily works through heat, but drying the sponge afterward is critical to prevent the return of moisture and bacteria. Don’t be afraid to experiment, but always prioritize safety and your kitchen’s overall cleanliness.
We encourage you to explore further resources on food safety and kitchen hygiene – the USDA website provides excellent information and guidelines. Understanding the science behind these cleaning methods empowers you to make informed decisions about your kitchen hygiene.
Take this knowledge and use it to create a cleaner, safer, and more enjoyable cooking experience.
References
Similar Posts
How to Clean Under Laptop Keys
Avoid keyboard frustration by learning these simple techniques to clean under laptop keys without damaging your device.
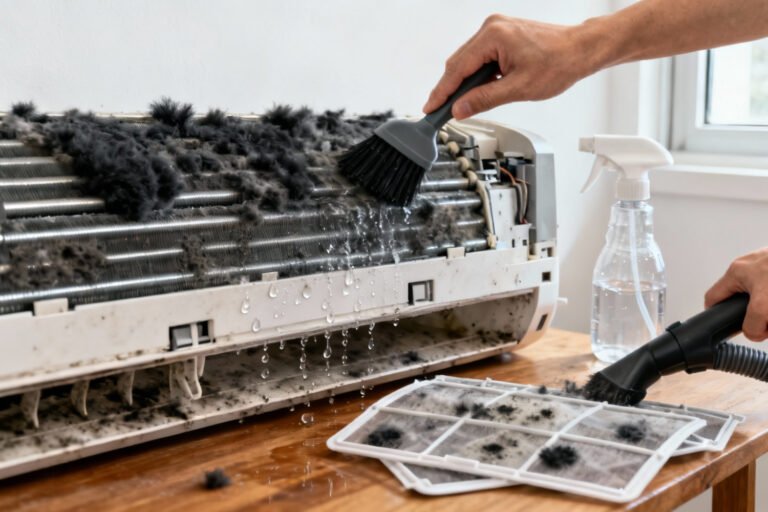
How To Clean A Moldy Air Conditioner
Air conditioning units are a summer staple, providing a cool respite from the heat. However, that welcome…
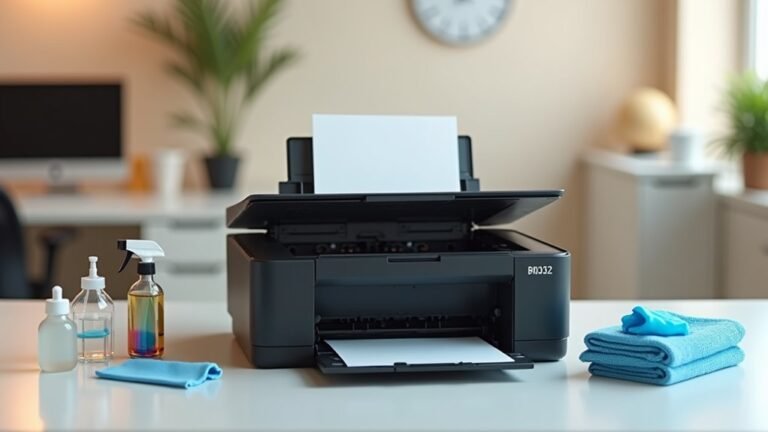
How to Clean an Inkjet Printer
Bring your inkjet printer back to life with these proven cleaning techniques that prevent costly repairs and extend its lifespan.
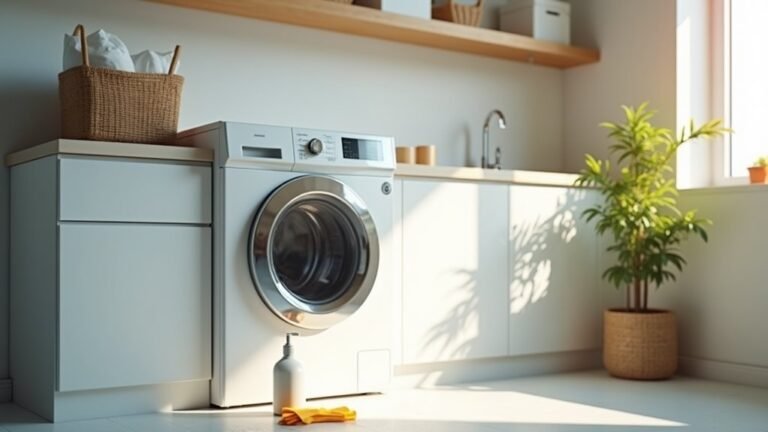
How to Clean a Front Load Washer
Keep your front load washer fresh and efficient with these proven cleaning tricks that eliminate odors and prevent costly repairs.
How to Clean Solar Panels
Improve your solar panel efficiency with these expert cleaning tips that protect your investment while maximizing energy production.
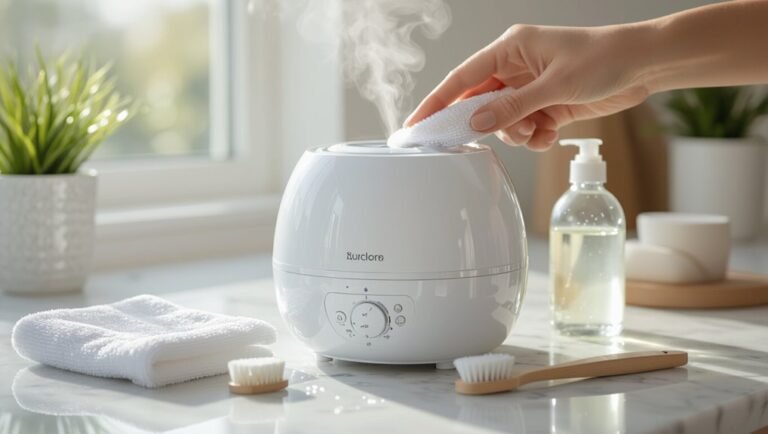
How to Clean Ultrasonic Humidifier
Once clogged with minerals, your ultrasonic humidifier loses efficiency—discover the simple cleaning method that extends its life dramatically.