Your beauty blender might look gross and feel sticky when it hasn't been cleaned in a while. Using a dirty makeup sponge can spread bacteria on your face and make your makeup look uneven. But don't worry – cleaning your beauty blender doesn't have to be hard! According to makeup artist Kelli J. Bartlett, "Washing your beauty blender after each use is as important as washing your face. A clean sponge means better-looking makeup and healthier skin." A few basic cleaning steps will keep your beauty blender clean and working great, so you can get that smooth, perfect makeup look every time you use it.
Some of the links in this article may be affiliate links. If you make a purchase through these links, we may earn a small commission at no extra cost to you. Thank you.
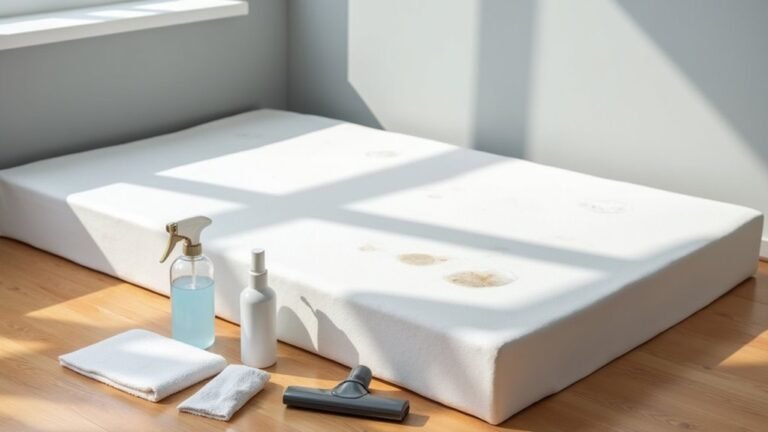
Makeup Sponge Cleaning Guide
Keeping your Beauty Blender clean is essential for maintaining clear, healthy skin and getting the most out of your makeup application.
A clean Beauty Blender is key to flawless makeup application and maintaining healthy skin – don't skip this essential step.
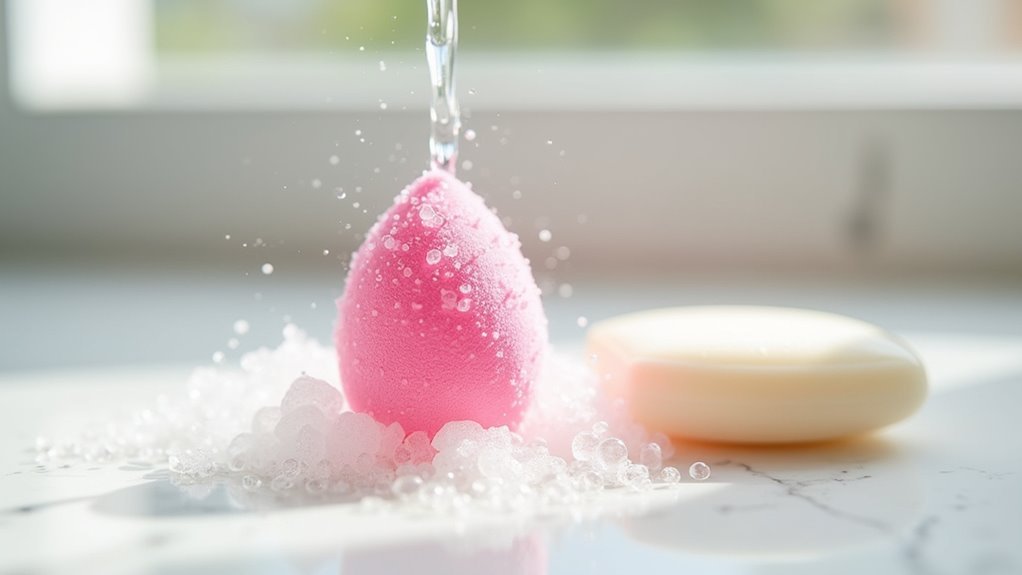
When cleaning your sponge, start by dampening it and adding gentle soap. Work up a lather under running water, then rinse thoroughly until squeaky clean.
Use a clean towel to remove excess moisture before air-drying.
Remember to replace your Beauty Blender every three months.
Let's explore the essential dos and don'ts of Beauty Blender cleaning to help you maintain your makeup sponge's effectiveness and longevity.
We'll walk through the proper cleaning steps, from initial dampening to thorough drying, while highlighting common mistakes to avoid along the way.
Things to Do When Cleaning a Beauty Blender
When it comes to cleaning your Beauty Blender, proper technique is vital for maintaining both the tool's effectiveness and your skin's health. The process involves specific steps that, when followed correctly, will extend the life of your beauty sponge while ensuring it remains free from harmful bacteria and product buildup that could affect your makeup application.
- Wet the sponge first – Dampening prevents excessive product absorption and prepares it for cleaning
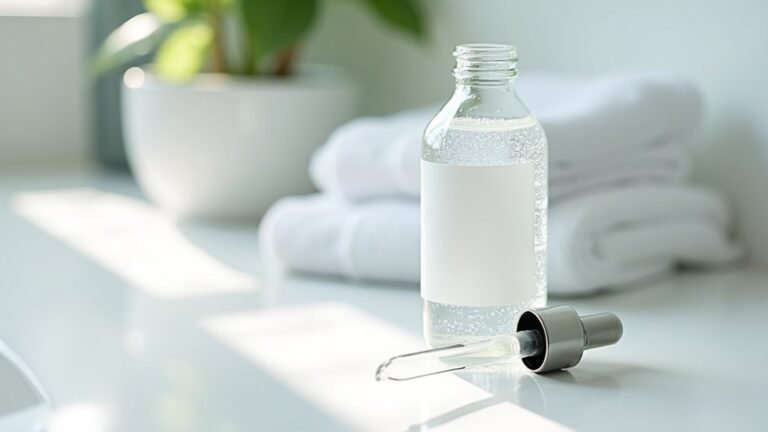
- Apply cleanser gently – Use a small amount of specialized cleaner or mild soap, working it into the sponge
- Massage thoroughly – Use fingertips to work the cleanser deep into the sponge, focusing on stained areas
- Squeeze repeatedly – Apply gentle pressure while rinsing to help push out dirt and makeup residue
- Rinse completely – Continue rinsing and squeezing until water runs completely clear
- Remove excess water – Roll the sponge in a clean towel to absorb moisture
- Air dry properly – Place in a well-ventilated space away from direct sunlight until fully dry
- Clean consistently – Make cleaning a regular part of your beauty routine after each use
Things to Avoid When Cleaning a Beauty Blender
Properly cleaning your Beauty Blender is essential for maintaining its performance and longevity, but certain practices can actually harm this delicate makeup tool.
Using the wrong cleaning methods or products can lead to deterioration, contamination, or premature breakdown of the sponge material, ultimately affecting your makeup application and potentially causing skin issues.
- Bar soap and harsh cleaners – These products contain aggressive ingredients that break down the sponge's material and reduce its effectiveness.
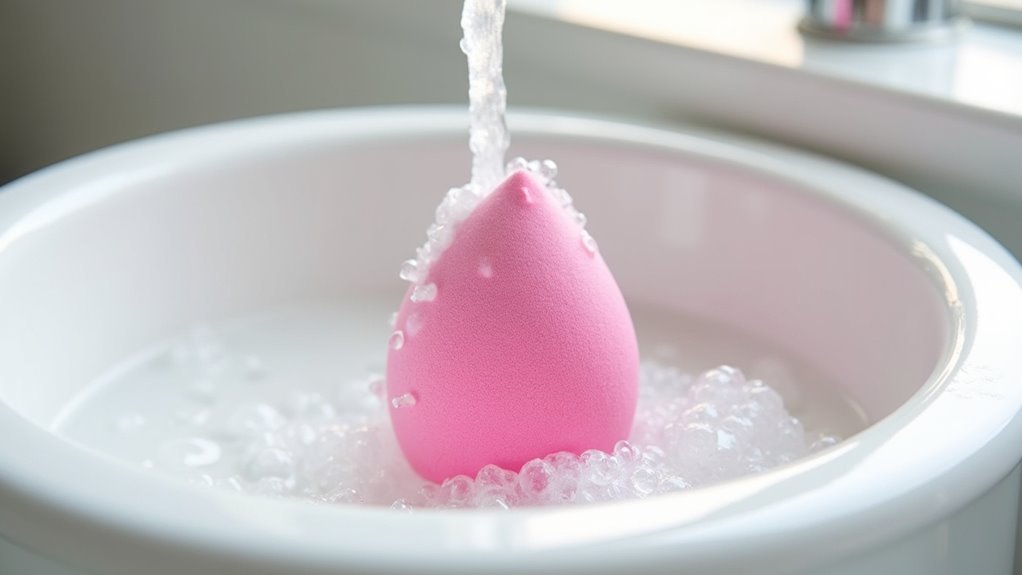
- Extended soaking – Leaving the sponge in water for too long promotes mold growth and speeds up deterioration.
- Aggressive scrubbing – Rough handling tears the delicate surface of the sponge, creating weak spots and eventual tears.
- Sealed storage when wet – Keeping a damp Beauty Blender in airtight containers creates an environment for bacteria and mold.
- Facial cleansers – These products aren't formulated for cleaning makeup tools and can leave residue while wasting expensive skincare products.
- Bleach-based products – Chemical cleaners can break down the sponge material and leave harmful residues that may irritate skin.
Steps
Keeping your beauty blender clean is essential for maintaining proper hygiene and ensuring peak makeup application.
A clean beauty blender not only provides better coverage but also prevents bacteria buildup that could lead to skin issues. Regular cleaning extends the life of your makeup sponge and maintains its effectiveness in blending products seamlessly.
Step 1: Dampen the beauty blender slightly, avoiding oversaturation
Step 2: Apply a small amount of gentle cleanser to visibly stained areas
Step 3: Massage the cleanser into the sponge with fingertips for 60 seconds
Step 4: Rinse thoroughly under running water while squeezing until water runs clear
Step 5: Remove excess moisture by rolling the sponge in a clean towel
Step 6: Place the sponge on a flat surface in a well-ventilated area to dry completely
Final Thoughts
Taking care of your Beauty Blender doesn't have to be complicated, and now you've got all the tools to keep it in perfect condition.
Remember to clean your Beautyblender after each use, let it soak until the water runs clear, and store it properly.
When used correctly, these makeup sponges work well for about three months before needing replacement.
Stay consistent with cleaning to avoid germs and bacteria.
Taking proper care of your Beauty Blender is a small but significant investment in your skincare and makeup routine. Regular cleaning not only extends the life of your makeup sponge but also protects your skin from harmful bacteria and guarantees ideal makeup application.
A clean Beauty Blender is essential for flawless makeup application and healthy skin, making regular maintenance a vital part of your beauty routine.
While it may seem like an extra step in your beauty routine, the few minutes spent cleaning your Beauty Blender can save you from potential skin issues and the need for frequent replacements.
Remember that a clean Beauty Blender is a happy Beauty Blender. Start implementing a daily cleaning routine, store your sponge properly, and pay attention to signs of wear and tear. Your skin and your makeup results will thank you for it.
Make cleaning your Beauty Blender as much a part of your beauty ritual as applying your favorite foundation – your complexion deserves nothing less.
Take action today: Set up a cleaning station near your makeup area, choose your preferred cleanser, and commit to maintaining your Beauty Blender's cleanliness.
With these simple habits, you'll guarantee a safer, more effective makeup application experience every time.