A dirty Blackstone grill can make cooking less fun and mess up your food's taste. The good news is that keeping these flat-top grills clean isn't as hard as you might think – you just need to know the right way to do it. Many people love these grills because they're great for cooking all kinds of food, from burgers to breakfast. But like any cooking tool, they need regular cleaning to work their best.
Some of the links in this article may be affiliate links. If you make a purchase through these links, we may earn a small commission at no extra cost to you. Thank you.
According to Blackstone Products' official care guide, "Regular cleaning after each use prevents rust and keeps your griddle ready for your next meal." This simple tip helps you avoid bigger cleaning jobs down the road.
Whether you're trying to scrape off stuck food, clean up greasy spots, or just do your normal grill maintenance, there's an easy way to get your cooking surface looking clean again. With some basic steps, you can turn your messy grill into a shiny cooking surface that's ready for your next meal.
Keep Your Grill Spotless
Maintaining a spotless Blackstone Grill isn't just about aesthetics – it's essential for great-tasting food and long-lasting performance.
After cooking, let's wait for the surface to cool slightly, then use our cleaning tools to scrape off food residue while it's still warm.
For stubborn spots, we'll pour hot water on the surface and use a scouring pad, moving in one direction to protect the seasoning.
##
Let's explore the essential things you'll need to know when cleaning your Blackstone grill, from must-do steps to common mistakes you should avoid.
We'll break down the cleaning process into simple, manageable steps that will help maintain your grill's performance and longevity.
Things to Do When Cleaning a Blackstone Grill
Maintaining a clean Blackstone grill requires careful attention to detail and a systematic approach to protect its seasoned surface while ensuring peak cooking performance.
The cleaning process combines safety measures, proper tools, and specific techniques to remove cooking residue without compromising the griddle's non-stick qualities.
- Turn off heat and cool – Allow 10-minute cooling period for safe handling and easier residue removal
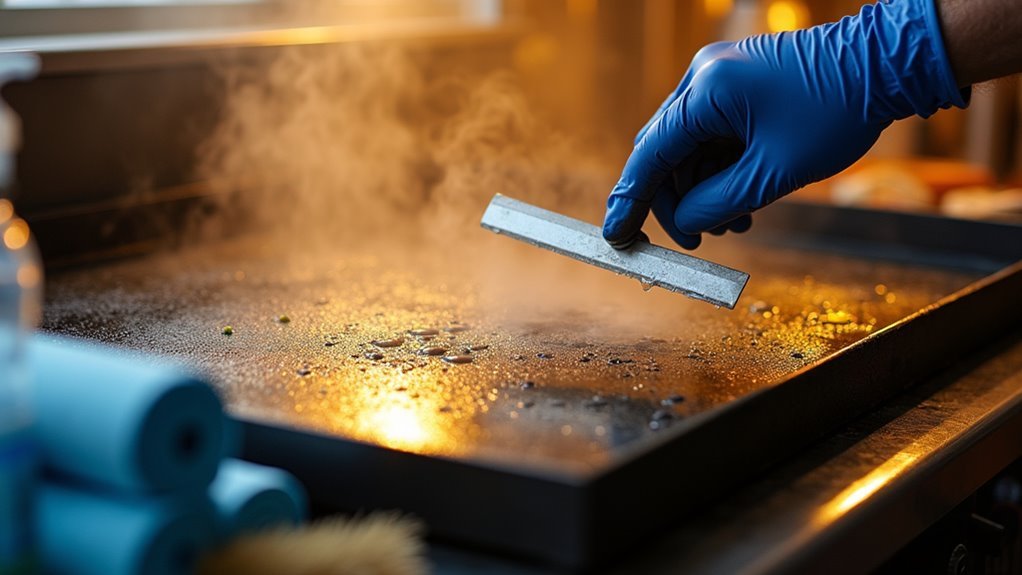
- Remove debris with scraper – Push food particles into grease tray while surface remains warm
- Tackle stubborn spots – Use oil and scouring pad/PMUS stone with consistent directional strokes
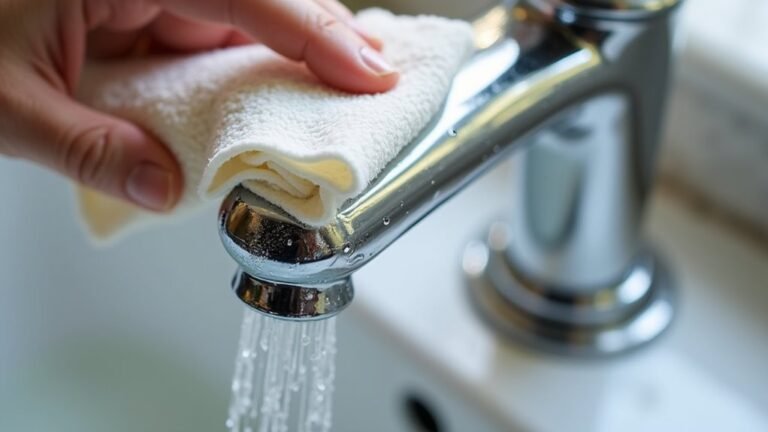
- Clean with hot water – Wipe surface thoroughly with microfiber towel and hot water to remove oils
- Apply conditioner – Protect and re-season the cooking surface with Blackstone griddle conditioner
Things to Avoid When Cleaning a Blackstone Grill
Proper cleaning of a Blackstone grill requires careful attention to avoid damaging its seasoned cooking surface, which is essential for peak performance and longevity. The seasoning layer creates a natural non-stick surface that can be easily compromised by incorrect cleaning methods, leading to rust formation and deterioration of the cooking experience.
- Soap usage after initial cleaning – Strips away protective seasoning and leaves residue that affects food taste
- Abrasive cleaning tools – Steel wool and harsh scouring pads damage the griddle surface and remove seasoning
- Standing water – Promotes rust formation and deteriorates the cooking surface
- High-pressure water sprays – Forces water into joints and creates rust issues
- Chemical cleaners – Damages seasoning layer and leaves harmful residues
- Cold water on hot surface – Can warp or crack the griddle plate
- Sharp metal scrapers – Scratches the surface and removes seasoning
- Storing while wet – Creates perfect conditions for rust development
- Aggressive scrubbing – Removes seasoning and creates uneven cooking surface
- Neglecting immediate cleaning – Allows food debris to harden and become difficult to remove
Steps
Cleaning a Blackstone grill properly guarantees its longevity and maintains peak cooking performance. The process involves a systematic approach that removes food debris, preserves the seasoning layer, and protects the cooking surface from rust and damage.
Following the correct cleaning steps not only keeps your griddle in top condition but also prevents food from sticking during future cooking sessions.
Step 1: Turn off all burners and propane supply, then allow the griddle to cool for 10 minutes.
Step 2: Use a griddle scraper to remove stuck-on food while the surface is still warm.
Step 3: Spray hot water on the cooking surface and continue scraping residue.
Step 4: Clean tough spots with a scouring pad or PMUS stone, moving in one direction.
Step 5: Wipe down the entire surface with a microfiber towel and hot water.
Step 6: Check for any damage to the seasoning layer.
Step 7: Apply Blackstone griddle conditioner to protect the surface.
Step 8: Replace grease cup liner.
Step 9: Address any rust spots immediately if found.
Final Thoughts
When you've mastered the art of cleaning your Blackstone grill, you'll find that it's an investment that pays off with years of delicious meals and reliable performance.
Regular maintenance with proper cleaning products and protecting the seasoning layer through consistent care will keep your grill in top condition.
##

Maintaining a clean Blackstone griddle is essential for both the longevity of your cooking surface and the quality of your food.
Regular cleaning after each use, combined with proper conditioning and seasoning, will keep your griddle performing at its best for years to come. Remember that a well-maintained griddle not only prevents rust but also enhances the flavor of your food and makes cooking more enjoyable.
A clean, well-seasoned griddle is your secret weapon for better-tasting food and worry-free outdoor cooking adventures.
Don't let cleaning intimidate you – with the right approach and tools, it's a straightforward process that becomes part of your grilling routine.
Stay consistent with your cleaning schedule, always follow safety procedures, and pay attention to the condition of your seasoning layer. Your dedication to griddle maintenance will be rewarded with countless delicious meals and memorable outdoor cooking experiences.
Take action today by establishing a proper cleaning routine for your Blackstone griddle. Your future self – and your taste buds – will thank you.