Smoke doesn't just sit on the surface of your walls – it actually soaks deep inside, creating tough stains and bad smells that can come back months later. According to Mike Dougherty, a fire restoration expert at ServiceMaster Restore, "Smoke damage can be deceptive because soot particles are so fine they can penetrate places you'd never expect, requiring thorough cleaning well beyond what's visible to the eye."
Some of the links in this article may be affiliate links. If you make a purchase through these links, we may earn a small commission at no extra cost to you. Thank you.
We'll walk you through cleaning these stubborn marks using items you probably already have at home, helping you avoid spending big money on professional cleaners. These methods work well whether you're trying to clean up cigarette smoke or dealing with walls after a fire.
Smoke Damage Ruins Walls
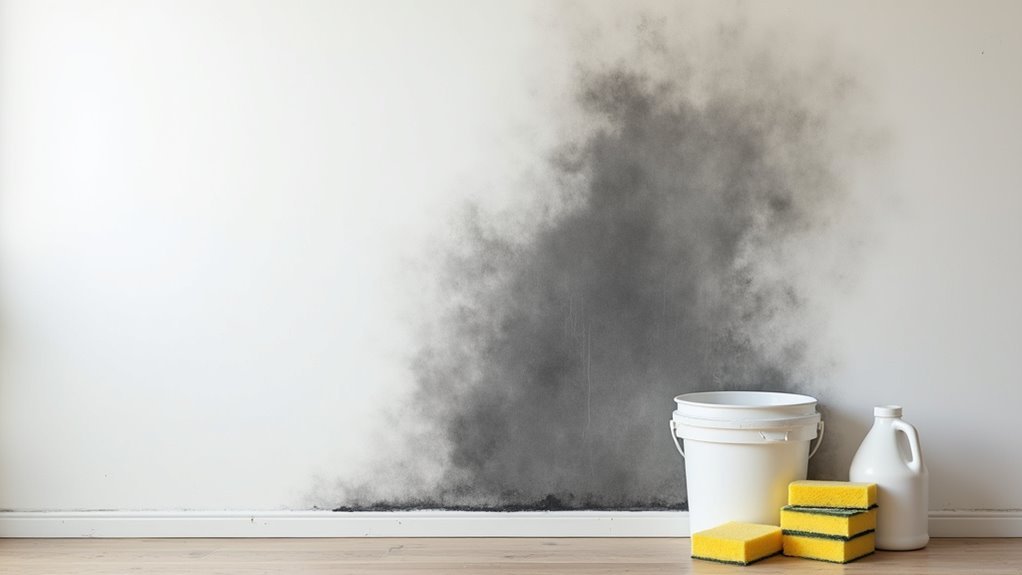
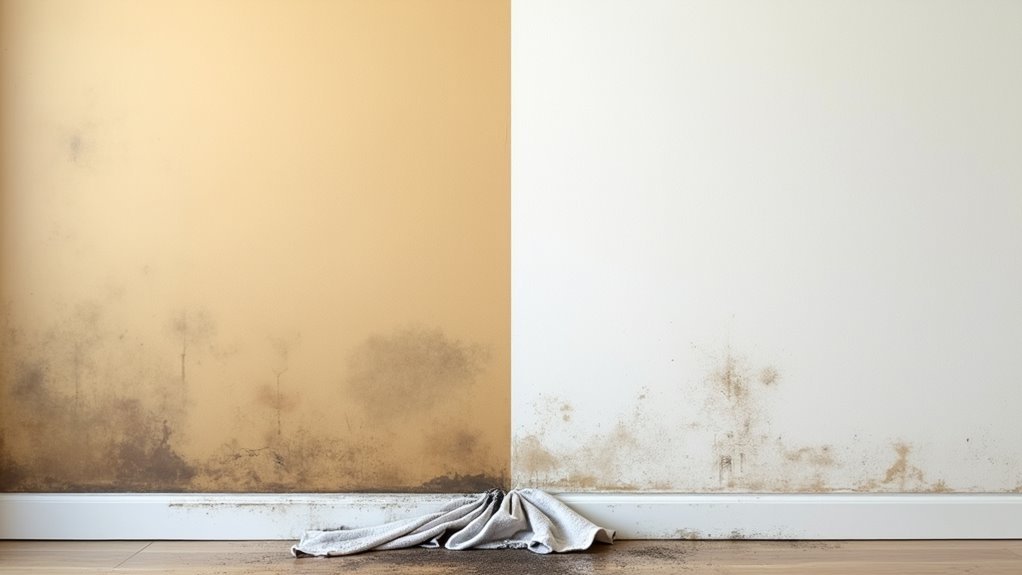
While smoke damage might seem like a minor inconvenience at first, it can wreak havoc on your walls if left untreated.
When smoke residue settles on your walls, it creates stubborn stains and unpleasant odors that won't go away with just warm water.
We'll need to use a good cleaning solution and properly scrub the walls to remove those yellowish stains and prevent long-term damage.
##
Let's look at what we'll need to do when cleaning smoke damage from walls, along with what mistakes to avoid during the process.
We'll show you the exact steps to follow, from initial preparation to final touches, so you can restore your walls effectively and safely.
Before we break down the specifics, it's important to understand that cleaning smoke damage requires patience, the right tools, and careful attention to prevent further damage to your walls.
Things to Do When Cleaning Smoke off Walls
The process of cleaning smoke off walls requires careful preparation and systematic execution to achieve the best results. Smoke residue can be particularly stubborn and may have penetrated deep into the wall surface, making it crucial to follow a methodical approach that begins with gentle cleaning and progresses to more intensive methods if needed.
Proper cleaning not only removes visible stains but also eliminates lingering odors that can affect indoor air quality.
- Vacuum walls with upholstery brush to remove loose particles and prevent smearing during wet cleaning
- Mix cleaning solution using hot water, dish soap, and baking soda for effective grease and smoke removal
- Test cleaning solution on an inconspicuous area to verify it won't damage the wall surface
- Work in small sections from bottom to top to prevent streaking and drip marks
- Use gentle circular motions when scrubbing to avoid damaging the wall surface
- Dry each section immediately with clean towels to prevent water damage
- Apply undiluted vinegar or ammonia on stubborn stains using a sponge
- Sand textured walls carefully with fine-grit paper if smoke residue persists
- Consider repainting with stain-blocking primer if odors remain after thorough cleaning
- Maintain proper ventilation throughout the cleaning process to protect yourself from fumes
Things to Avoid When Cleaning Smoke off Walls
When cleaning smoke damage from walls, it's essential to approach the task with the right techniques to avoid causing additional damage or making the situation worse. Improper cleaning methods can lead to permanent staining, structural damage, or the creation of new problems that could have been prevented with proper care and attention to detail.
- Excessive water usage – Can seep into drywall, causing swelling, warping, and potential mold growth.
- Abrasive cleaning tools – Scratches and damages wall surfaces, potentially making smoke damage permanent.
- Strong chemical cleaners – May react with smoke residue, creating worse stains or harmful fumes.
- Dirty cleaning materials – Using the same mop head or cloth spreads grime instead of removing it.
- Skipping the rinse step – Leaves cleaning solution residue that attracts dirt and creates unsightly streaks.
- Rushing the process – Hurrying through cleaning can miss spots and lead to uneven results.
- Hot water – Can set smoke stains deeper into the wall surface.
- Mixing cleaning products – Can create dangerous chemical reactions and damage wall surfaces.
- Dry cleaning methods – Brushing or dusting without proper solutions can push soot deeper into walls.
Steps
Cleaning smoke off walls requires a methodical approach to effectively remove both visible stains and lingering odors. The process combines thorough preparation, targeted cleaning solutions, and proper technique to restore walls to their original condition without causing damage to the surface.
Step 1: Vacuum walls using an upholstery brush attachment to remove loose debris and soot.
Step 2: Mix cleaning solution with 1 gallon hot water, 3 tablespoons dish soap, and ½ cup baking soda.
Step 3: Test cleaning solution on a small, inconspicuous area to verify it won't damage the wall.
Step 4: Dip rag in cleaning solution and scrub walls in sections, working from bottom to top.
Step 5: Dry each section immediately after cleaning to prevent wall saturation.
Step 6: Sand textured walls lightly with fine-grit sandpaper to remove stubborn stains.
Step 7: Wipe away sanding dust with a clean, damp cloth.
Step 8: Apply stain-blocking primer if smoke odors persist.
Step 9: Allow primer to dry completely.
Step 10: Repaint walls if necessary for complete restoration.
Final Thoughts
Although removing smoke from walls requires time and effort, successful restoration is achievable with the right approach and cleaning methods.
We recommend using a microfiber cloth with our baking soda solution, followed by a quality stain remover for stubborn spots.
Always let surfaces dry completely between treatments, and remember that prevention through regular maintenance is easier than extensive cleaning later.
##
With proper cleaning techniques and persistence, even the most stubborn smoke damage can be successfully removed from your walls. While the process requires time and effort, following these cleaning steps systematically will help restore your walls to their original condition.
Regular maintenance and prevention are key to keeping walls smoke-free in the future.
Don't let smoke-damaged walls discourage you – armed with the right tools, cleaning solutions, and methods outlined above, you can tackle this project with confidence. Start with gentle cleaning methods first, then progress to more intensive techniques if needed.
Take action today to create a cleaner, healthier living space free from smoke residue and odors.
Remember to always test cleaning solutions on a small, inconspicuous area first and guarantee proper ventilation throughout the cleaning process. If the damage proves too extensive, don't hesitate to consult professional cleaning services for the best results.