Keeping your cat's ears clean is an important part of being a pet owner. A healthy cat should have ears that are pink, clean, and don't smell bad. When you check and clean your cat's ears regularly, you can spot problems early and prevent infections that could make your cat uncomfortable.
Some of the links in this article may be affiliate links. If you make a purchase through these links, we may earn a small commission at no extra cost to you. Thank you.
According to Dr. Jessica Vogelsang, a licensed veterinarian, "Regular ear cleaning is one of the best ways to prevent painful ear infections in cats, especially for those that spend time outdoors or have allergies."
While cleaning your cat's ears might seem scary at first, it's actually pretty simple once you know what to do and have the right cleaning supplies. Think of it like brushing their teeth – it's just another way to keep your cat healthy and happy.
Gentle Ear Care Matters
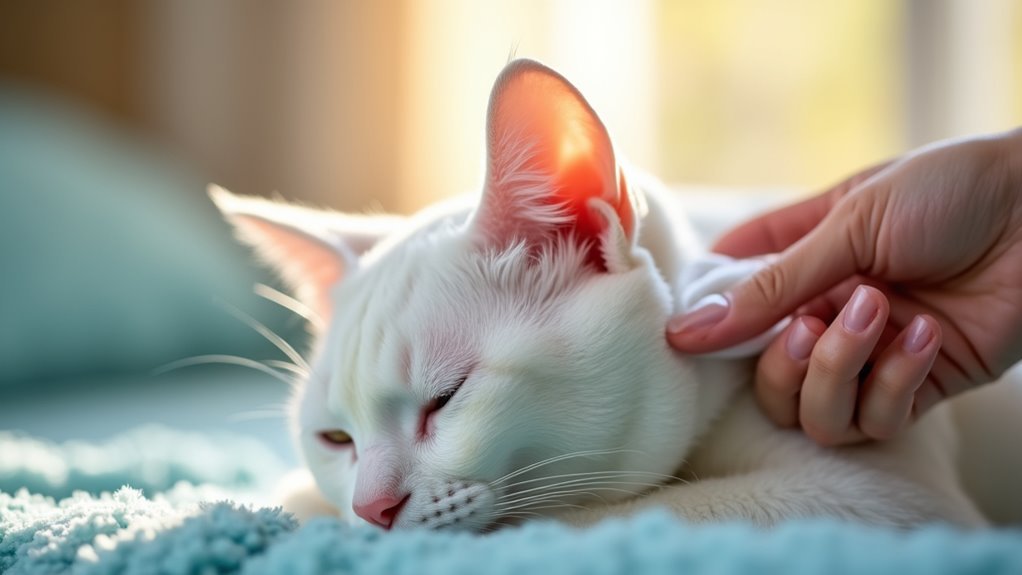
When it comes to caring for your cat's ears, a gentle approach isn't just a suggestion – it's essential for their health and comfort.
We need to focus on preventing infections through regular checks and proper cat hygiene. By using vet-approved cleaning solutions and creating a calm environment, we'll reduce stress during the cleaning process.
##
Let's explore the key aspects of cleaning your cat's ears, including essential steps and important precautions to keep in mind.
When cleaning your cat's ears, you'll want to work gently and methodically, using only vet-approved products and following proper techniques to avoid injury.
We'll cover both the do's and don'ts of ear cleaning, along with helpful tips to make the process easier for both you and your feline friend.
Things to Do When Cleaning a Cats Ears
Cleaning your cat's ears requires patience, preparation, and gentle handling to guarantee a safe and effective process. The key to success lies in creating a calm environment and using the right techniques to minimize stress for both you and your feline companion while maintaining proper ear hygiene.
- Select a quiet location – Choose a peaceful space away from noise and distractions where your cat feels comfortable.
- Prepare materials in advance – Gather ear cleaning solution, cotton balls, towel, and treats before starting.
- Secure your cat gently – Wrap them in a towel while leaving their head exposed to prevent struggling.
- Apply solution carefully – Add cleaning solution without touching the ear canal with the applicator tip.
- Massage ear base – Gently work the solution into the ear canal by massaging for 30 seconds.
- Allow head shaking – Let your cat shake their head to naturally expel debris and solution.
- Clean outer ear – Use cotton balls to wipe visible debris from the outer ear area.
- Reward your cat – Offer treats and praise immediately after cleaning to create positive associations.
- Monitor for reactions – Watch for signs of discomfort or irritation following the cleaning session.
- Maintain regular schedule – Clean ears consistently based on your veterinarian's recommended frequency.
Things to Avoid When Cleaning a Cats Ears
When cleaning your cat's ears, it's essential to be aware of potentially harmful practices that could damage your pet's delicate ear tissues or cause discomfort. Proper ear cleaning requires gentle techniques and appropriate materials to maintain your cat's ear health while avoiding complications or injuries.
- Hydrogen peroxide and alcohol-based cleaners – These harsh solutions can irritate the ear canal and dry out the skin.
- Cotton swabs or Q-tips – Can push wax deeper into the ear canal and risk eardrum damage.
- Excessive cleaning – Overcleaning disrupts the ear's natural cleaning process and may cause inflammation.
- Cleaning infected ears – If you notice redness, swelling, or discharge, seek veterinary care instead of cleaning.
- Untested home remedies – DIY solutions may contain harmful ingredients that can damage ear tissue.
- Force or restraint – Aggressive handling during cleaning can traumatize your cat and cause injury.
- Cold cleaning solutions – Room temperature cleaners are more comfortable for cats than cold ones.
- Wet cleaning methods – Excess moisture in ears can create an environment for bacterial growth.
Steps
Cleaning your cat's ears is an essential part of pet care maintenance that helps prevent infections and maintains your feline's health.
While cats are generally good at keeping themselves clean, their ears sometimes need extra attention to remove built-up wax and debris that could lead to complications if left unaddressed.
Step 1: Gather cleaning supplies (ear solution, cotton balls, towel)
Step 2: Secure cat in lap, using towel if necessary
Step 3: Expose ear canal by gently pulling back ear flap
Step 4: Apply cleaning solution to ear canal without touching ear
Step 5: Massage base of ear for 20-30 seconds
Step 6: Let cat shake head to remove excess solution
Step 7: Wipe outer ear clean with cotton ball or gauze
Step 8: Reward cat with treats and praise
Final Thoughts
Maintaining your cat's ear health through regular inspection and proper cleaning techniques can make a significant difference in their overall wellbeing.
Remember, positive associations with ear cleaning help prevent future stress.
While we can maintain ear health at home using approved solutions, it's essential to consult a veterinarian if you notice any signs of infection, unusual discharge, or persistent discomfort.
##
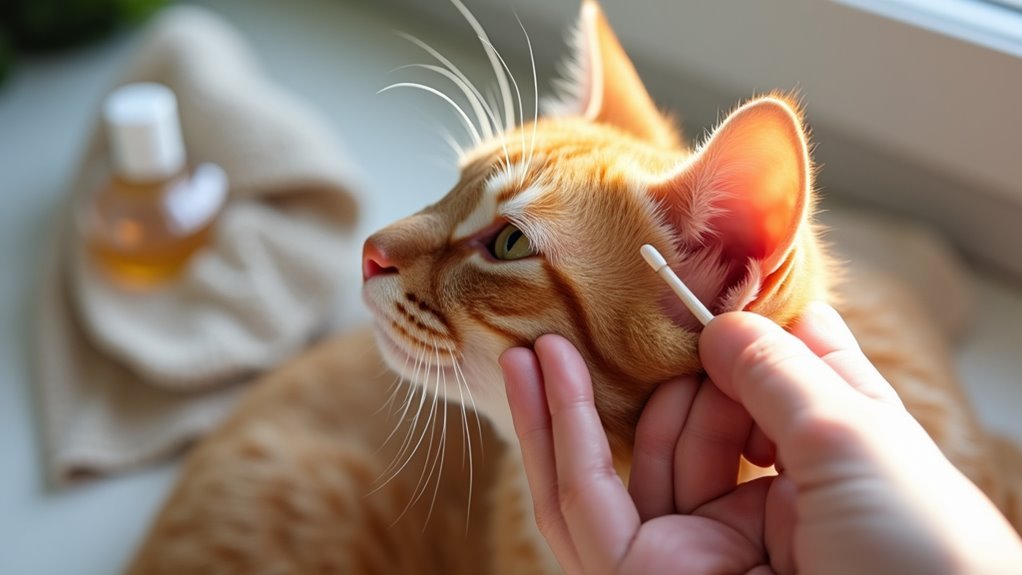
Maintaining clean, healthy ears is an essential part of your cat's overall wellbeing. While ear cleaning might seem intimidating at first, establishing a regular inspection and cleaning routine using the right techniques and products will help prevent infections and catch potential problems early.
Remember that every cat is different – some may need more frequent cleanings than others. The key is to be gentle, patient, and consistent with your approach.
By combining proper cleaning methods with positive reinforcement through treats and praise, you can make ear maintenance a stress-free experience for both you and your feline friend.
Take the first step today by checking your cat's ears and establishing a regular cleaning schedule. Your veterinarian can provide additional guidance specific to your cat's needs and help guarantee you're using the most appropriate cleaning products.
Your cat's comfort and health are worth the extra attention, and they'll thank you with years of happy, healthy companionship.


