Keeping a cat's litter box clean isn't as simple as it might seem, but it's super important for both you and your pet. While scooping the box daily is a good start, there's actually more to it than that. Getting the right cleaning supplies and knowing what products to stay away from can make this everyday task much easier to handle.
Some of the links in this article may be affiliate links. If you make a purchase through these links, we may earn a small commission at no extra cost to you. Thank you.
According to Dr. Bruce Kornreich of the Cornell Feline Health Center, "A clean litter box is essential for your cat's health and well-being. Cats may avoid dirty litter boxes, which can lead to accidents outside the box or health problems."
From picking out the right kind of litter to figuring out the best cleaning schedule, taking care of your cat's bathroom space doesn't have to be a huge headache. With the right plan, you can keep your home fresh and your cat happy without turning this basic chore into a major project.
Daily Cleaning Prevents Odors
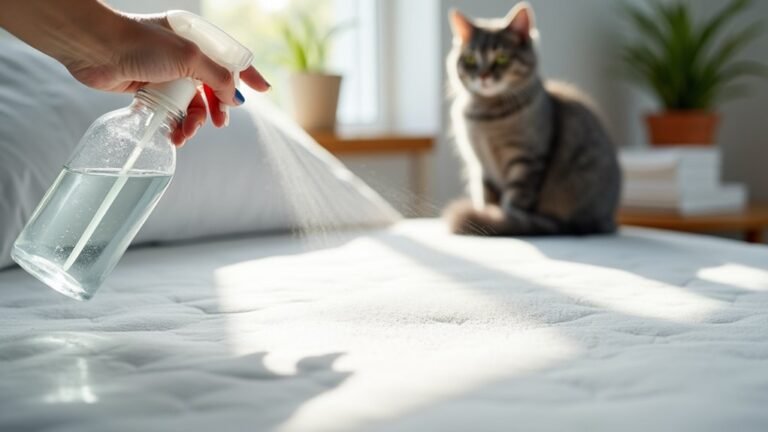
Consistently maintaining your cat's litter box is the key to a fresh-smelling home.
As cat owners, we'll want to focus on daily cleaning and scooping the litter to remove waste and clumps.
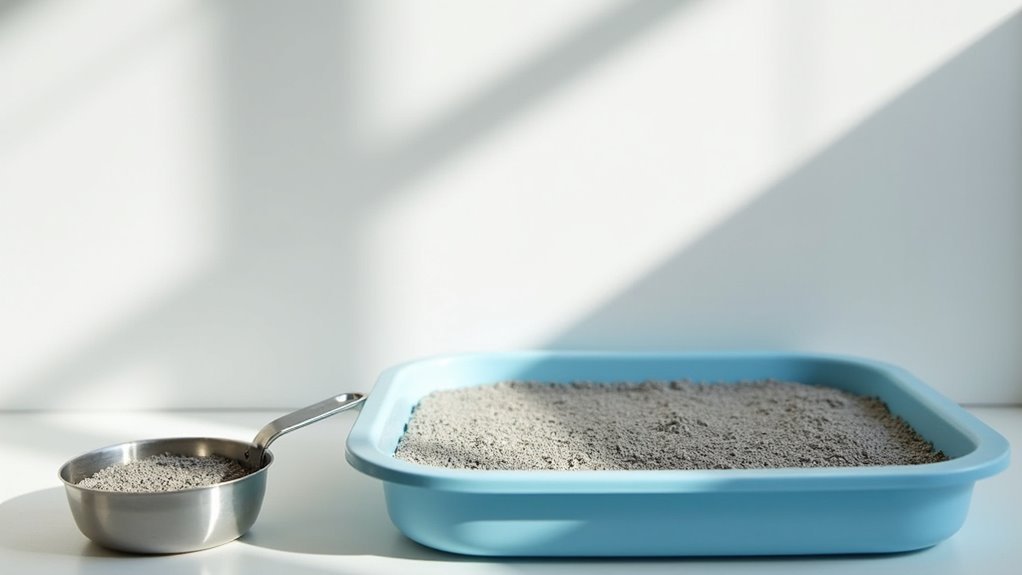
Using a scoop with small holes helps preserve fresh litter while removing soiled material.
A quality litter scoop with fine mesh preserves clean litter granules while efficiently removing waste to maintain box freshness.
We can also sprinkle baking soda between cleanings to neutralize odors, making the process more pleasant for everyone.
##
Let's look at the essential things to do and avoid when cleaning your cat's litter box, along with clear steps and final thoughts.
When cleaning a litter box, we'll want to follow specific practices that maintain both cleanliness and your cat's comfort, while being mindful of common mistakes that could compromise hygiene or upset your feline friend.
Things to Do When Cleaning a litter box
Maintaining a clean litter box is essential for your cat's health and happiness while preventing unpleasant odors in your home. Regular cleaning not only guarantees proper hygiene but also encourages consistent litter box use by your feline companion, as cats naturally avoid dirty or poorly maintained boxes.
A systematic approach to litter box maintenance combines daily scooping with thorough weekly cleaning to create an inviting and sanitary environment for your pet.
- Daily scooping – Remove solid waste and clumped litter at least once per day to maintain cleanliness
- Hot water wash – Clean the empty box weekly using hot water and mild dish soap
- Thorough drying – Confirm the box is completely dry to prevent bacteria growth
- Baking soda application – Sprinkle a thin layer before adding fresh litter for odor control
- Fresh litter addition – Pour 1.5-2 inches of clean litter for proper depth
- Box inspection – Check for cracks or damage that might need repair or replacement
- Location check – Verify the box remains in a quiet, accessible spot away from food areas
- Scoop examination – Monitor waste for any health issues or changes in your cat's condition
Things to Avoid When Cleaning a litter box
Proper litter box maintenance requires careful attention to what not to do, as certain cleaning practices can create more problems than they solve.
Making mistakes in litter box cleaning can lead to cats avoiding their boxes, developing health issues, or creating unsanitary conditions in your home, so it's essential to understand the key things to avoid during the cleaning process.
- Ammonia-based cleaners – These products create strong odors that remind cats of urine, potentially causing them to avoid the box.
- Harsh chemicals and bleach – These can be toxic to cats and humans, leaving harmful residues in the box.
- Scented cleaning products – Strong artificial fragrances can repel cats and interfere with their natural bathroom habits.
- Irregular cleaning schedule – Letting the box get too dirty leads to odor buildup and can cause cats to eliminate elsewhere.
- Difficult box placement – Setting the box in hard-to-reach areas discourages regular use by cats.
- Incomplete rinsing – Leaving soap residue can irritate cat's paws and create unpleasant sensations.
- Deep cleaning too frequently – Overwashing can remove familiar scent markers cats need for comfort.
- Using hot water – Very hot water can set stains and odors into plastic litter boxes.
Steps
Maintaining a clean litter box is essential for both your cat's health and your home's cleanliness.
Regular cleaning prevents the buildup of bacteria, eliminates unpleasant odors, and guarantees your cat continues using their designated bathroom area.
A well-maintained litter box requires both daily attention and weekly deep cleaning to remain hygienic and inviting for your feline companion.
Step 1: Scoop out solid waste and clumps daily using a litter scoop with small holes
Step 2: Empty the entire litter box contents once a week
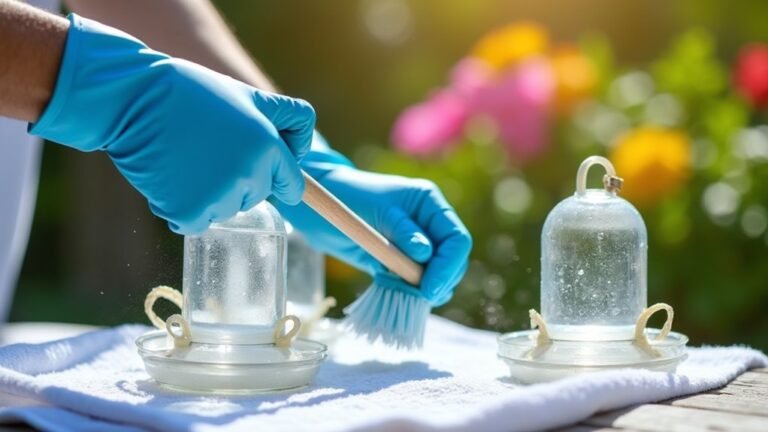
Step 3: Wash the empty box thoroughly with hot water and dish soap
Step 4: For stubborn odors, soak the box in a vinegar-water solution or use hydrogen peroxide
Step 5: Dry the box completely with towels or paper towels
Step 6: Sprinkle a thin layer of baking soda in the bottom of the clean box
Step 7: Fill the box with fresh litter to a depth of 1.5 to 2 inches
Final Thoughts
A clean litter box forms the foundation of a happy, healthy relationship with your cat.
By following a consistent schedule to scoop the litter daily, deep clean weekly with soap and water, and maintain fresh litter at the right depth, we're ensuring our cats have a comfortable bathroom space.
Remember to watch for any changes in their behavior, as this can signal potential issues that need attention.
##

Maintaining a clean litter box is essential for both your cat's health and your home's cleanliness. By following a simple routine of daily scooping, weekly thorough cleaning, and proper litter maintenance, you can guarantee a fresh, inviting space for your feline friend.
The key elements – wearing gloves, using mild soap, adding baking soda, and maintaining proper litter depth – work together to create an effective cleaning system.
Remember that a clean litter box leads to a happier cat and a more pleasant home environment. Start implementing these cleaning practices today, and you'll notice the difference in both your cat's behavior and your home's freshness.
Your cat deserves a clean bathroom just like you do – make it a priority in your pet care routine.