Opening your deep freezer to find a frosty, stinky mess can make anyone wonder what’s hiding under all that ice. While cleaning a deep freezer isn’t exactly fun, it’s something we need to do to keep our food safe and make sure our freezer works well. Let’s break down how to tackle this job without taking up your whole day.
Some of the links in this article may be affiliate links. If you make a purchase through these links, we may earn a small commission at no extra cost to you. Thank you.
According to Jeff Day, a product manager at GE Appliances, “Regular cleaning of your freezer not only helps prevent odors and bacteria growth but can reduce energy costs by up to 10% by ensuring your freezer runs more efficiently.”
Think of cleaning your freezer like tidying up a really cold closet – it might not be the most exciting job, but you’ll feel so much better once it’s done, and your food will stay fresher longer.
Why Freezers Get Dirty

Why do our spotless freezers eventually turn into sticky, smelly messes?
The culprits are actually quite common.
Bacteria and fungus thrive when moisture builds up from improper sealing, while food spills leave residues that create those unpleasant odors we all dread.
The invisible battle in your freezer: moisture invites microbes while forgotten spills transform into odor factories.
Perhaps most surprising is how regular use—simply opening and closing the door—contributes to ice buildup that harbors dirt.
And let’s face it, we’re all guilty of tossing in poorly wrapped items occasionally. Regular cleaning helps to eliminate harmful microorganisms that can accumulate in these environments.
##
We’re going to tackle the essential dos and don’ts when cleaning your deep freezer, with simple steps that’ll make the process much easier.
I think most people struggle with knowing exactly what cleaning products are safe for food storage areas, which is why we’ll highlight both effective methods and things to avoid.
Let’s break down the process into manageable steps that won’t take your whole weekend, perhaps even leaving you with a fresher, odor-free freezer that extends the life of your stored food.
Things to Do When Cleaning A deep freezer
Cleaning a deep freezer thoroughly is essential for maintaining food safety and extending the appliance’s lifespan.
A properly cleaned freezer not only operates more efficiently but also prevents unpleasant odors and contamination that could affect your stored food.
The cleaning process requires careful preparation and methodical execution to guarantee all surfaces are sanitized while protecting your frozen items.
- Empty the freezer – Transfer all food to coolers with a layer of ice at the bottom to keep items safely frozen during the cleaning process.
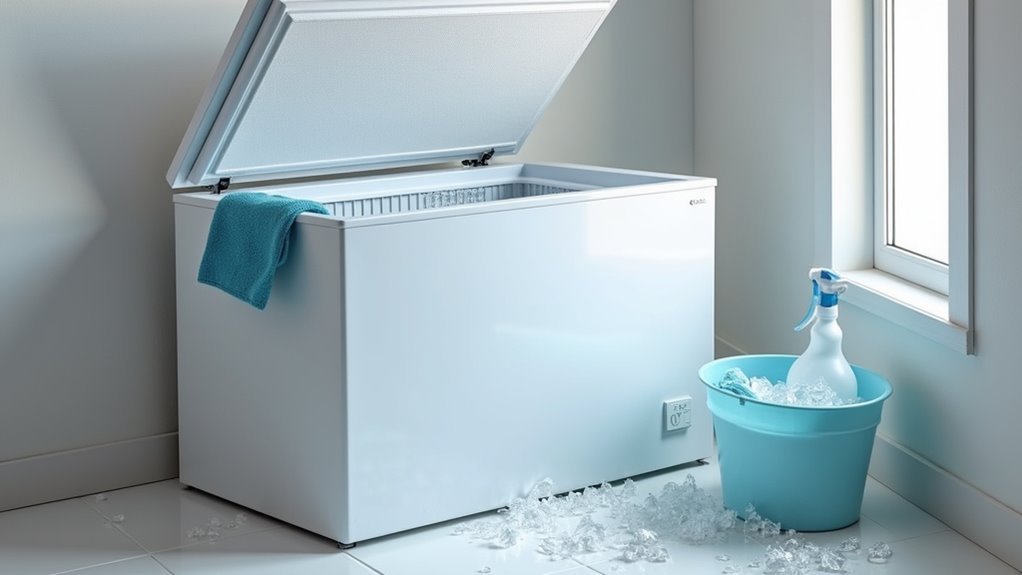
- Unplug and defrost – Disconnect the freezer from power and allow it to defrost completely, placing towels around the base to catch melting water.
- Prepare cleaning solution – Mix 1 cup of water with 1 teaspoon of vinegar and 1 teaspoon of dish soap for an effective, food-safe cleaning solution.
- Clean interior surfaces – Wipe down all interior walls, shelves, and compartments with the cleaning solution, then rinse with clean water.
- Dry thoroughly – Use clean towels to completely dry all interior surfaces to prevent ice formation when the freezer is turned back on.
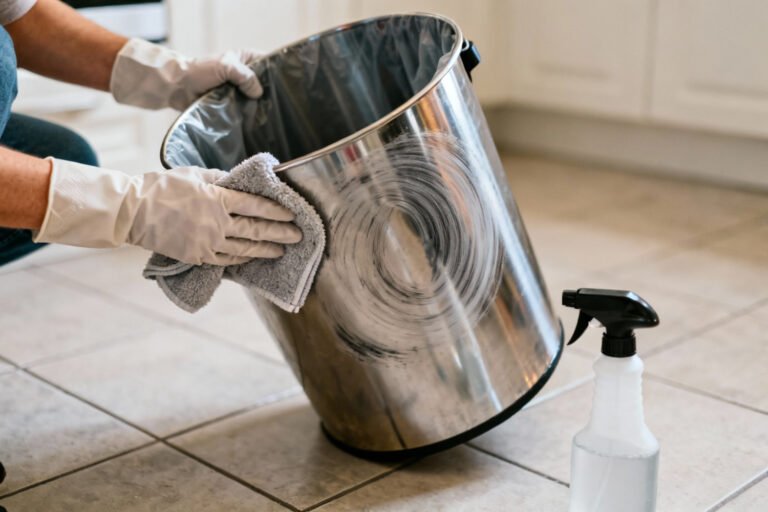
- Clean exterior – Wipe down the outside of the freezer with warm soapy water, paying attention to handles and seals.
- Deodorize – Spray a mixture of equal parts vinegar and water inside, let it sit for 10 minutes, then wipe clean to eliminate lingering odors.
- Reassemble and restock – Replace all shelves and compartments, then plug in the freezer and allow it to reach proper temperature before returning food items.
Things to Avoid When Cleaning A deep freezer
When cleaning a deep freezer, it’s essential to follow proper procedures to maintain the appliance’s integrity and efficiency.
Improper cleaning methods can’t only damage the freezer but also compromise food safety and increase energy consumption over time.
Understanding what practices to avoid will help extend your freezer’s lifespan and guarantee it operates at peak performance.
Prying ice from freezer walls – Forcibly removing ice can damage the interior lining, leading to inefficient operation and expensive repairs.
Using sharp tools without approval – Employing putty knives or other sharp implements to chip away ice can cause scratches, punctures, or structural damage unless specifically permitted by the manufacturer.
Cleaning while plugged in – Working on a connected freezer creates a serious electrical hazard that could result in shock or injury during the cleaning process.
Using excessive heat to speed defrosting – Applying hairdryers or other heat sources may warp internal components or cause uneven melting that damages the freezer structure.
Returning food too quickly – Placing food back before the freezer has operated for at least 6 hours prevents proper temperature stabilization and may allow bacterial growth in stored items.
Steps
Cleaning a deep freezer requires careful preparation and methodical execution to guarantee the appliance maintains its efficiency and extends its lifespan.
A thorough cleaning not only eliminates unpleasant odors and removes food residue but also helps your freezer operate more efficiently, potentially reducing energy consumption.
The process involves several key stages from preparation and defrosting to cleaning, drying, and restarting the appliance properly.
Step 1: Prepare for cleaning by unplugging the freezer and removing all food items, storing them in a cooler with ice at the bottom.
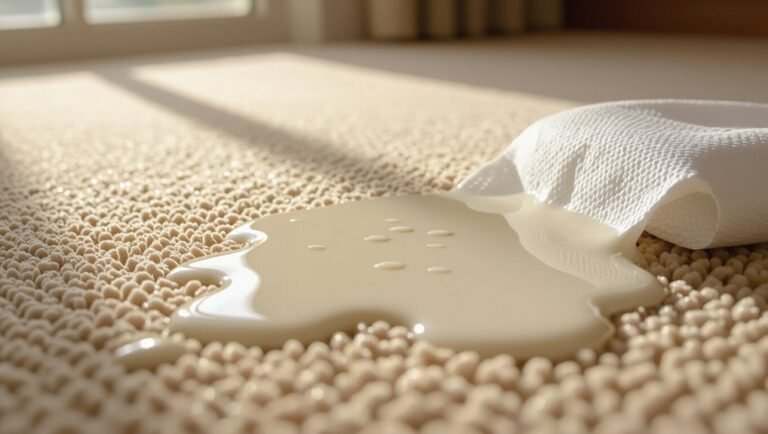
Step 2: Place towels around the freezer area to absorb water that may spill during the defrosting process.
Step 3: Open the freezer door and place large towels on shelves and the floor to catch melting ice.
Step 4: Allow the freezer to defrost completely until all ice has melted (this may take several hours depending on size).
Step 5: Remove shelves and wash them separately with warm, soapy water.
Step 6: Make a cleaning solution with 1 cup water, 1 teaspoon vinegar, and 1 teaspoon dish soap.
Step 7: Scrub the interior walls and floor with the cleaning solution.
Step 8: Wipe out all melted water and residue from the interior.
Step 9: Thoroughly dry the entire interior and exterior with clean towels to prevent new ice formation.
Step 10: Clean the exterior with warm, soapy water or an appropriate cleaning spray.
Step 11: Plug the freezer back in and allow it to run for 6-8 hours to reach the proper temperature.
Step 12: Return food items to the freezer once the temperature has stabilized.
Final Thoughts
Maintaining your deep freezer requires commitment, but the payoff is worth the effort.
We recommend cleaning every three months to keep energy costs down and prevent health risks.
Always dry thoroughly after cleaning to prevent ice buildup, and perhaps try a vinegar solution for stubborn odors.
Don’t forget to wait 6-8 hours before restocking food—your owner’s manual likely has specific guidelines for your model.
##
Keeping your deep freezer clean and odor-free doesn’t have to be a challenging task.
With regular maintenance using simple ingredients like vinegar, water, and baking soda, you can maintain a fresh-smelling freezer that efficiently preserves your food.
Remember that prevention is key—properly sealing foods, organizing contents, and addressing spills immediately will minimize the need for deep cleaning sessions.
The methods we’ve shared have been tested by cleaning professionals and validated by readers who’ve successfully eliminated even the toughest freezer odors.
Whether you’re dealing with the aftermath of a power outage or just performing routine maintenance, these techniques will help extend the life of your appliance while ensuring your frozen foods remain safe and appetizing.
Take the time every 3-6 months to give your freezer the attention it deserves. Regular cleaning is essential for hygiene and dish cleanliness in all food storage appliances.
Your future self will thank you when you open the lid to find a clean, fresh-smelling storage space instead of being greeted by unpleasant odors.
Start implementing these cleaning habits today, and experience the satisfaction of a properly maintained deep freezer!