While a dirty mop can spread germs instead of cleaning them up, a clean mop helps keep our floors spotless. Many of us forget to clean our cleaning tools, but taking care of your mop is actually pretty simple. According to cleaning expert Melissa Maker of Clean My Space, "The biggest mistake people make is not cleaning their mops after use – a dirty mop breeds bacteria and can make your floors dirtier than before you started cleaning."
Some of the links in this article may be affiliate links. If you make a purchase through these links, we may earn a small commission at no extra cost to you. Thank you.
Think of it like this: you wouldn't wipe your kitchen counter with a dirty cloth, so why clean your floors with a dirty mop? From quick rinses after each use to thorough cleaning each month, there are easy ways to keep your mop in good shape and make it work better. Let's look at the basic steps that will turn your dirty mop into a great cleaning tool.
Maintaining Mop Hygiene Saves Money

Cleanliness isn't just about appearances – it's about smart economics when it comes to your mop.
Good mop maintenance isn't a luxury – it's an investment that protects your floors and your wallet over time.
When we disinfect our mop after each use with a proper cleaning solution, we prevent mold and bacteria growth while extending its life.
We recommend you wash mop heads every 3-4 uses, store the mop in a dry place, and allow it to dry thoroughly.
A dirty mop costs more in replacements and potential health issues.
##
Let's look at the essential steps and precautions we need to take when cleaning our mops to keep them fresh and effective.
We'll cover both the right techniques to use and common mistakes to avoid, ensuring your mop stays hygienic and lasts longer.
Whether you're dealing with a traditional string mop or a modern microfiber version, these practical tips will help you maintain your cleaning tools properly.
Things to Do When Cleaning a mop
Maintaining a clean mop is essential for effective floor cleaning and preventing the spread of bacteria and unpleasant odors throughout your home.
A properly cleaned mop not only guarantees better cleaning results but also extends the life of your cleaning tool, making it a worthwhile investment in your cleaning routine.
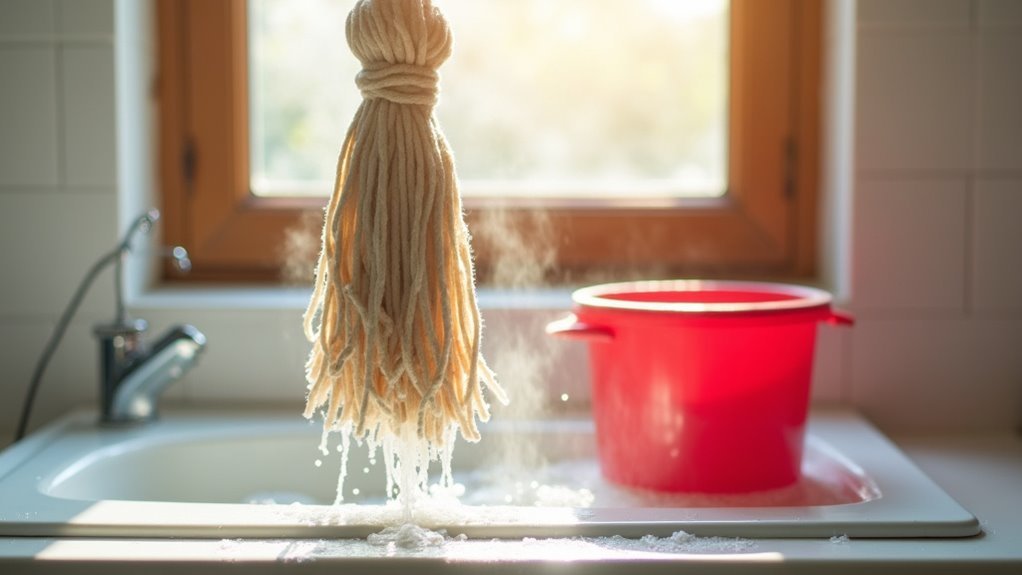
- Rinse thoroughly – Remove loose dirt and debris by running hot water over the mop head until water runs clear.
- Prepare cleaning solution – Mix bleach and water in appropriate proportions for disinfection.
- Soak mop head – Submerge the mop head in the cleaning solution for 10+ minutes.
- Machine wash option – Use washing machine or dishwasher for detachable mop heads on hot cycle.
- Remove excess water – Wring out the mop head completely to prevent dripping.
- Air dry properly – Hang the mop head in a well-ventilated area until completely dry.
- Inspect condition – Check for wear, damage, or persistent odors and replace if necessary.
- Regular replacement – Change mop head every 2-3 months for peak cleaning performance.
Things to Avoid When Cleaning a mop
Proper mop maintenance is essential for effective cleaning and longevity of your cleaning tools.
Improper cleaning methods can damage mop heads, reduce their effectiveness, and even create health hazards by promoting bacterial growth or releasing harmful chemicals into the air.
- Using bleach on synthetic materials – Causes breakdown of fibers and reduces the mop's cleaning ability
- Extended soaking periods – Leaving mops in water for over 30 minutes leads to mold growth and fiber damage
- Chemical mixing during cleaning – Creates dangerous fumes and potential toxic reactions between different cleaning agents
- Dishwasher cleaning for dust mops – High heat and harsh detergents destroy delicate dust mop fibers
- Damp storage conditions – Promotes bacterial growth and mildew, leading to unpleasant odors and shortened mop life
Steps
Keeping your mop clean is essential for maintaining a hygienic cleaning tool and ensuring effective floor cleaning results. A dirty mop can spread bacteria and leave unpleasant odors, so proper cleaning and maintenance after each use is vital for both the longevity of your mop and the cleanliness of your floors.
Step 1: Rinse the mop head thoroughly under hot running water until the water runs clear.
Step 2: Prepare a cleaning solution using either bleach and water or vinegar and hot water.
Step 3: Soak the mop head in the cleaning solution for 10-30 minutes.
Step 4: If the mop head is detachable, wash it in the washing machine or dishwasher using hot water.
Step 5: Wring out excess water from the mop head completely.
Step 6: Place the mop in a well-ventilated area to air dry thoroughly.
Step 7: Once completely dry, store the mop in a cool, dry place away from moisture.
Final Thoughts
A clean mop leads to cleaner floors and a healthier home environment.
We recommend cleaning your mop after every use, whether rinsing wet mop heads thoroughly or shaking out dust mops.
For stubborn odors, soak in white vinegar and hot water, then dry completely.
Don't forget to wash detachable heads in the washing machine, and replace your mop heads every few months for peak cleaning performance.
##
Keeping your mop clean is essential for maintaining a hygienic cleaning tool that effectively removes dirt rather than spreading it around.
Regular maintenance, including rinsing after each use and periodic deep cleaning, will greatly extend your mop's lifespan and guarantee it remains sanitary. By following proper cleaning techniques and storage practices, you can prevent bacterial growth and unpleasant odors while maintaining peak cleaning performance.
Start implementing these cleaning habits today – your floors, your health, and your mop will thank you.
Remember to inspect your mop regularly and replace it when needed, as a well-maintained mop is key to achieving spotless floors and a cleaner home.