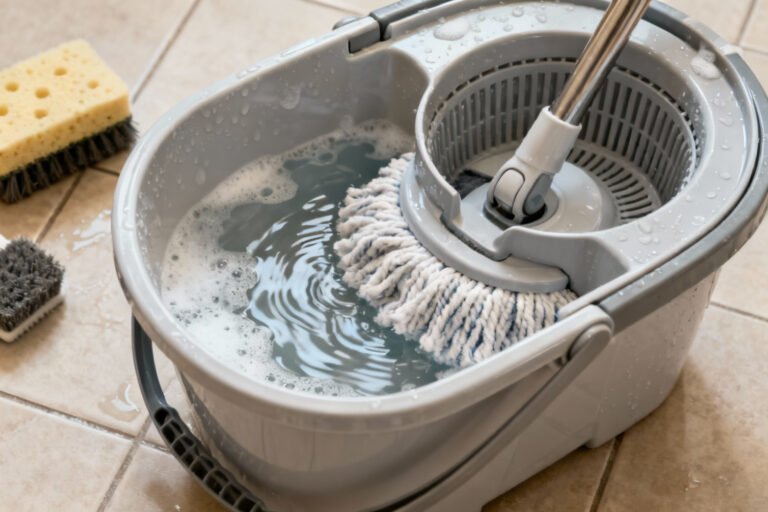
Keeping your ice maker clean is just as important as keeping your kitchen clean. When ice makers get dirty, they can collect germs and mineral buildup that affect how well they work. According to John Cohen, service manager at Sears Home Services, "The biggest mistake people make is not cleaning their ice maker regularly, which can lead to bad-tasting ice and even make people sick." Just like you need to wash your dishes, your ice maker needs regular cleaning to make sure every glass of ice you get is clean and safe. Think of it like brushing your teeth – it's a simple habit that makes a big difference in preventing problems. Let's look at the basic steps to keep your ice maker working well and making ice that's safe to use in your drinks.
Some of the links in this article may be affiliate links. If you make a purchase through these links, we may earn a small commission at no extra cost to you. Thank you.
Clean Ice for Better Health

While many of us don't think twice about the ice that drops into our drinks, maintaining a clean ice maker is essential for our health and safety.
Regular cleaning prevents harmful microorganisms and bacteria from contaminating our ice production. We'll want to remove mineral buildup using vinegar or specialized cleaners every six months, ensuring better ice quality and clean water for our beverages.
##
Let's look at what we need to know about cleaning our ice makers effectively and safely.
We'll cover the essential steps you should take, like unplugging the machine and using the right cleaning solutions, along with important things to avoid, such as harsh chemicals or abrasive scrubbers.
From proper disassembly to thorough sanitizing, we'll make sure you have all the information needed to keep your ice maker running smoothly and producing clean, fresh ice.
Things to Do When Cleaning an Ice Maker
Maintaining a clean ice maker is essential for both the quality of ice production and the longevity of the appliance. A thorough cleaning process removes mineral deposits, bacteria, and other contaminants that can affect ice taste and machine performance, while also guaranteeing safe and hygienic ice production for consumption.
- Unplug the machine and remove ice bucket – Prevents electrical accidents and provides better access.
- Mix cleaning solution (1 part vinegar to 10 parts water) – Creates effective, non-toxic cleaning mixture.
- Clean interior surfaces with solution – Removes mineral deposits and sanitizes surfaces.
- Scrub hard-to-reach areas with soft brush – Guarantees thorough cleaning of all components.
- Soak removable parts in warm soapy water – Loosens stubborn debris and sanitizes parts.
- Rinse and air dry all components completely – Prevents contamination and mold growth.
- Reassemble and run two ice cycles – Flushes out any remaining cleaning solution.
- Discard first two batches of ice – Guarantees clean, fresh-tasting ice for consumption.
- Mark calendar for next cleaning – Maintains regular 3-6 month cleaning schedule.
Things to Avoid When Cleaning an Ice Maker
When cleaning an ice maker, it's essential to follow proper safety protocols and manufacturer guidelines to maintain the appliance's functionality and guarantee the production of clean, safe ice.
Incorrect cleaning methods can lead to equipment damage, reduced performance, or even create health hazards for consumers.
- Chemical mixing: Combining different cleaning solutions or sanitizers can create dangerous fumes and reduce cleaning effectiveness.
- Harsh abrasives: Using scouring pads or aggressive cleaners can scratch surfaces and damage critical components.
- Running unit while cleaning: Cleaning a powered-on machine risks electrical shock and internal damage.
- Dishwasher cleaning: Placing removable parts in dishwasher can warp components due to high heat.
- Irregular maintenance: Skipping scheduled cleanings allows harmful buildup of minerals, mold, and bacteria.
- Unapproved cleaners: Using cleaning products not recommended by manufacturer can void warranty and harm machine.
- Powered scrubbing tools: Electric brushes or pressure washers can damage delicate mechanisms.
Steps
Keeping your ice maker clean is essential for both the quality of ice it produces and the longevity of the machine.
Regular cleaning prevents mineral buildup, eliminates unpleasant tastes, and guarantees your ice maker operates at peak efficiency while maintaining proper hygiene standards for safe ice consumption.
Step 1: Turn off and unplug the ice maker from the power source
Step 2: Remove the ice bucket and drain any remaining water
Step 3: Mix vinegar and water in a 1:10 ratio or prepare manufacturer-recommended cleaner
Step 4: Apply the cleaning solution to all interior surfaces
Step 5: Let the solution sit to dissolve mineral deposits
Step 6: Clean removable parts in warm, soapy water
Step 7: Use a soft brush to clean hard-to-reach areas
Step 8: Rinse all surfaces thoroughly with clean water
Step 9: Dry all components completely
Step 10: Reassemble the ice maker
Step 11: Run a cycle and discard the first batch of ice
Final Thoughts
A clean ice maker will reward you with crystal-clear, fresh-tasting ice while running efficiently for years to come.
We recommend cleaning your ice machine every three to six months to maintain its performance and prevent mineral deposits and scale buildup.
Using manufacturer-recommended ice machine cleaner and following proper maintenance schedules will protect your investment.
Remember to discard the ice after cleaning to guarantee safe, delicious results.
##
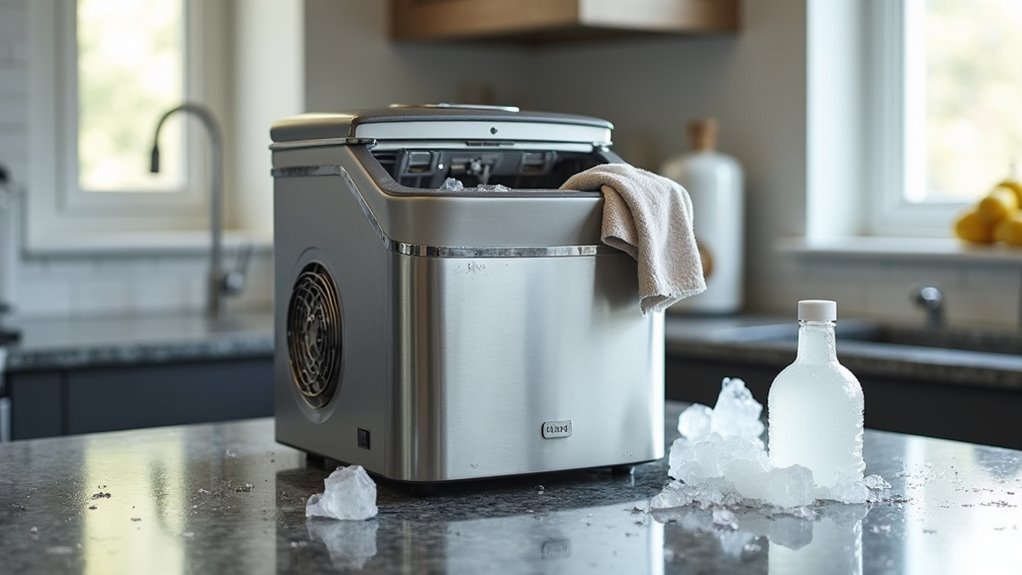
Maintaining a clean ice maker doesn't have to be an intimidating task. With regular cleaning every three to six months, you can guarantee your ice maker continues to produce fresh, clean ice while preventing potentially harmful buildup of minerals and bacteria.
Following proper cleaning procedures – from using the right cleaning solutions to thoroughly rinsing all components – will extend your machine's lifespan and keep your ice tasting pure and crisp.
Regular maintenance with appropriate cleaners and thorough rinsing ensures your ice maker delivers fresh-tasting ice while maximizing its operational life.
Don't wait until you notice problems with ice quality or machine performance. Set a recurring reminder for maintenance, and make cleaning your ice maker a regular part of your appliance care routine.
Your diligence will be rewarded with consistently high-quality ice and a reliable appliance that serves you well for years to come.
Take action today by checking when you last cleaned your ice maker and scheduling your next cleaning session. Your future self – and anyone who enjoys a cold drink at your home – will thank you for it.