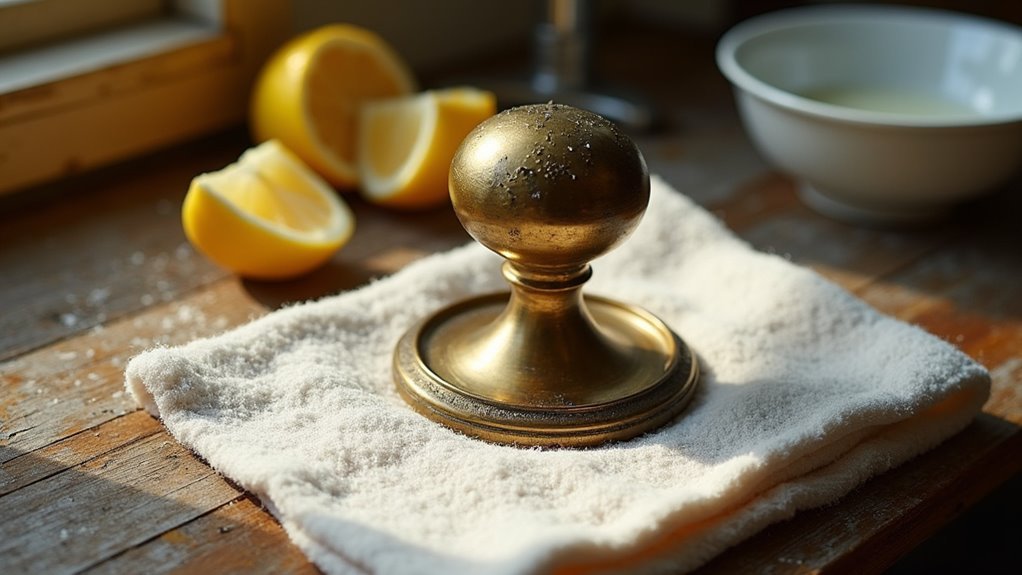
Dirty brass hardware can make even beautiful furniture look old and uncared for, but bringing back its golden shine is easier than you might think. According to Sarah Aguirre, a cleaning expert at The Spruce, "Brass tarnishes when exposed to air, but regular cleaning can keep it looking beautiful for years." Just like magic, the right cleaning methods can transform dull brass pieces back to their original beauty, making us wonder why we waited so long to fix them up. With some simple tools and steps, we can make our brass hardware look brand new again, giving our homes that special touch of warmth and shine.
Some of the links in this article may be affiliate links. If you make a purchase through these links, we may earn a small commission at no extra cost to you. Thank you.
Restore Brass's Natural Beauty
While restoring brass hardware might seem intimidating at first, we'll help you bring back that warm, golden glow with just a few simple steps.
First, we'll determine if you're cleaning brass or brass plating using a simple magnet test.
For lacquered brass, we'll use gentle cleaning methods, while tarnished pieces need a lemon juice mixture or Brasso.
Finally, we'll polish with a soft cloth for beautiful results.
##
Let's explore what we can and can't do when cleaning brass hardware, along with the essential steps to get the best results.
When working with brass items, we'll need to take into account whether they're solid brass or brass-plated, as this affects our cleaning approach and the products we can safely use.
From using Bar Keepers Friend to annual maintenance with Brasso, we'll cover everything you need to know to keep your brass hardware looking its absolute best.
Things to Do When Cleaning brass hardware
Cleaning brass hardware requires careful attention to detail and the right approach to avoid damaging these decorative pieces.
Before beginning any cleaning process, it's crucial to determine whether you're working with solid brass or brass-plated hardware, as this will dictate the appropriate cleaning method and products to use. The proper technique combines gentle cleaning solutions with careful handling to restore the hardware's original luster while preserving its integrity.
- Test with a magnet to verify if the hardware is solid brass or brass-plated – magnetic attraction indicates plating
- Remove hardware carefully from doors, drawers, or furniture using appropriate tools
- Create a cleaning solution using warm water and Dawn dish soap or diluted ammonia
- Soak hardware for 30 minutes to loosen dirt and oxidation
- Scrub gently with 0000 steel wool or soft-bristled brush, following the metal's grain
- Rinse thoroughly with clean water to remove all cleaning solution
- Dry completely with a soft, lint-free cloth to prevent water spots
- Apply Brasso or similar brass polish with circular motions
- Buff with a clean cloth until achieving desired shine
- Apply a thin coat of paste wax or clear lacquer for protection against future tarnishing
Things to Avoid When Cleaning brass hardware
When cleaning brass hardware, it's vital to use gentle methods that preserve both the metal's integrity and any protective finishes. Improper cleaning techniques can lead to permanent damage, loss of value, and deterioration of the hardware's appearance, making it essential to approach the cleaning process with care and the right materials.
- Steel wool or Brillo pads – These abrasive materials create micro-scratches that damage the surface and remove protective finishes.
- Harsh chemical cleaners – Can strip brass plating and cause discoloration or corrosion of the underlying metal.
- Vinegar and acidic solutions – Break down lacquer coatings and can permanently alter the brass finish.
- Non-brass-specific cleaners – May contain harmful ingredients that react negatively with brass surfaces.
- Aggressive scrubbing – Can wear away patina and details, especially on antique pieces.
- Extended soaking – Prolonged exposure to any cleaning solution can weaken metal and damage finishes.
- Metal polishes not intended for brass – Can create unwanted chemical reactions and tarnishing.
- Bleach-based products – Cause oxidation and permanent discoloration of brass surfaces.
Steps
Cleaning brass hardware is a methodical process that requires careful attention to detail and the right combination of cleaning materials.
When done correctly, this process can restore the original luster and beauty of brass fixtures while protecting them from damage. The key is to work systematically, using gentle cleaning methods first before progressing to more intensive techniques if needed.
Step 1: Remove all brass hardware from the furniture piece
Step 2: Soak hardware in ammonia for 30 minutes
Step 3: Prepare cleaning solution with Bar Keepers Friend
Step 4: Gently scrub hardware using 0000 steel wool and cleaning solution
Step 5: Clean detailed areas with a soft cloth or old toothbrush
Step 6: Rinse thoroughly with lukewarm water
Step 7: Dry hardware completely with a clean cloth
Step 8: Apply Brasso using a pea-sized amount per piece
Step 9: Polish with a paper towel until shiny
Step 10: Reattach hardware to furniture piece
Final Thoughts
Maintaining your brass hardware's pristine condition doesn't have to be an intimidating task.
With regular maintenance and proper cleaning techniques, you'll keep tarnish at bay. Remember to use a soft cloth, warm water, and the right metal polish for your specific type of brass hardware.
##

Keeping brass hardware clean and polished doesn't have to be an intimidating task. With the right tools and techniques – from ammonia soaks to gentle scrubbing with steel wool and regular maintenance with Brasso – you can maintain the warm, lustrous appeal of your brass fixtures.
While it may take some initial effort to restore heavily tarnished pieces, establishing a yearly cleaning routine will make future maintenance much simpler.
Don't let dirty or tarnished brass diminish the beauty of your home – tackle those hardware pieces today and enjoy the timeless elegance of well-maintained brass for years to come.