Did you know that your coffee maker might be dirtier than your bathroom? According to a 2011 NSF International study, coffee makers ranked as one of the top 10 germiest places in the home, with about 50% of these machines containing yeast and mold. When we make coffee every day, leftover oils and minerals build up inside the machine, creating a perfect spot for unwanted germs to grow. The good news is that you can easily clean your coffee maker using just vinegar and water. This simple cleaning method will not only kill germs but also remove tough buildups and make sure your next cup of coffee tastes fresh and clean.
Some of the links in this article may be affiliate links. If you make a purchase through these links, we may earn a small commission at no extra cost to you. Thank you.
Morning Coffee Ritual Begins

The first step to a perfect cup of morning coffee starts with a clean coffee pot.
We all know how important that first cup of coffee is, and taking time to clean a coffee maker properly can make a huge difference.
When we incorporate cleaning into our morning ritual, we’re not just maintaining our machine – we’re ensuring each brew tastes fresh and delicious.
Let’s look at the key things we’ll need to contemplate when cleaning our coffee pot, including both helpful techniques and potential pitfalls to avoid.
We want to break down the process into clear, manageable steps that’ll make the task easier and more effective.
With proper cleaning methods and a few important precautions in mind, we’ll help you keep your coffee maker in top condition while avoiding common mistakes that could damage your machine.
Things to Do When Cleaning A Coffee Pot With Vinegar
Properly cleaning your coffee pot is essential for maintaining the quality of your daily brew and extending the life of your machine. A thorough cleaning removes bitter coffee oils, mineral deposits, and potential bacteria that can affect the taste of your coffee and the performance of your machine.
Regular maintenance using a simple vinegar solution can keep your coffee maker working efficiently while ensuring every cup tastes fresh and delicious.
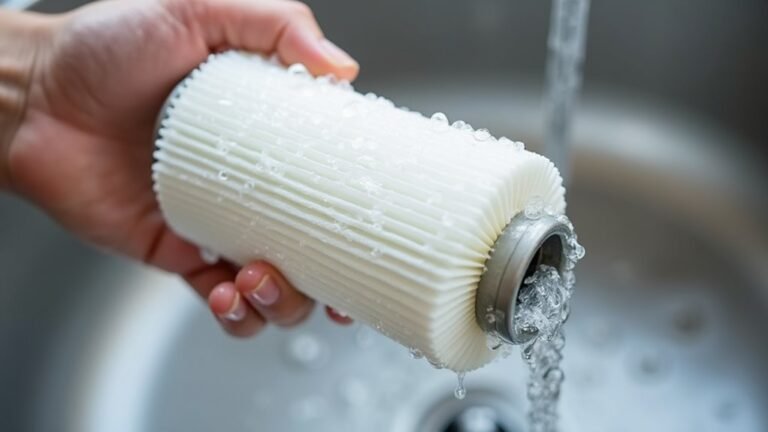
- Empty and rinse carafe – Remove old coffee and grounds from the pot and filter basket before beginning the cleaning process.
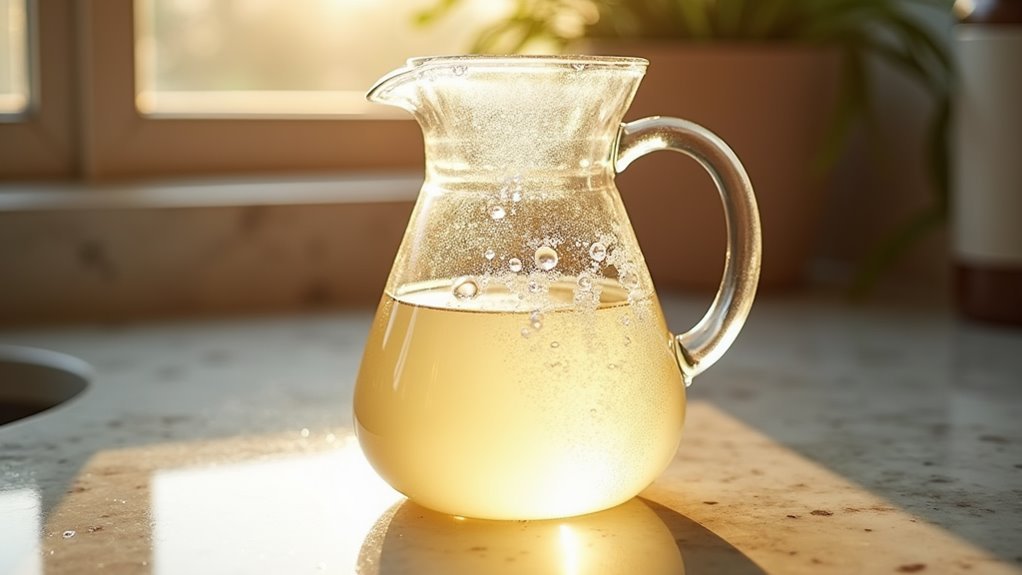
- Prepare cleaning solution – Combine equal amounts of white vinegar and water to create an effective natural cleaner.
- Run cleaning cycle – Pour the solution into the water reservoir and start a half brew cycle.
- Let solution work – Pause brewing halfway through and allow the vinegar mixture to sit for one hour.
- Complete cycle – Finish the brewing process and discard the cleaning solution.
- Rinse thoroughly – Run 2-3 complete cycles with fresh water to remove any vinegar residue.
- Clean removable parts – Wash the carafe and filter basket with hot, soapy water.
- Wipe exterior – Use a damp cloth to clean the outside of the machine and dry thoroughly.
Things to Avoid When Cleaning A Coffee Pot With Vinegar
When cleaning a coffee pot, it’s essential to avoid certain practices that could damage your equipment or compromise the taste of your coffee. The wrong cleaning methods can lead to scratched surfaces, harmful chemical residues, or lingering unwanted flavors that affect your daily brew.
Understanding what not to do is just as important as knowing the proper cleaning techniques.
Abrasive cleaners or scrubbers – These can create permanent scratches on the pot’s surface, leading to deterioration over time and potential bacteria buildup in the scratches.
Bleach or harsh chemicals – These leave behind residues that can be harmful if consumed and alter the taste of future coffee brews.
Cleaning without thorough rinsing – Failing to rinse properly after using cleaning solutions like vinegar will result in off-flavors in subsequent coffee batches.
Cleaning while hot – Attempting to clean immediately after brewing can result in burns and creates a safety hazard during the cleaning process.
Irregular cleaning schedule – Allowing long intervals between cleanings leads to stubborn buildup, mineral deposits, and unpleasant odors that become increasingly difficult to remove.
Steps
Regular cleaning of your coffee maker is essential to maintain the quality of your brew and extend the life of your appliance. A thorough cleaning removes mineral deposits, coffee oils, and other residues that can affect the taste of your coffee and potentially clog your machine.
The cleaning process involves a simple yet effective combination of white vinegar and water, followed by thorough rinsing and external cleaning.
Step 1: Empty the coffee pot and remove old grounds, then rinse the carafe with water.
Step 2: Create a 50/50 solution of white vinegar and water.
Step 3: Fill the reservoir with the vinegar solution.
Step 4: Start a brew cycle and let it run halfway.
Step 5: Pause the brewing process for one hour.
Step 6: Complete the brewing cycle.
Step 7: Discard the vinegar solution.
Step 8: Run two complete cycles with fresh water.
Step 9: Wipe down the exterior with a damp cloth.
Step 10: Wash the carafe and filter basket with hot, soapy water.
Step 11: Reassemble all components.
Final Thoughts
Taking care of your coffee maker through regular cleaning isn’t just about maintenance – it’s an investment in consistently great-tasting coffee.
By using a simple vinegar cleaning solution monthly, we can prevent mineral buildup, eliminate unwanted flavors, and keep our machines running efficiently.
Regular coffee pot cleaning isn’t just about maintenance – it’s about enjoying the best possible cup of coffee every morning.
The simple combination of white vinegar and water provides an effective, natural solution that removes buildup, eliminates odors, and maintains your machine’s performance. By following a monthly cleaning schedule and washing essential parts daily, you’ll extend your coffee maker’s life while ensuring each brew tastes fresh and flavorful.
Don’t let a dirty coffee pot compromise your daily coffee ritual. Take action today by giving your machine the thorough cleaning it deserves. Your taste buds will thank you, and you’ll save money by keeping your coffee maker in prime condition for years to come.
Remember: a clean coffee pot is the foundation of a perfect cup of coffee.