We all end up with a dirty oven sooner or later, and let’s be honest – nobody gets excited about cleaning it. From stuck-on food to greasy spots and dark stains, a messy oven can make your food taste bad and fill your kitchen with smoke. According to Sarah Brown, a cleaning expert at Good Housekeeping, “A clean oven is not just about appearance – it’s about food safety and making sure your appliance works efficiently.” While you can find strong chemical cleaners or natural options at the store, knowing the best way to clean your oven will help you get it looking like new again.
Some of the links in this article may be affiliate links. If you make a purchase through these links, we may earn a small commission at no extra cost to you. Thank you.
Dirty Ovens Need Attention
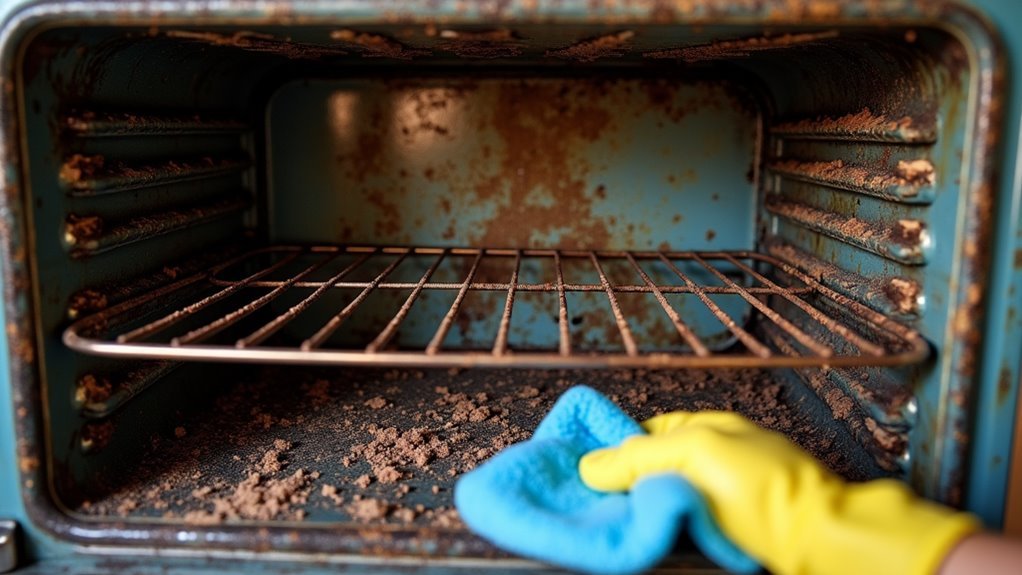
While it’s tempting to ignore a dirty oven, letting it go too long can cause serious problems in your kitchen.
Unpleasant odors and smoke from food residues won’t just affect your cooking environment – they can lead to food contamination.
We need to maintain functionality through regular cleaning every three months. Dirty oven racks can also increase energy bills due to baked-on grease and food residue.
##
Let’s look at what we need to know about cleaning our ovens properly and safely.
We’ll explore the essential steps to take, things to avoid, and helpful tips that’ll make the task easier and more effective.
Our goal is to help you achieve a spotless oven while protecting both the appliance and yourself during the cleaning process.
Things to Do When Cleaning {var1}
When cleaning an oven, proper preparation and following the correct steps are vital for achieving the best results. The process requires patience and attention to detail, as rushing through the steps can lead to incomplete cleaning or potential damage to the appliance.
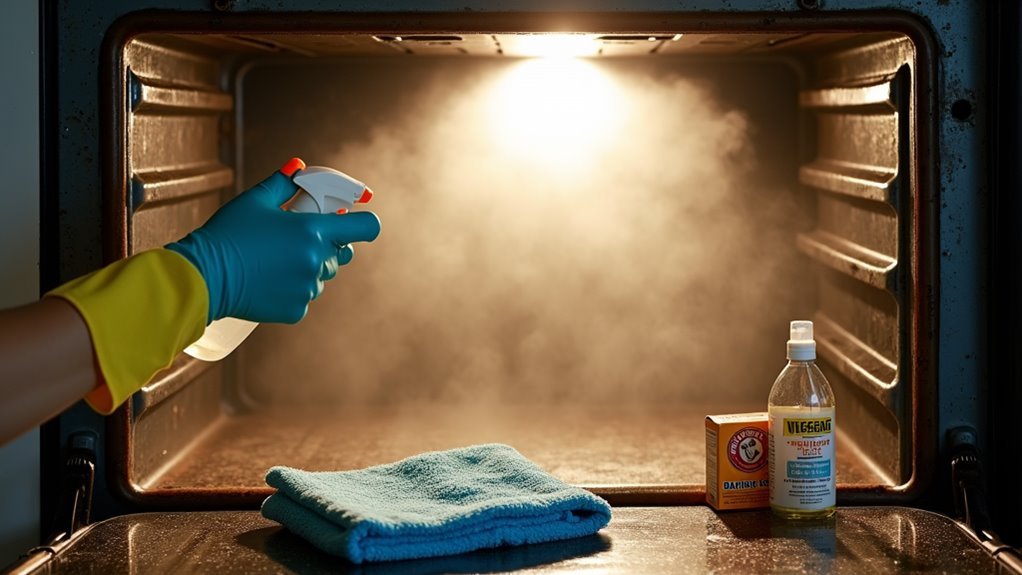
Using natural cleaning agents like baking soda and vinegar not only guarantees a safe, chemical-free approach but also effectively breaks down stubborn grease and grime that accumulates over time.
- Remove all items from the oven, including racks, thermometers, and any baking dishes.
- Mix 1/2 cup baking soda with water to create a spreadable paste.
- Apply paste generously to all interior surfaces, avoiding heating elements.
- Let the paste sit for 12 hours or overnight to break down grease.
- Clean oven racks separately in sink or bathtub while waiting.
- Wipe down surfaces with a damp cloth to remove dried paste.
- Spray vinegar on any remaining residue to create foaming action.
- Do final wipe-down with clean, damp cloth to remove all remnants.
- Dry thoroughly with clean cloth before replacing racks.
- Run empty oven for a few minutes to guarantee complete drying.
Things to Avoid When Cleaning {var1}
When cleaning an oven, it’s vital to be aware of potentially harmful cleaning practices that could damage your appliance or create safety hazards.
Improper cleaning methods can’t only compromise the oven’s functionality but also lead to costly repairs or replacement of components, making it essential to understand what approaches to avoid during the cleaning process.
- Abrasive cleaning powders and scour pads – These can scratch and permanently damage the stainless steel exterior and interior surfaces.
- Excessive water or cleaning solution – Can seep into electrical components and create potential hazards or malfunctions.
- Vacuum cleaners for debris removal – Risk of spreading grease and creating fire hazards when cleaning loose particles.
- Extended contact with harsh cleaners – Products like Bar Keepers Friend can cause discoloration or etching if left on surfaces too long.
- Incorrect self-cleaning cycles – Not following manufacturer guidelines can lead to component failure or damage to the appliance.
Steps
Cleaning an oven requires a methodical approach using natural ingredients that effectively break down stubborn grease and grime without harsh chemicals.
The combination of baking soda and vinegar creates a powerful cleaning solution that penetrates deep into burnt-on residue, making it easier to remove while being safe for food preparation surfaces.
Step 1: Remove all racks, thermometers, and items from the oven
Step 2: Mix 1/2 cup baking soda with water to create a spreadable paste
Step 3: Apply the paste evenly throughout the oven’s interior, avoiding heating elements
Step 4: Let the paste sit for 12 hours or overnight
Step 5: Wipe out the dried paste using a damp cloth
Step 6: Spray remaining residue with white vinegar
Step 7: Clean away the foaming reaction with a fresh damp cloth
Step 8: Return racks and accessories to the clean oven
Final Thoughts
Maintaining a clean oven doesn’t have to be a challenging task if you follow the right approach and schedule.
We recommend you deep clean your oven every three months using a cleaning solution of baking soda paste for best results.
Whether you’re tackling stubborn spots manually or using your oven’s self-cleaning feature, regularly cleaning prevents food debris buildup and promotes healthier cooking conditions.
##
Maintaining a clean oven is essential for both cooking performance and kitchen safety. Regular cleaning prevents smoke, eliminates unpleasant odors, and extends your appliance’s lifespan.
A spotless oven isn’t just about appearance – it’s crucial for safe, effective cooking and prolonging your appliance’s life.
Whether you choose natural cleaning methods with baking soda paste or utilize your oven’s self-cleaning feature, consistency is key. Make oven cleaning part of your quarterly household maintenance routine, and don’t forget to give special attention to the racks and door glass. Regularly cleaning the filter in appliances like dishwashers can help prevent odors and maintain efficiency.
Take action today by inspecting your oven and scheduling your first deep clean if it’s been a while. A clean oven not only looks better but also guarantees your food cooks evenly and tastes its best.
With these simple cleaning methods at your disposal, there’s no reason to put off this important kitchen task any longer. Your future self will thank you when you’re cooking in a sparkling clean, efficient oven.