Crayon on your walls doesn’t have to stay there. In most cases, you can remove those colorful scribbles using a Magic Eraser or a simple baking soda paste — no professional help needed, and no paint damage if you work carefully. This guide covers eight proven methods, ranked from the gentlest fix to stronger solutions, so you can tackle any crayon mark without risking your wall’s finish.
Some of the links in this article may be affiliate links. If you make a purchase through these links, we may earn a small commission at no extra cost to you. Thank you.
Quick Takeaways
- A damp Magic Eraser removes most fresh crayon marks from painted walls in under five minutes.
- Baking soda paste is the safest option for flat and matte paint finishes, which can’t handle abrasive tools.
- Fresh crayon marks — under 24 hours old — are significantly easier to remove than marks that have set over days or weeks.
- Always test your cleaning method on a hidden patch before treating the full mark. This single step prevents most accidental paint damage.
Why Is Crayon So Hard to Remove from Walls?
Crayons are made from paraffin wax blended with pigment — the same waxy formula that lets them glide so smoothly on paper. On a wall, that wax seeps into the tiny pores and texture of the paint surface, while the pigment stains the uppermost paint layer. Paraffin wax begins to soften at around 130°F (54°C), which is why the heat method works so well — and why a cold damp cloth alone won’t cut it.
Crayola, one of the world’s largest crayon manufacturers, produces approximately 3 billion crayons every year. Wall scribbles are one of the most common household cleaning challenges — and the good news is that solutions designed around wax chemistry make most marks fully reversible. The trick is matching your method to your wall surface and working with the appropriate level of force.
As home improvement expert Bob Vila puts it: “The key to removing crayon marks is to start with the gentlest cleaning method first and work your way up to stronger solutions only if needed.” That advice is the backbone of every step in this guide.
What Supplies Do You Need Before You Start?
Gather everything before you begin. Stopping mid-clean to hunt for supplies leads to rushed scrubbing — which is how most paint damage happens. Nearly everything you need is probably already in your home.
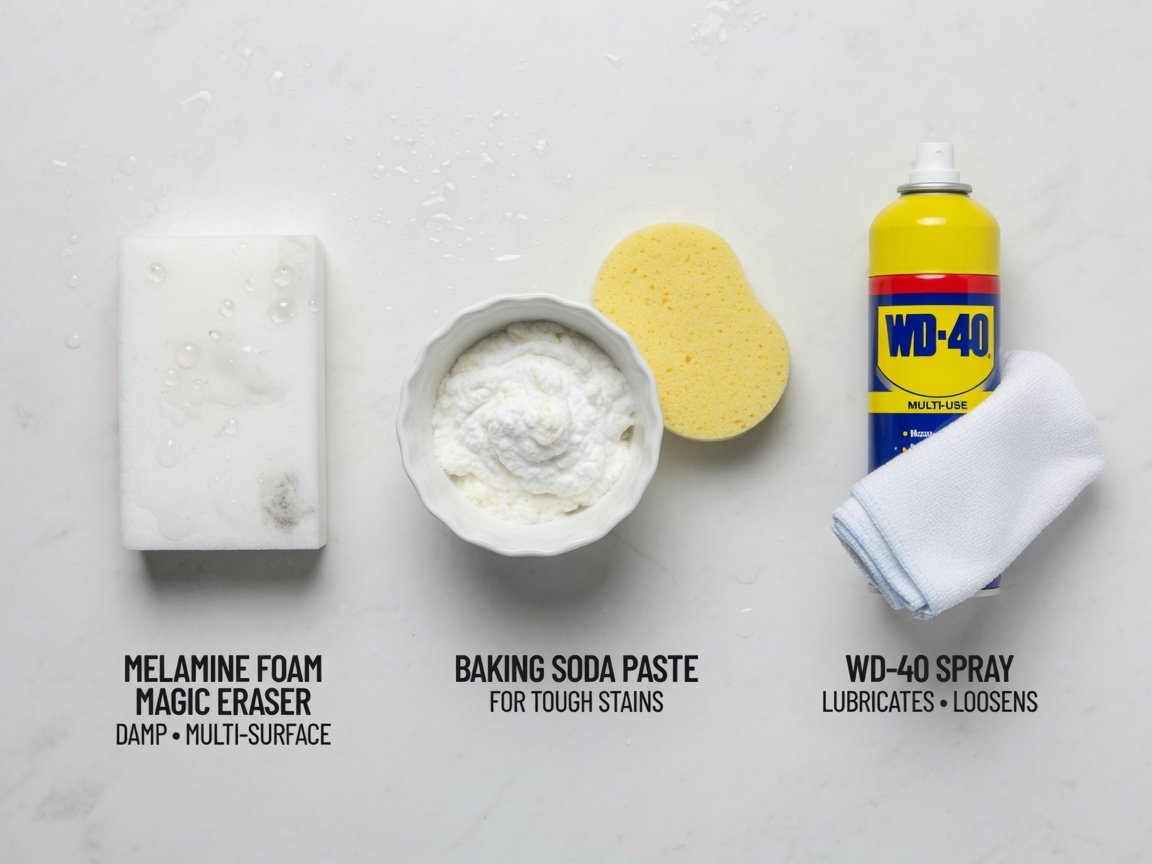
- Magic Eraser (melamine foam sponge) — the fastest fix for most semi-gloss and satin painted walls
- Baking soda — mild abrasive, ideal for flat and matte finishes
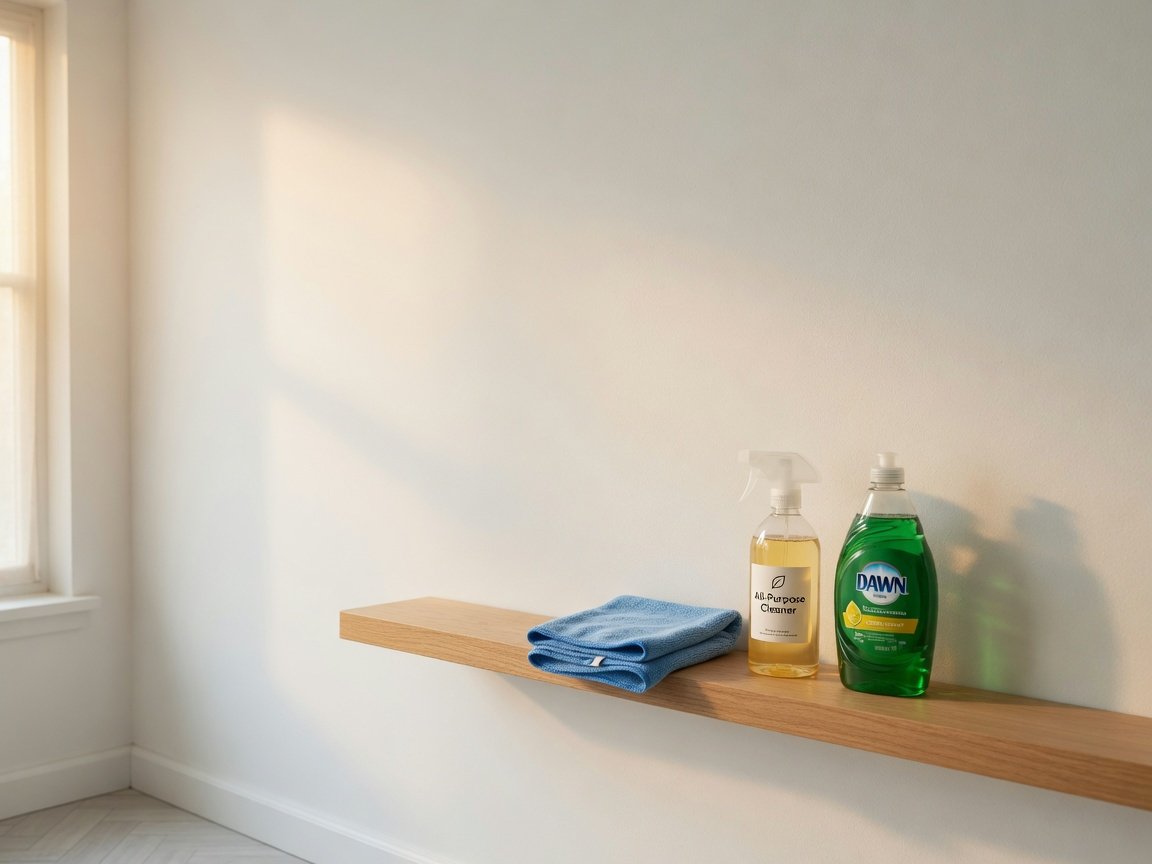
- Dish soap — cuts grease and wax effectively on most surfaces
- Microfiber cloths — soft enough to scrub without scratching
- Warm water — for mixing solutions and rinsing (never hot — hot water can cause paint to bubble or peel)
- Rubbing alcohol or WD-40 — for stubborn or older marks
- A clothes iron and an old cotton T-shirt — for the heat method on large or set-in marks
- White non-gel toothpaste — a mild abrasive alternative if baking soda isn’t available
One item you should always have ready before you start: a clean cloth for the patch test. Cleaning professionals recommend testing any solution on a hidden two-inch square — inside a wardrobe door frame or behind large furniture — for at least 30 seconds before treating the main mark. This adds less than a minute to the process and can save your entire paint job.
How Do You Remove Crayon from Walls? Step-by-Step
Start with the gentlest method and move up the scale only when needed. This approach protects your paint while giving you the best shot at complete removal. Most marks respond to the first two or three steps — only old or heavily pigmented scribbles require the stronger options.
- Patch test first. Dampen a cloth with your chosen cleaner and rub a small hidden area for 30 seconds. Wait two minutes and check for discoloration or paint transfer. If everything looks fine, move to the main mark.
- Try a dry pencil eraser. For fresh, light marks on smooth gloss paint, a standard pencil eraser can lift waxy residue with no moisture at all. Rub gently and brush away the debris. Zero water, zero risk.
- Use a damp Magic Eraser. Wet the eraser, then squeeze out most of the water — aim for about 60–70% of the water removed, so it’s damp rather than wet. Rub the crayon mark with light circular strokes. Rinse the area with a clean damp cloth when done.
- Apply a dish soap solution. Mix a few drops of dish soap into a cup of warm water. Dip a microfiber cloth, wring it well, and gently work the solution into the mark. Rinse and dry the surface thoroughly.
- Make a baking soda paste. Combine three parts baking soda with one part water to form a thick, spreadable paste. Apply it to the mark with a damp sponge and rub in small, gentle circles for about 30 seconds. Rinse thoroughly — baking soda residue can leave a faint white film if not fully removed.
- Try rubbing alcohol. Dab a small amount on a cloth — never apply directly to the wall — and work it into the stain. Rubbing alcohol dissolves wax quickly. Use sparingly and rinse immediately to avoid dulling the paint.
- Use WD-40 for stubborn or older marks. Spray a small amount on the crayon mark, let it sit for one minute, then wipe away with a clean cloth. Follow immediately with dish soap and warm water to remove the oily residue, then rinse clean.
- Try the heat method for large or deeply set marks. Set a clothes iron to medium heat with no steam. Place a clean cotton T-shirt flat against the wall over the crayon. Press the iron against the fabric for 10–15 seconds — the heat softens the paraffin wax, which transfers into the fabric. Lift the cloth straight up without dragging. Wipe any residue with a clean damp cloth.
Does a Magic Eraser Actually Work on Crayon Marks?
Yes — and it’s usually the best first move for painted walls. Magic Erasers are made from melamine foam, a material that acts like an ultra-fine abrasive at a microscopic level. They physically break down waxy crayon residue and lift it from the paint surface without any chemical cleaning agents required.
The important caveat is pressure. Use a genuinely light touch. Pressing too hard — or scrubbing one spot repeatedly — can remove a thin layer of paint along with the wax, leaving a dull or shiny patch that’s often more noticeable than the original crayon mark. This risk is highest on flat and matte paints, which have less protective binder in their formula.
For semi-gloss and satin finishes, a damp Magic Eraser handles most fresh crayon marks cleanly in two to three minutes. Dampen it, squeeze out excess water, and use short light strokes rather than heavy grinding pressure. Rinse the treated area with a clean damp cloth once the mark is gone, and allow the wall to air-dry for at least 30 minutes before assessing whether any residue remains.
Can Baking Soda Remove Crayon Without Damaging Your Paint?
Baking soda is one of the safest cleaning agents you can use on painted walls. With a pH of 8.3 — mildly alkaline — it helps break down waxy residue while providing just enough abrasion to lift pigment from the surface. It’s gentle enough for most finishes when applied with a soft sponge and a measured hand.
Mix three parts baking soda with one part water until you have a thick, spreadable paste. Apply it directly to the crayon mark using a damp sponge. Work in small, gentle circles for about 30 seconds, then wipe away with a clean damp cloth. Rinse the area thoroughly after — any remaining grit can leave micro-scratches if rubbed when dry.
This method works particularly well on eggshell and semi-gloss finishes. It’s slower than a Magic Eraser but gives you far more control — ideal when you’re working near wallpaper borders, trim, or on surfaces where you know the finish is delicate. It’s also the method to reach for whenever the Magic Eraser feels too aggressive.
What’s the Best Way to Clean Crayon off Flat Paint?
Flat and matte paints are the most challenging surfaces for crayon removal. They have very little sheen or protective coating, which means the same abrasion that lifts crayon wax can also lift the paint itself — leaving a dull or scuffed patch that’s often more visible than the original mark.
The safest approach on flat paint is the baking soda paste method, used with minimal pressure and a very soft sponge. Skip the Magic Eraser on matte finishes — melamine foam’s micro-abrasion is simply too aggressive for most flat paints. Dish soap with warm water is your second option: use a microfiber cloth, wring out as much water as possible, and blot gently rather than scrubbing.
If a faint shadow remains after cleaning, a targeted touch-up with matching paint is a far better outcome than an over-worked, scuffed patch. For a comprehensive approach to caring for this type of finish, the guide on cleaning flat paint on walls covers the full range of safe techniques and what to avoid at every stage.
How Do You Handle Old or Dried Crayon Marks?
Fresh crayon marks — under 24 hours old — respond quickly to gentle methods because the wax hasn’t fully hardened in the paint’s pores. Older marks that have been sitting for weeks or months need a different approach: soften the wax before attempting removal.
A hairdryer set to medium heat, held about six to eight inches from the wall for 20–30 seconds, can re-liquefy older crayon wax just enough to wipe away with a cloth. This is essentially a gentler version of the iron method and works well for smaller marks. As soon as the surface wax softens, blot it with a clean cloth — don’t rub, which spreads the pigment before you’ve lifted the wax.
WD-40 is also particularly effective on hardened crayon. Its penetrating formula works between the wax and the paint surface, breaking the bond so you can wipe the mark away. Apply a small amount, wait one minute, then wipe with a clean cloth. Always follow with dish soap and warm water to remove the oily residue — then rinse. For persistent pigment stains that remain after the wax is cleared, a 50/50 solution of rubbing alcohol and water on a cotton pad can help lift colour without over-wetting the wall.
If your walls have accumulated multiple types of marks alongside crayon — scuffs, grime, fingerprints — it’s worth reading about cleaning walls without removing paint for a comprehensive strategy that keeps your finish intact throughout the process.
When Should You Repaint Instead of Trying to Clean?
Most crayon marks come off cleanly with one of the eight methods above. But there are situations where repainting makes more sense than continuing to scrub — and recognising them early saves both time and frustration.
Consider repainting if: the crayon covers more than a square foot of wall; the marks are more than a year old and have set deeply into the paint; or if previous cleaning attempts have already left visible dull or shiny patches that can’t be restored. In these cases, a fresh coat of paint will look better and take less effort than trying to rescue a surface that’s been over-cleaned.
Before you repaint, the wall must be properly cleaned and prepped — any waxy residue left on the surface will prevent new paint from adhering correctly and cause uneven colour. The guide on how to clean walls before painting covers exactly what surface preparation is needed for a flawless result. If you’re also dealing with smoke damage or soot on the same walls, the article on removing smoke from walls should be part of your prep process too.
Frequently Asked Questions
Does toothpaste remove crayon from walls?
White non-gel toothpaste can work as a mild abrasive on crayon marks, functioning similarly to baking soda paste. Apply a small amount directly to the mark, rub gently with a damp cloth for about 30 seconds, then rinse clean. It’s not the most effective method, but it’s safe for most painted surfaces and worth trying if baking soda isn’t on hand. Avoid gel toothpastes entirely — they don’t contain the abrasive compounds needed and can leave a sticky residue behind.
Will WD-40 damage my wall’s paint?
WD-40 is safe on most painted walls when used sparingly and rinsed off promptly. The main risk is leaving oily residue behind — it attracts new dirt and can cause yellowing over time on light-coloured walls. Always follow a WD-40 application with a dish soap and warm water wipe-down, then rinse with a clean damp cloth. Keep WD-40 away from wallpaper and unpainted plaster, where oil can soak in permanently.
Can I use vinegar to remove crayon from walls?
White vinegar is a mild acid that can tackle some surface stains, but it’s not particularly effective against wax-based crayon marks on its own. It may help lift pigment residue after the wax has already been removed by another method, but as a standalone crayon remover it tends to underperform. Baking soda paste is the more reliable natural option. Use vinegar as a follow-up rinse after the primary cleaning method rather than the main event.
How do I remove crayon from wallpaper without damaging it?
Wallpaper requires extra care — it can tear, lift, or discolour with too much moisture or abrasion. Start with the dry pencil eraser method, which involves no water at all. If that’s not enough, use a barely damp microfiber cloth with a single drop of dish soap, blotting gently rather than rubbing. Keep each cleaning pass short and let the surface dry between attempts. Never use a Magic Eraser on wallpaper — the abrasion will lift the print or damage the surface coating. Vinyl wallpaper handles moisture better than paper-based types, but caution applies to both.
What if crayon marks keep reappearing after cleaning?
“Coming back” crayon marks usually mean one of two things: wax residue wasn’t fully removed and is now collecting dust and grime, making it look fresh again; or the pigment has dyed the paint beneath the surface and is simply showing through. If it’s wax residue, work through the baking soda paste or WD-40 method again — rinsing thoroughly this time. If it’s stained paint — a shadow that persists even when the surface feels clean — a targeted touch-up with matching paint is the cleanest, most reliable solution.
Is a Magic Eraser safe for all wall types?
Magic Erasers are safe on durable finishes like semi-gloss and satin paint when used with a light touch. They’re too abrasive for flat and matte finishes, which can lose their texture and develop shiny spots. They should not be used on wallpaper, bare plaster, or any decorative or textured wall treatment. When uncertain, always do the patch test first — if you see paint transfer on the eraser after a gentle rub, switch to a softer method immediately.
The Bottom Line on Cleaning Crayon off Walls
Crayon marks on walls are one of the most common household cleaning challenges — and one of the most fixable. Start with the gentlest method suited to your wall’s finish: a Magic Eraser for durable semi-gloss and satin paint, baking soda paste for flat and matte surfaces. Work your way up the scale only when a gentler approach falls short, and always rinse thoroughly after each step.
Test on a hidden patch first, use light pressure, and keep the area as dry as possible throughout. For fresh marks, this process takes under ten minutes. For older, set-in crayon, allow more time — but the result is almost always a fully restored wall. Repainting is rarely necessary, but when it is, proper surface prep makes all the difference to the final finish.
The sooner you tackle crayon marks, the easier they come off. Fresh wax is always more cooperative than hardened wax that’s had days to bond with the paint surface — so don’t wait.