The dark lines between your floor tiles aren’t supposed to be that way – they’re just full of dirt that’s built up over time. You might notice this in places like the kitchen, where grout that used to be bright white slowly turns into a grayish pattern showing where people walk the most. According to John Macho, professional tile contractor and owner of Macho’s Floor Covering, “Grout is porous, which means it soaks up dirt and spills like a sponge. Most homeowners don’t realize how dirty their grout has gotten until they clean one small area and see the difference.” The good news is that you can get those dirty lines back to their original color without having to spend lots of money on special cleaners or worrying about damaging your tiles.
Some of the links in this article may be affiliate links. If you make a purchase through these links, we may earn a small commission at no extra cost to you. Thank you.
Grimy Grout Solutions

Why is it that grout always seems to collect the worst of our home’s grime? We’ve found a couple DIY solutions that work wonders without the backbreaking scrubbing.
Try mixing ½ cup baking soda with ¼ cup hydrogen peroxide and a teaspoon of dish soap.
Or for unsealed grout, perhaps a water-ammonia-vinegar blend might work better. Regular maintenance is essential for preventing buildup and keeping your grout looking fresh.
Always test on a small area first, though!
##
We’ll now look at what you should and shouldn’t do when tackling those dirty grout lines between your tiles.
I think it’s important to understand both the right steps to take and common mistakes to avoid, as proper technique can make the difference between refreshed grout and damaged surfaces. Regular cleaning with appropriate solutions is essential for health safety and maintaining the appearance of your tile floors.
Let’s walk through this process together, from preparation to finishing touches, so you can maintain your tile floors without unnecessary headaches.
Things to Do When Cleaning tile floor grout
Cleaning tile floor grout requires proper assessment and careful application of cleaning solutions to effectively remove stains while preserving the integrity of your grout lines.
Before beginning any cleaning process, it’s crucial to determine whether your grout is sealed or unsealed, as this will dictate the appropriate cleaning methods and solutions to use.
Once you’ve gathered your supplies and prepared your cleaning mixture, a methodical approach will guarantee the best results for restoring your grout to its original appearance.
- Test grout seal status by splashing water on the surface; darkening indicates unsealed grout that requires gentler cleaning methods.
- Create a homemade cleaning solution using ½ cup baking soda, ¼ cup hydrogen peroxide, and 1 teaspoon dish soap for effective stain removal.
- Perform a spot test on an inconspicuous area, allowing the solution to sit for 5-10 minutes to guarantee it won’t damage your particular grout.
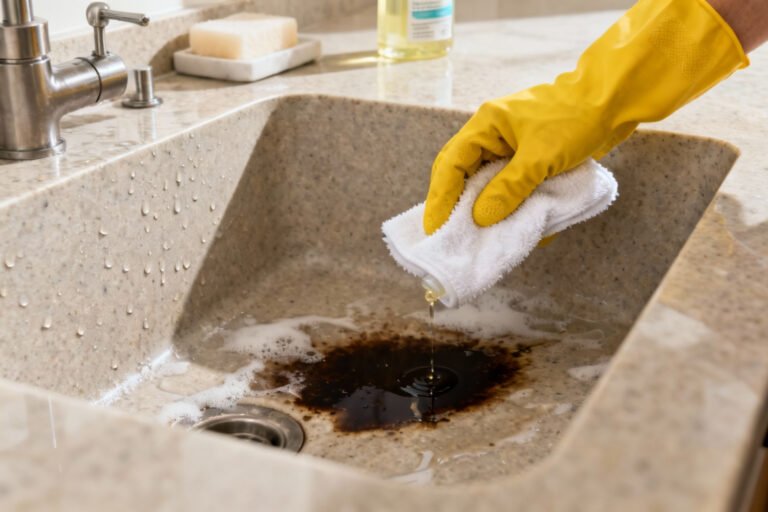
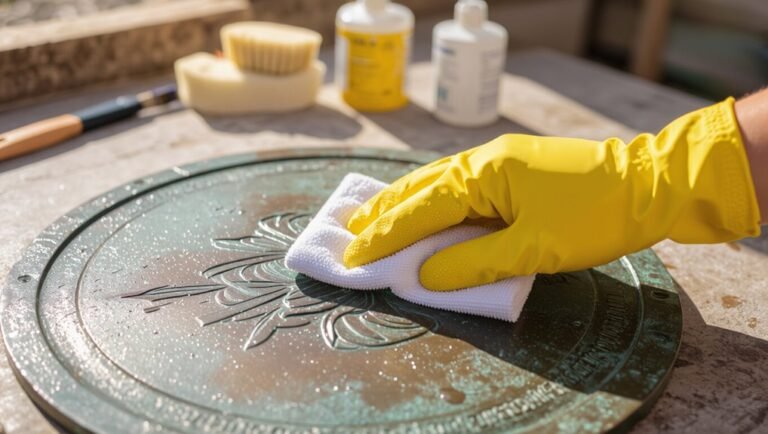
- Apply the cleaning mixture directly along grout lines, wearing protective gloves to shield your hands from potential chemical irritation.
- Gently wipe the treated areas with a damp cloth rather than scrubbing aggressively to preserve grout integrity.
- Allow the grout to dry completely for 24 hours before applying a professional-grade sealer to protect against future stains and moisture.
- Reapply sealer annually or as needed to maintain protection and extend the life of your grout.
Things to Avoid When Cleaning tile floor grout
When cleaning tile floor grout, it’s crucial to use proper techniques to preserve both its appearance and structural integrity.
Incorrect cleaning methods can lead to costly repairs and diminished aesthetic appeal, with professional re-grouting potentially exceeding $200 per square foot.
Understanding what to avoid will help maintain your grout’s condition and extend its lifespan.
- Excessive scrubbing – Aggressive scrubbing weakens the cement or resin composition of grout, potentially requiring expensive professional repairs.
- Harsh pressure – Strong pressure on grout lines can fade colors and special effects like reflective or glitter designs, reducing your floor’s visual appeal.
- Acidic cleaners – Products like white vinegar (pH as low as 2.4) can etch and discolor unsealed grout surfaces, making stains more noticeable.
- Abrasive tools – Scrub brushes with stiff bristles or abrasive pads can damage grout’s integrity, accelerating wear and reducing its lifespan by up to 50%.
- Penetrating cleaners on unsealed grout – These can trap moisture and dirt within the porous material, creating an ideal environment for mold growth and weakening the structure over time.
Steps
Tile floors can develop unsightly stains and discoloration in the grout lines over time, making even the most beautiful flooring look dingy and unkempt.
Fortunately, you can restore your grout to its original color using common household ingredients that work together to break down stubborn grime and buildup.
The combination of baking soda and vinegar creates a powerful yet gentle cleaning action that penetrates deep into porous grout surfaces without damaging the tile or grout material.
Step 1: Create a baking soda paste by mixing baking soda with enough water to form a thick, spreadable consistency.
Step 2: Apply the paste directly to the stained grout lines using a small brush, ensuring complete coverage of all affected areas.
Step 3: Allow the baking soda paste to sit on the grout for 15 minutes to penetrate and loosen embedded dirt and stains.
Step 4: Spray a vinegar solution over the baking soda-covered grout lines to create a bubbling reaction that helps break down stubborn grime.
Step 5: Wait until the bubbling subsides, which indicates the chemical reaction has completed its work.
Step 6: Scrub the grout lines gently but firmly with a stiff-bristled brush, working in small sections for best results.
Step 7: Rinse the area thoroughly with clean water to remove all cleaning solution and loosened dirt.
Step 8: Dry the floor with a clean towel to prevent water spots and to better see if any areas need additional cleaning.
Final Thoughts
Maintaining beautiful grout isn’t just about the occasional deep clean—it’s about developing habits that preserve your tile floor’s appearance for years to come.
We’ve found that weekly sweeping and monthly gentle wiping can prevent the moisture buildup that leads to mold and discoloration.
Remember to always test cleaners first, and consider that professional sealing might be worth the investment for long-term protection.
##

Maintaining clean grout lines doesn’t have to be a challenging task.
By regularly testing your grout with water to determine if it’s sealed, you can choose the appropriate cleaning method—whether it’s a gentle vinegar solution for sealed grout or a more robust baking soda mixture for unsealed areas.
Remember to always test any cleaner on a small section first to prevent damage.
The key to long-term grout maintenance lies in prevention.
Prevention isn’t just easier than cure—it’s the foundation of beautiful, long-lasting grout that resists stains and discoloration.
After thoroughly cleaning your grout, applying a professional-grade sealer creates a protective barrier that makes future cleaning easier and extends the life of your tile floors. This simple step, performed just 24 hours after cleaning, can save you countless hours of scrubbing in the future.
With these techniques in your cleaning arsenal, you can transform dingy, stained grout into bright, clean lines that make your entire floor look refreshed. Additionally, employing a regular cleaning schedule can help maintain your grout’s appearance and prevent buildup.
Take action today—assess your grout type, gather your supplies, and dedicate a few hours to restoring your tile floors.
The results will be well worth the effort, giving you beautiful floors you’ll be proud to show off.