It’s funny how our toaster oven air fryers seem to get dirty just when guests are about to visit. We’ve all looked at those stuck-on food bits and wondered if we’ll ever get them clean. But cleaning these handy kitchen tools doesn’t need to be such a hard job. According to appliance expert and food safety specialist from Today.com, Katie Grimes, “Just like any kitchen appliance, your toaster oven air fryer needs regular cleaning to stay safe and work its best – at least once a month for normal use.” With some simple steps, we can make even the dirtiest toaster oven look new again, and help it last longer too.
Some of the links in this article may be affiliate links. If you make a purchase through these links, we may earn a small commission at no extra cost to you. Thank you.
Starting With Unplugged Appliance

The number one safety rule when cleaning your toaster oven air fryer is to always unplug it first.
We can’t stress this enough—it’s not just a suggestion, it’s essential for preventing electrical hazards.
Let the appliance cool for a few minutes before you start.
This simple step, recommended by experts like Cuisinart’s Spencer Helmrich, protects you from both shock and burns as you prepare for the cleaning process. Additionally, safety precautions are crucial to protect users and extend appliance longevity.
##
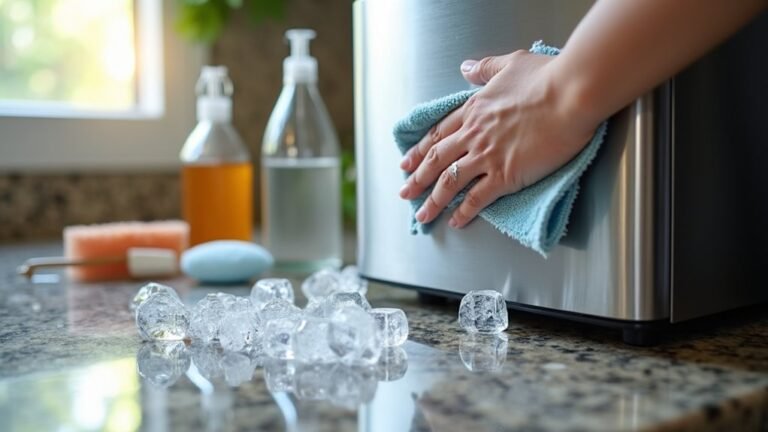
We’ve found that cleaning a toaster oven air fryer isn’t too different from cleaning a regular oven, but there are definitely some specific dos and don’ts we need to keep in mind. Regular cleaning protects the nonstick coating and maintains performance, so let’s look at what works best when tackling this kitchen task, and perhaps more importantly, what steps might damage your appliance if you’re not careful. We’ll walk through a simple process that’ll keep your toaster oven air fryer functioning properly and looking great.
Things to Do When Cleaning a toaster over air fryer
Maintaining a clean toaster oven air fryer not only guarantees peak cooking performance but also extends the appliance’s lifespan.
The cleaning process involves several key steps that address both the interior surfaces and removable components.
Special attention is needed for avoiding sensitive electrical elements while effectively removing stubborn grease and food residue that builds up over time.
- Unplug the appliance – Safety first: disconnect from power and allow it to cool completely before cleaning.
- Remove and prep components – Take out crumb tray, racks, and baking pans to brush loose crumbs into trash.
- Create a cleaning solution – Mix dish soap with ¼ cup warm water in a spray bottle for effective degreasing.
- Spray and soak – Apply solution to removable parts and interior surfaces, avoiding heating elements and vents, and let soak for 40 minutes.
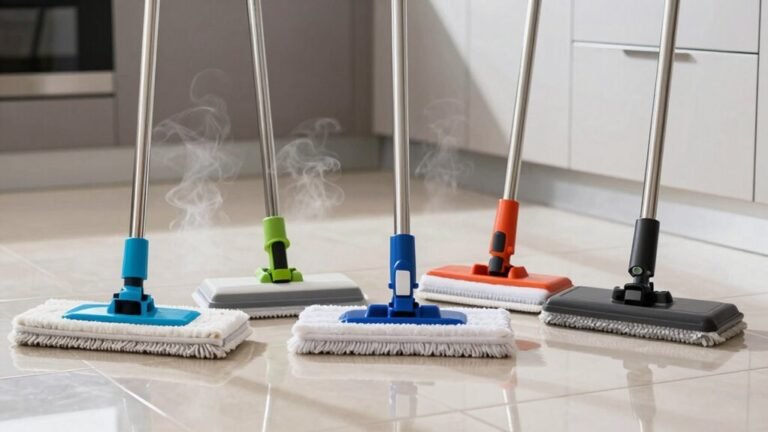
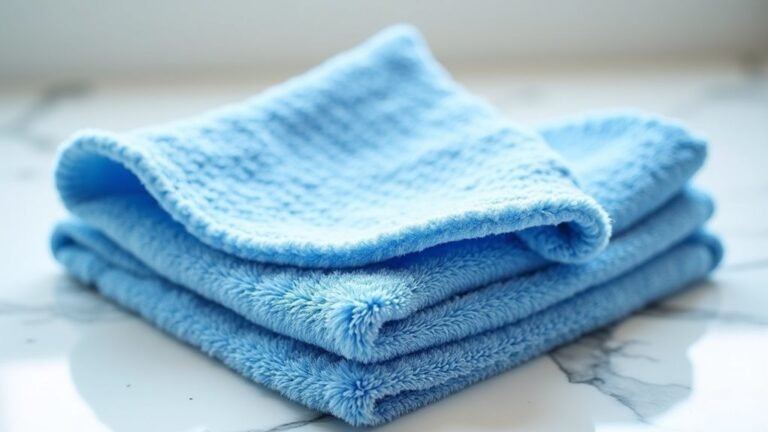
- Clean interior surfaces – Wipe walls, floor, and door with a damp microfiber cloth after soaking period.
- Tackle stubborn spots – Apply baking soda slurry to difficult areas and scrub gently.
- Scrub removable parts – Use the rough side of a nonabrasive sponge with Bar Keepers Friend or baking soda on gunky racks and trays.
- Rinse thoroughly – Clean removable parts in sink to remove all cleaning agents and loosened debris.
- Dry completely – Use dish towels to make sure all components are thoroughly dried before reassembly.
- Preventative measures – Cover baking pans with foil or parchment paper during future use to minimize buildup.
Things to Avoid When Cleaning a toaster over air fryer
When cleaning a toaster oven air fryer, it’s essential to approach the task with care to avoid damaging this versatile kitchen appliance.
Improper cleaning methods can compromise both the functionality and appearance of your appliance, potentially shortening its lifespan or creating safety hazards.
Following proper maintenance guidelines helps preserve your toaster oven air fryer’s performance while ensuring it remains safe to use for food preparation.
- Abrasive scouring pads like steel wool – These can permanently scratch metal and glass surfaces, diminishing the appearance and potentially compromising the integrity of the appliance.
- Harsh cleaning powders – Products that contain abrasive particles can scratch and damage the metal or glass surfaces, as warned by experts like Spencer Helmrich from Cuisinart.
- Excessive liquid near control panels – Allowing cleaning solutions to seep into electronic components can cause electrical shorts or permanent damage to the control system.
- Liquid near interior openings – Introducing moisture near vents or the convection fan can create electrical hazards and damage internal components.
- Bar Keepers Friend or baking soda on enameled surfaces – These cleaning agents can dull and damage enameled steel finishes, reducing the appliance’s appearance and potentially its longevity.
- Cleaning while the appliance is hot or plugged in – This creates safety risks including burns or electrical hazards, and should be avoided at all times.
- Harsh chemical cleaners – Strong chemicals can damage surfaces, leave harmful residues, or create toxic fumes when the appliance heats up again.
Steps
A toaster oven air fryer is a versatile kitchen appliance that requires regular cleaning to maintain its performance and extend its lifespan.
Food particles, grease, and residue can accumulate over time, affecting the taste of your food and potentially becoming a fire hazard.
Proper cleaning also prevents unpleasant odors and guarantees your appliance continues to function efficiently.
Following these simple steps will help you thoroughly clean your toaster oven air fryer and keep it in ideal condition.
Step 1: Unplug the toaster oven air fryer and allow it to cool completely before cleaning.
Step 2: Remove all components including the crumb tray, racks, and baking pans.
Step 3: Shake loose crumbs into the trash and brush away any remaining debris.
Step 4: Mix a cleaning solution of dish soap with ¼ cup of warm water in a spray bottle.
Step 5: Spray the solution on removable parts and the oven interior, avoiding heating elements.
Step 6: Allow components to soak for 40 minutes to loosen stubborn residue.
Step 7: Wipe the interior with a damp towel or nonabrasive sponge after soaking.
Step 8: For stubborn spots, apply a baking soda and water slurry or use Bar Keepers Friend on stainless steel parts.
Step 9: Scrub racks and trays with the rough side of a Scotch Brite sponge and baking soda.
Step 10: Wash the air fryer basket in warm, soapy water using Dawn dish soap and a non-scratch scrubber.
Step 11: Rinse all components thoroughly and dry completely before reassembling.
Step 12: Perform a weekly deep clean of the interior to remove grease and prevent odors.
Final Thoughts
Regular cleaning of your toaster oven air fryer isn’t just about aesthetics—it’s really a form of protection for your investment.
We’ve found that spending up to an hour now can save you headaches later, especially if you’re diligent about wiping away soap residue and thoroughly drying components.
Perhaps the smartest approach is prevention—using foil or parchment during cooking substantially reduces cleanup time.
##

Maintaining your toaster oven air fryer doesn’t have to be a dreaded chore.
With regular attention to the crumb tray, occasional deep cleaning, and preventative measures like using foil liners, you can keep your appliance functioning efficiently for years to come. Remember that proper cleaning not only extends the life of your toaster oven air fryer but also guarantees better-tasting food and safer cooking conditions. Regular maintenance keeps appliances running efficiently for optimal performance, ensuring you enjoy the best results every time.
The small effort of wiping down the interior after use and thoroughly drying components before reassembly pays off in consistent performance and reliability. Take pride in caring for your kitchen investments!
Set a regular cleaning schedule that works for your usage patterns, and you’ll never have to deal with caked-on grime or unpleasant odors again. Your future self will thank you when your toaster oven air fryer continues to deliver perfect results with minimal maintenance required.