Cleaning your walls before painting is super important – it can be the difference between paint that lasts and paint that peels off too soon. In fact, most paint jobs that fail happen because people skip this key first step.
Some of the links in this article may be affiliate links. If you make a purchase through these links, we may earn a small commission at no extra cost to you. Thank you.
According to Jeff Spillane, senior manager at Benjamin Moore Paints, “A clean surface is just as important as quality paint when it comes to a lasting finish.”
Getting your walls ready doesn’t have to be complicated. Think of it like washing your car before getting it painted – you want a clean surface so the new paint sticks well. Whether you’re dealing with everyday dust or kitchen grease, taking time to clean your walls properly will help your paint job look great and last longer.
Let’s make sure your next paint project turns out awesome by learning the right way to get those walls clean and ready for paint. Just like you wouldn’t put clean clothes on without taking a shower first, your walls need to be totally clean before they get their new coat of paint.
Pre-Paint Wall Prep Basics

Before you pick up that paintbrush, it’s essential to properly prepare your walls for the best possible results.
We’ll start by removing grime and cobwebs with a broom, then mix a mild soap with lukewarm water for our cleaning solution.
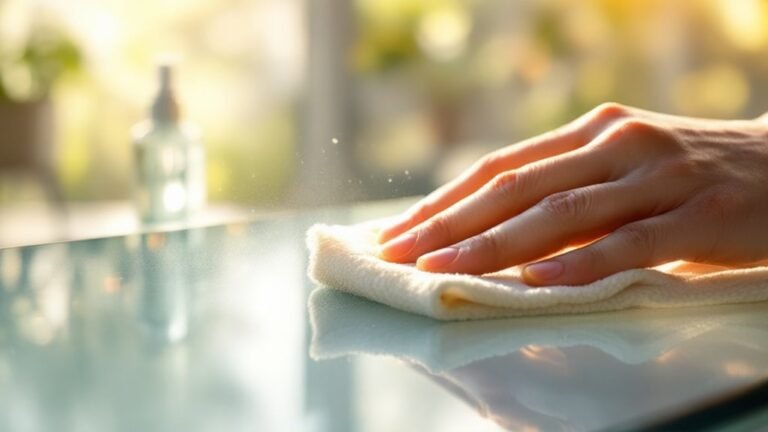
Using a damp cloth or microfiber mop, we’ll tackle the walls in manageable sections, paying special attention to trim and stubborn stains through spot cleaning.
Let’s explore the essential aspects of wall cleaning before painting, including what we should and shouldn’t do during the process.
We’ll break down the key steps you’ll need to follow, from initial dusting to final drying, to guarantee your walls are properly prepped for paint.
Our focus will be on practical techniques and common pitfalls to avoid, making your wall-cleaning project as efficient and effective as possible.
Things to Do When Cleaning Walls Before Painting
Cleaning walls before painting is a methodical process that requires the right tools and techniques to guarantee the best possible surface for paint adhesion. A thorough cleaning removes dirt, grime, and oils that could prevent paint from properly bonding to the wall, while also eliminating any residual spider webs or dust that might create texture issues in the final coat.
- Dry dust first – Use an extendable duster or microfiber cloth to remove loose debris and cobwebs.
- Prepare cleaning solution – Mix warm water with mild dish soap in a spray bottle for general cleaning.
- Section the wall – Work in manageable 5-10 foot sections to prevent cleaner from dripping.
- Apply cleaner – Use a flat microfiber mop to gently wash the wall surface.
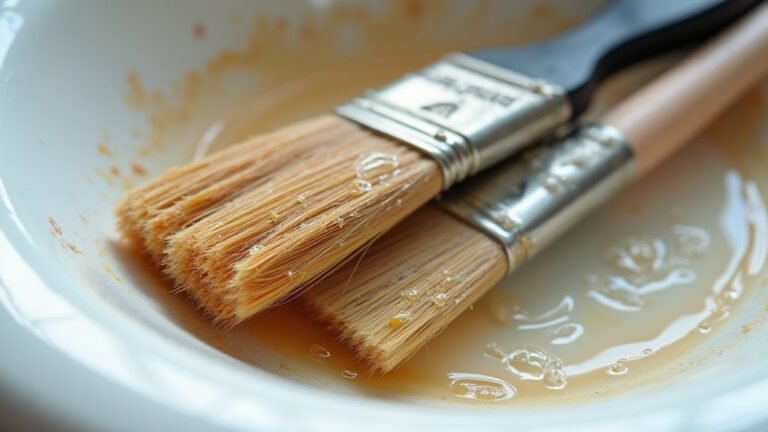
- Tackle stains – Treat stubborn marks with foaming wall cleaner and targeted scrubbing.
- Dry thoroughly – Wipe walls with clean, dry towels to prevent water damage to existing paint.
- Check surface – Inspect walls for any missed spots or remaining stains.
- Allow drying time – Let walls dry completely before beginning any painting work.
Things to Avoid When Cleaning Walls Before Painting
Before painting, proper wall cleaning is essential, but certain practices can compromise both the cleaning process and the wall’s integrity. Taking shortcuts or using improper cleaning methods can lead to damaged surfaces, uneven paint absorption, and poor final results, potentially requiring extensive repairs or complete refinishing of the walls.
- Excessive moisture – Using too much water can saturate the wall surface, leading to bubbling, peeling, or water damage.
- Aggressive scrubbing – Harsh scrubbing motions can create burnished spots and damage the existing surface.
- Chemical cleaners – Strong or abrasive cleaning solutions can etch the surface and prevent proper paint adhesion.
- Direct sunlight cleaning – Cleaning walls in direct sun causes uneven drying and can leave stubborn streaks.
- Contaminated tools – Using dirty cleaning materials spreads grime instead of removing it.
- Hot water – Temperature extremes can affect surface integrity and cause expansion/contraction issues.
- Circular motions – Cleaning in circles can create noticeable swirl marks that show through new paint.
- Skip drying time – Not allowing walls to dry completely before painting leads to adhesion problems and bubbling.
Steps
Cleaning walls before painting is an essential step that guarantees better paint adhesion and a professional-looking finish. The process requires careful attention to detail and the right combination of cleaning solutions and tools to effectively remove dirt, grime, and residue without damaging the wall surface.
A methodical approach using the appropriate cleaning materials will create the ideal foundation for your new paint job.
Step 1: Remove dust and cobwebs using a dry microfiber duster or vacuum with brush attachment
Step 2: Mix a teaspoon of mild dish soap with warm water in a spray bottle
Step 3: Divide the wall into manageable sections of 5-10 feet
Step 4: Apply the cleaning solution using a microfiber flat mop
Step 5: Address stubborn stains with foaming wall cleaner and microfiber towel
Step 6: Rinse the cleaned section thoroughly with clean water and a damp sponge
Step 7: Dry the wall completely with clean towels
Step 8: Inspect the wall for any missed spots or remaining stains
Step 9: Repeat the cleaning process on remaining sections
Step 10: Allow walls to air dry completely before beginning to paint
Final Thoughts
Though preparing walls for painting requires time and effort, taking the proper steps to clean them thoroughly will make a significant difference in your final results.

Clean walls are the foundation of a successful painting project. Taking the time to properly clean your walls before painting will reward you with better paint adhesion, a more professional-looking finish, and longer-lasting results.
A clean wall surface isn’t just preparation – it’s the key to achieving professional-quality, long-lasting paint results.
The process doesn’t have to be complicated – a simple mixture of mild soap and water often does the job, while tougher stains may require specialized cleaners.
Remember that different paint finishes require different cleaning approaches, so consider your existing wall finish when choosing cleaning methods. Always allow walls to dry completely before moving forward with your painting project.
Don’t skip this essential prep step – the extra hour or two spent cleaning your walls can mean the difference between a mediocre paint job and one that looks professionally done.
Get your cleaning supplies ready, roll up your sleeves, and give your walls the fresh start they deserve for that perfect paint finish.