We’ve all faced a Cricut mat that just won’t stick anymore. It’s annoying when our crafts won’t stay put, especially when we’re in the middle of making something. Clean mats make the difference between perfect cuts and wasted materials. According to Jennifer Maker, a well-known Cricut expert, “A clean mat is the foundation of every successful Cricut project – if your mat isn’t sticky, nothing else matters.” We’ll show you how to bring back that sticky surface without ruining your mat. You can fix your mat using simple items from around your house. Why buy new mats when you can make your old ones work like new?
Some of the links in this article may be affiliate links. If you make a purchase through these links, we may earn a small commission at no extra cost to you. Thank you.
Mat Maintenance Essentials
Maintaining your Cricut sticky mat properly is absolutely essential if you want to get the most out of your crafting sessions.
We always remove materials right after cutting to prevent debris buildup—this really helps preserve the adhesive quality.
Between projects, we’ve found storing mats with their protective sheet keeps dust and oils away.
I think regular inspection is key, especially after working with messy materials like felt. Regular maintenance, such as cleaning your mat every 2-4 cuts, can significantly extend its lifespan and maintain adhesive properties.
##
Now, let’s talk about what you should and shouldn’t do when cleaning your Cricut sticky mat, along with the actual steps to follow.
We’ve found that proper cleaning techniques can greatly extend the life of our mats, while certain mistakes might actually damage them beyond repair. For instance, using harsh chemicals can lead to irreversible damage to the mat’s surface.
I think we’ll wrap this section up with some final thoughts on maintaining that perfect level of stickiness for your future crafting projects.
Things to Do When Cleaning A Cricut sticky mat
Cleaning your Cricut sticky mat properly guarantees best performance and extends its lifespan.
When your mat begins to lose its adhesive quality or collects debris from previous projects, it’s time for a thorough cleaning.
The process requires gentle handling to preserve the mat’s sticky surface while effectively removing accumulated materials.
- Remove large debris with a Cricut scraper tool, using light pressure to avoid damaging the adhesive layer
- Clean surface with alcohol-free baby wipes using circular motions to lift residue without compromising stickiness
- Apply Windex for deeper cleaning, letting it sit for five minutes before gently scrubbing with a medium-bristled brush
- Use Dawn dish soap solution for stubborn residue, applying small dots mixed with water and allowing to sit before brushing
- Rinse thoroughly with lukewarm water to remove all cleaning agents
- Air dry completely on a flat surface to prevent warping
- Test stickiness by placing scrap paper on the mat to guarantee proper adhesion before using for projects
Things to Avoid When Cleaning A Cricut sticky mat
Properly maintaining your Cricut sticky mat requires understanding not only what to do but also what to avoid during the cleaning process.
Using incorrect techniques can permanently damage the adhesive surface, rendering your mat useless for future projects and costing you unnecessary replacements.
- Excessive scraping pressure: Applying too much force when removing debris can damage the adhesive layer, leaving permanent marks and reducing stickiness.
- Touching with bare hands: Skin oils transfer to the mat surface, reducing adhesive effectiveness and attracting more debris over time.
- Standard cleaning methods on Pink FabricGrip mats: These specialized mats require different care techniques; using regular cleaning approaches can destroy their unique adhesive properties.
- Cleaning with the protective sheet attached: This prevents thorough cleaning and may result in uneven adhesion across your mat surface.
- Alcohol-based cleaning products: These can dissolve or weaken the adhesive, shortening your mat’s lifespan and decreasing its effectiveness.
Steps
Keeping your Cricut mat clean and sticky is essential for achieving precise cuts and maintaining best performance of your crafting projects.
A dirty mat can lead to inaccurate cuts, material slippage, and shortened mat lifespan.
Regular cleaning not only extends the usability of your mat but also guarantees consistent results with every project you undertake.
Step 1: Remove large debris from the mat using the Cricut scraper tool, applying gentle pressure to avoid damaging the adhesive surface.
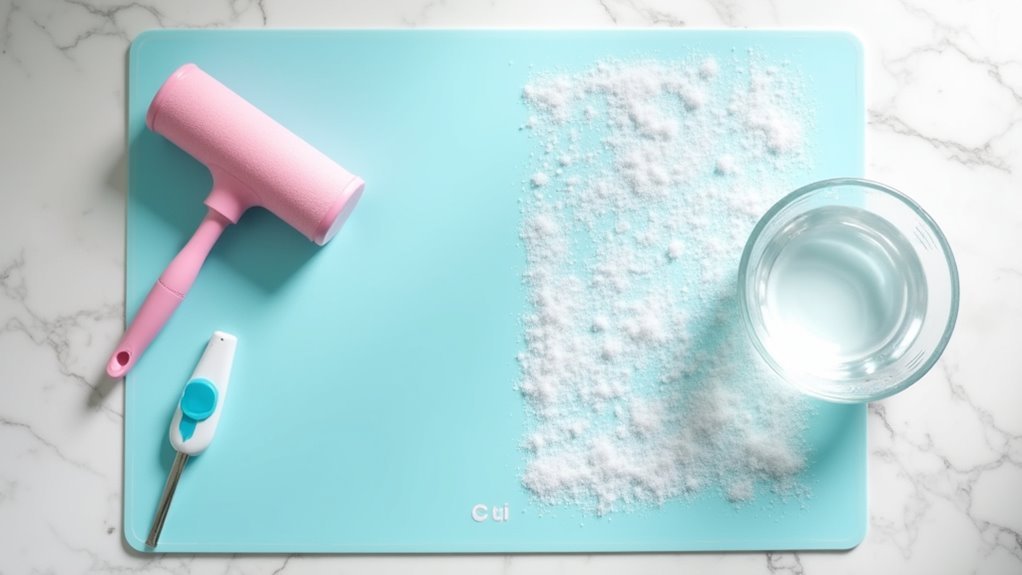
Step 2: Use a lint roller to pick up smaller particles like glitter, paper scraps, or dust that remain on the mat.
Step 3: Wipe the mat with alcohol-free baby wipes in circular motions to clean the surface without compromising the adhesive.
Step 4: Spray the mat with Windex and allow it to sit for five minutes to loosen stubborn residue.
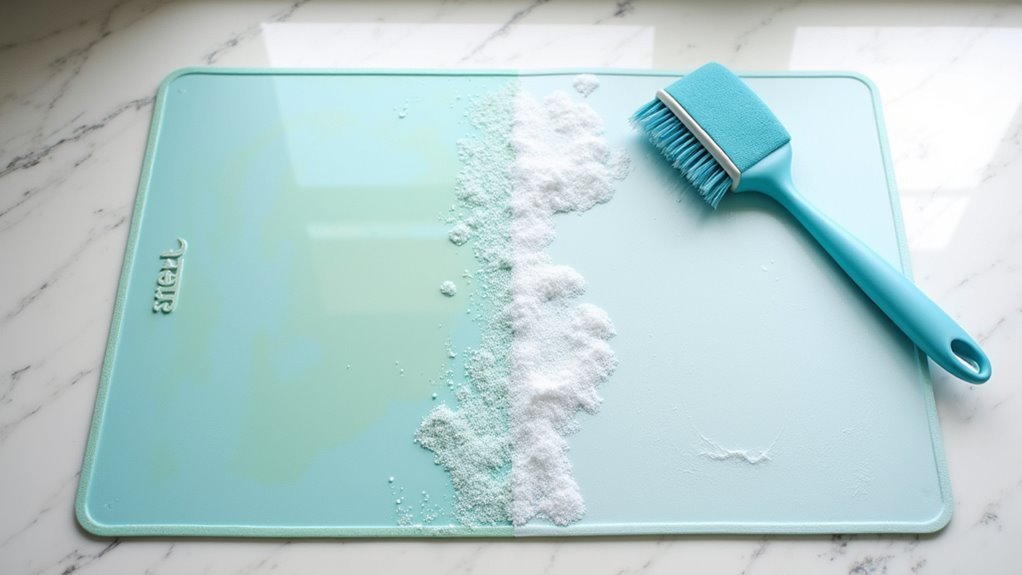
Step 5: Gently scrub the mat with a medium-bristled brush in circular motions to lift remaining debris.
Step 6: Rinse the mat under lukewarm water while gently scrubbing with mild liquid soap and a household sponge.
Step 7: Air dry the mat completely on a flat surface to prevent warping.
Step 8: Test the mat’s stickiness before using it for your next project to verify it has adequate adhesion.
Final Thoughts
While following the proper cleaning steps will help revive your mat’s stickiness, we’ve found that maintaining a Cricut mat is really an ongoing process rather than a one-time fix.
##
Maintaining a clean Cricut mat is essential for guaranteeing your crafting projects turn out perfectly every time.
Regular cleaning after messy projects prevents adhesion issues and extends your mat’s lifespan.
Whether you’re using a lint roller for glitter debris, baby wipes for general cleaning, or considering resticking options for worn mats, proper maintenance makes all the difference. Regular cleaning is crucial for hygiene and effectiveness, much like with makeup tools.
Remember that prevention is always better than cure—taking time to clean your mat after each project will save you frustration and money in the long run.
When cleaning no longer restores the stickiness, don’t hesitate to replace your mat, especially if it shows signs of deep damage or embedded dirt.
Keep your crafting journey smooth by making mat maintenance part of your regular routine.
With these simple cleaning techniques in your arsenal, you’ll guarantee your Cricut continues to deliver precise, professional results for all your creative endeavors.
Happy crafting!