Does your garbage disposal stink like old food? Don't worry – you're not alone. The machine that works so hard to grind up our food scraps needs regular cleaning to work well and stay fresh. While it might look tricky to clean a disposal, there are easy ways to get the job done.
Some of the links in this article may be affiliate links. If you make a purchase through these links, we may earn a small commission at no extra cost to you. Thank you.
According to Bob Vila, a home improvement expert, "A clean garbage disposal not only smells better but also works more efficiently and lasts longer."
The good news is that cleaning your disposal doesn't have to be complicated. With some basic household items and a few minutes of your time, you can get rid of those bad smells and keep your disposal running smoothly.
Eliminate Disposal Odors Safely
When unpleasant odors start wafting from your garbage disposal, you'll want to tackle them quickly using safe, natural cleaning methods.
A smelly garbage disposal is no fun, but natural cleaning solutions can quickly eliminate those unwanted kitchen odors.
We recommend sprinkling baking soda followed by white vinegar, letting it fizz for 10 minutes.
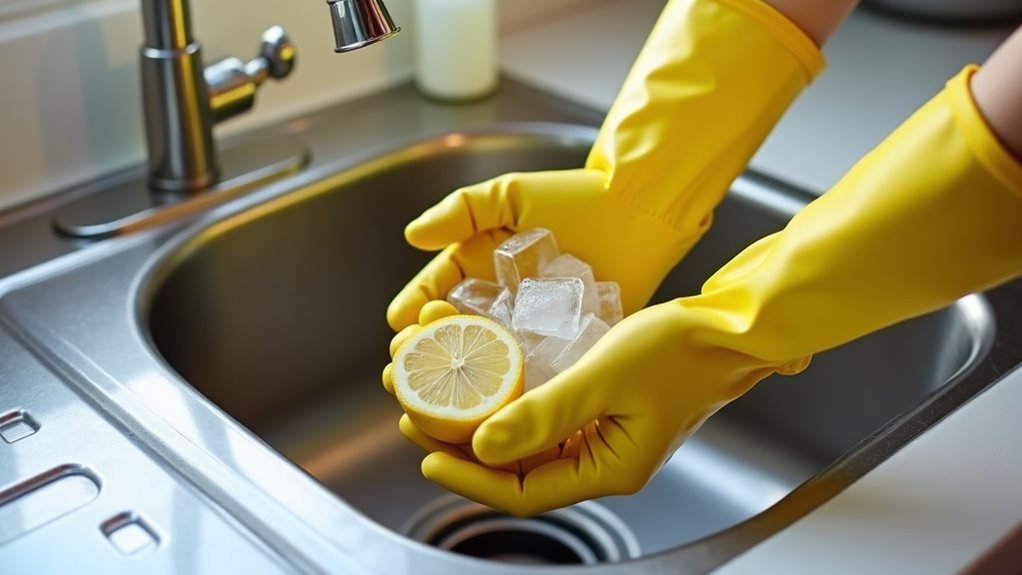
For ongoing freshness, grind citrus peels regularly, and monthly maintenance with ice cubes and rock salt will keep things clean.
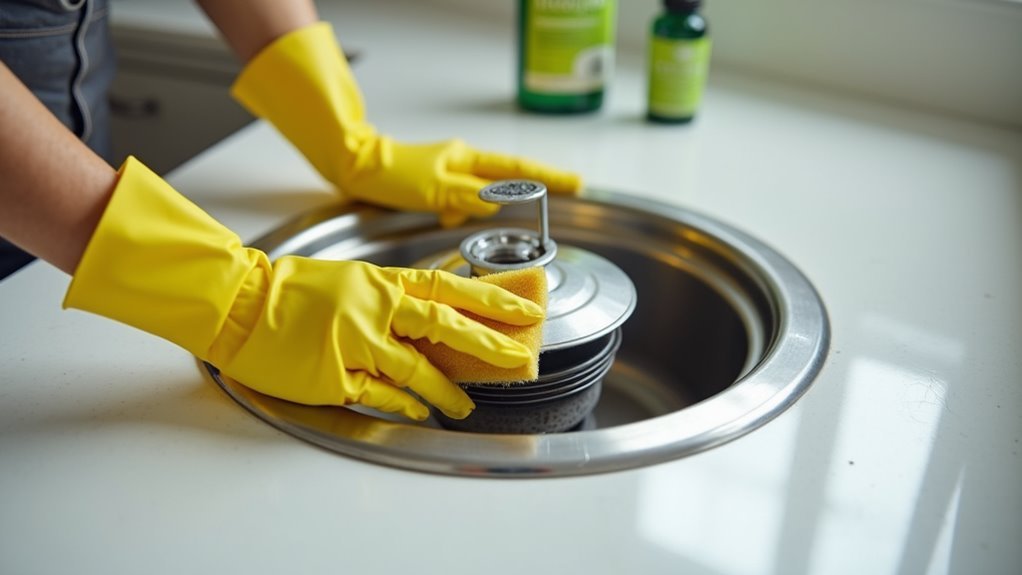
Don't forget to scrub the splash guard with dish soap.
Let's explore the essential steps for cleaning your garbage disposal unit, along with important safety precautions to keep in mind.
We'll cover both the proper cleaning techniques, like using baking soda and vinegar, and common mistakes to avoid, such as using harsh chemicals or reaching into the disposal without disconnecting power.
While maintaining your disposal might seem intimidating at first, we'll break down the process into simple, manageable steps that you can easily follow each month.
Things to Do When Cleaning a Garbage Disposal Unit
Cleaning a garbage disposal unit requires careful attention to safety and proper technique to guarantee both effective cleaning and prevention of damage to the appliance.
Before starting any cleaning procedure, it's essential to disconnect the power supply to avoid accidents, as this allows for safe removal of debris and thorough cleaning of all components without risk of injury.
- Power Disconnection: Cut off electricity to the unit at the circuit breaker or unplug from the outlet
- Debris Removal: Use pliers or tongs to extract visible food waste and foreign objects
- Splash Guard Cleaning: Remove and scrub the rubber guard with a brush to eliminate buildup
- Natural Cleaning Solution: Apply baking soda and vinegar mixture, allowing 10 minutes for reaction
- Ice and Salt Treatment: Run ice cubes and rock salt through the disposal with cold water for maintenance
- Final Rinse: Flush thoroughly with hot water to remove remaining cleaning agents and debris
Things to Avoid When Cleaning a Garbage Disposal Unit
Maintaining a garbage disposal requires careful attention to what not to do, as improper cleaning methods can lead to serious damage or personal injury. The key is to use gentle cleaning approaches that protect both the unit's mechanisms and your safety while ensuring effective cleaning results.
- Chemical drain cleaners – These harsh substances can corrode metal components and damage seals.
- Boiling or hot water – Causes grease to liquefy and stick rather than flush away.
- Bare hands for cleaning – Risk of severe cuts from sharp blades; use tools instead.
- Abrasive scrubbing pads – Can scratch and damage the grinding chamber surface.
- Large amounts of cleaning solution – Excessive cleaner can leave residue and affect performance.
- Wire brushes – Can damage or dislodge important components inside the unit.
- Running the unit dry – Can cause unnecessary wear on the motor and grinding parts.
- Excessive water pressure – High-pressure cleaning can damage internal mechanisms.
- Ice and salt overload – While these can help clean, too much can strain the motor.
- Reaching deep into disposal – Even with tools, reaching too far can damage internal parts.
Steps
Cleaning your garbage disposal regularly is essential for maintaining its performance and preventing unpleasant odors in your kitchen.
A thorough cleaning not only eliminates built-up grime and food particles but also helps extend the life of your disposal unit while keeping it running efficiently and safely.
Step 1: Turn off the power to the disposal unit by unplugging it or switching off the circuit breaker.
Step 2: Remove visible debris from the disposal using tongs or pliers.
Step 3: Clean the rubber splash guard with a scrub brush and soapy water.
Step 4: Pour half a cup of baking soda into the disposal.
Step 5: Add one cup of vinegar and let the mixture sit for 10 minutes.
Step 6: Flush the disposal with hot water for 30 seconds.
Step 7: Add two cups of ice cubes and one cup of rock salt.
Step 8: Turn the power back on and run cold water while grinding the ice mixture.
Step 9: Rinse thoroughly with cold water for 30 seconds.
Step 10: Optional: Grind citrus peels for a fresh scent.
Final Thoughts
While keeping your garbage disposal unit in top condition may seem like a hassle, it's actually one of the simplest ways to prevent kitchen problems and costly repairs.
Regular cleaning with baking soda and vinegar, grinding ice, and running cold water will maintain peak functionality.
Remember to disconnect the power before cleaning, and you'll enjoy a fresh-smelling, efficiently running disposal that's free from food residue and lingering odors.
Maintaining a clean garbage disposal isn't just about preventing bad smells—it's about extending the life of your appliance and ensuring your kitchen stays hygienic.
By incorporating regular monthly cleaning into your household routine and following proper usage guidelines, you can avoid costly repairs and replacements down the line.
Remember these key principles: use natural cleaners like baking soda and vinegar, run cold water consistently, avoid prohibited foods, and perform periodic maintenance with ice and salt.
These simple steps take just minutes but deliver significant benefits.
Start implementing these cleaning habits today. Your garbage disposal will work more efficiently, your kitchen will smell fresher, and you'll have peace of mind knowing you're protecting your investment.
Don't wait until problems arise—preventive maintenance is always the smarter choice.