Keeping your Keurig coffee maker clean is super important if you want your coffee to taste great and your machine to work well for a long time. While cleaning a Keurig might look like a tough job, it’s actually pretty easy. You just need to know the right steps to deal with things like mineral buildup and leftover coffee grounds.
Some of the links in this article may be affiliate links. If you make a purchase through these links, we may earn a small commission at no extra cost to you. Thank you.
According to Sarah Bogdan, a lab testing expert at Good Housekeeping, “The most common complaint with Keurigs is that they stop working or don’t brew as well over time – and nine times out of ten, it’s because people don’t clean them regularly.”
Think of your Keurig like a car – it needs regular care to keep running smoothly. If you skip cleaning it, your coffee might start tasting weird, or your machine could stop working right. But don’t worry – cleaning your Keurig isn’t rocket science, and you can easily learn how to do it the right way without breaking anything.
That’s why it’s worth learning the correct way to clean your machine, so you can keep enjoying those perfect cups of coffee every morning. The best part? You probably already have most of the cleaning supplies you need right in your kitchen.
Popular Single-Cup Coffee Maker
Coffee lovers everywhere have embraced the Keurig as their go-to solution for quick, convenient brewing.
When we’re looking to maintain our coffee machine, daily maintenance is essential.
We’ll need to clean the inside with a vinegar solution or descaling solution, replace the water filter cartridge regularly, and wipe down the exterior surface.
Fresh water and proper cleaning guarantee our Keurig keeps delivering perfect cups.
Let’s explore the essential aspects of keeping your Keurig clean and properly maintained for the best-tasting coffee possible.
We’ll cover both the do’s and don’ts of Keurig cleaning, along with step-by-step instructions that’ll make the process straightforward and effective.
Together, we’ll learn the best practices for maintaining your coffee maker’s performance, from daily cleaning routines to deep cleaning procedures that’ll extend your machine’s lifespan.
Things to Do When Cleaning A Keurig
Regular cleaning of your Keurig coffee maker is essential for maintaining peak performance and guaranteeing the best-tasting coffee possible.
A well-maintained machine not only produces better-tasting beverages but also helps prevent potential mechanical issues and extends the appliance’s lifespan.
By following a systematic cleaning routine, you can keep your Keurig functioning efficiently while preventing the buildup of minerals, coffee oils, and bacteria.
- Unplug machine – Disconnect from power source before starting any cleaning process to guarantee safety
- Clean exterior surfaces – Use a damp cloth to wipe down the machine’s outer shell and control panel
- Wash removable parts – Clean the drip tray, water reservoir, and pod holder with warm, soapy water
- Clear blockages – Use a paper clip to remove debris from the exit needle and pod holder
- Sanitize water system – Run several cycles of clean water through the machine to flush out residue
- Check water filter – Inspect and replace the filter cartridge according to manufacturer recommendations
- Clean needle assembly – Carefully clean both the entrance and exit needles to prevent clogging
- Dry components – Guarantee all parts are completely dry before reassembling the machine
- Test operation – Run a water-only cycle to verify proper function after cleaning
Things to Avoid When Cleaning A Keurig
When cleaning your Keurig coffee maker, it’s essential to use gentle, appropriate cleaning methods to maintain its functionality and guarantee the best-tasting coffee.
Improper cleaning techniques can damage critical components, compromise the machine’s performance, or even render it completely unusable, making it necessary to understand what practices to avoid during the cleaning process.
- Harsh chemicals and abrasive cleaners – These can degrade plastic parts and leave behind harmful residues that affect coffee taste.
- Complete water submersion – Leads to electrical damage and internal component failure.
- Metal cleaning tools – Can damage or break the delicate brewing needle and other sensitive parts.
- Skipping regular maintenance – Results in mineral buildup, clogging, and eventual brewing problems.
- Insufficient rinsing after cleaning – Leftover cleaning solutions can contaminate beverages and create unpleasant tastes.
Steps
Regular cleaning of your Keurig coffee maker is essential for maintaining ideal performance and guaranteeing the best-tasting coffee. A well-maintained Keurig not only brews better coffee but also lasts longer and operates more efficiently.
Following a systematic cleaning routine helps prevent mineral buildup, remove coffee residue, and keep the machine functioning properly.
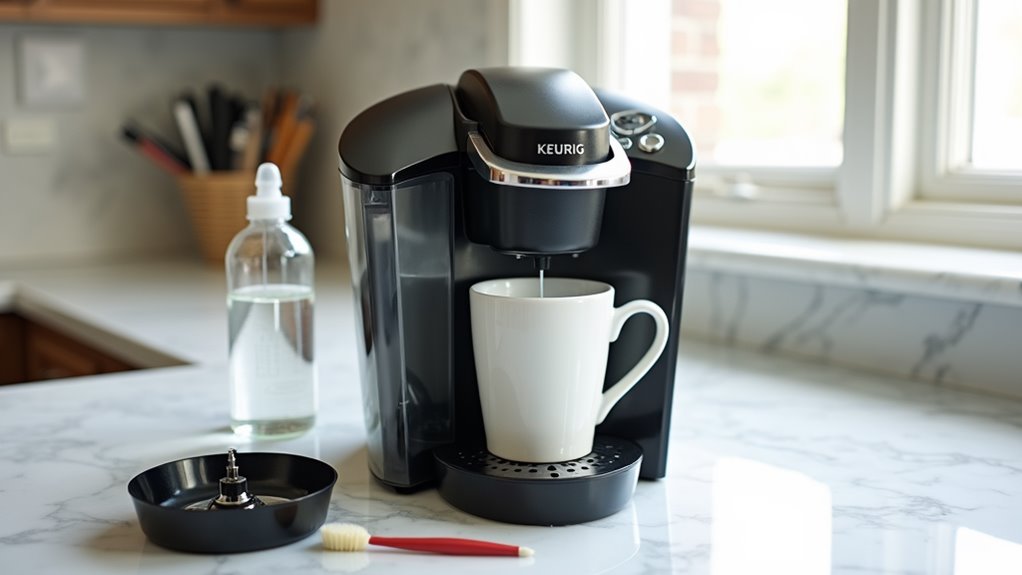
Step 1: Unplug the machine and wipe down the exterior with a damp cloth
Step 2: Remove and wash all detachable parts in warm, soapy water (reservoir, drip tray, pod holder)
Step 3: Use a paper clip to clear debris from the pod holder’s exit tube
Step 4: Clean the entrance needle under the brewer head
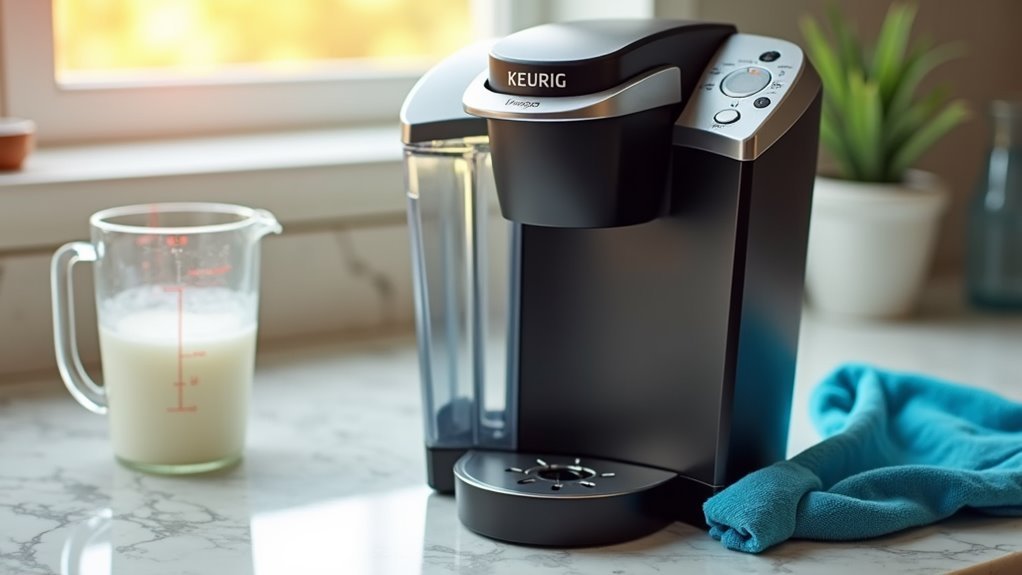
Step 5: Fill the water reservoir with equal parts white vinegar and water for descaling
Step 6: Run brewing cycles until reservoir is empty
Step 7: Rinse by running multiple cycles with fresh water until vinegar smell disappears
Step 8: Replace water filter cartridge after soaking for 5 minutes
Step 9: Reassemble all parts once completely dry
Step 10: Run one final cycle with fresh water to guarantee proper brewing
Final Thoughts
Maintaining your Keurig properly doesn’t have to be a complex task, as long as you’re consistent with the cleaning routine we’ve outlined.
By regularly descaling with a cleaning solution of white vinegar every three to six months, replacing your water filter, and cleaning interior components, you’ll extend your machine’s life.
Keeping your Keurig clean doesn’t have to be an intimidating task. With regular maintenance like wiping down surfaces, descaling every few months, and changing water filters, you can guarantee your coffee maker continues to brew the perfect cup every time.
Regular Keurig maintenance is simple but essential – a few basic cleaning habits ensure consistently great coffee and optimal machine performance.
The small effort of cleaning needles, running vinegar solutions, and maintaining the water reservoir pays off in better-tasting coffee and a longer-lasting machine.
Take a few minutes today to assess your Keurig’s cleanliness and create a simple maintenance schedule. Your taste buds will thank you, and you’ll avoid the frustration of a poorly functioning coffee maker.
Start with the basics, like a quick exterior wipe-down, and work your way up to a full descaling session. A well-maintained Keurig is an investment in your daily coffee enjoyment.