We all know what it's like when our keyboard gets dirty and sticky – it's no fun for typing or playing games. These special keyboards cost a lot of money, so keeping them clean is really important. While cleaning might look scary at first, there are some simple ways to protect your keyboard and keep those satisfying clicking sounds working great.
Some of the links in this article may be affiliate links. If you make a purchase through these links, we may earn a small commission at no extra cost to you. Thank you.
According to Thomas Ran, product manager at Corsair Gaming, "Regular maintenance of your mechanical keyboard can extend its lifespan by several years and maintain optimal performance. The most common issue we see is the buildup of dust and debris between the keys."
Mechanical Keys Require Regular Maintenance

Mechanical keyboards may seem sturdy, but they need regular care to stay in top condition.
Despite their robust build, mechanical keyboards aren't maintenance-free – proper care keeps them performing at their best.
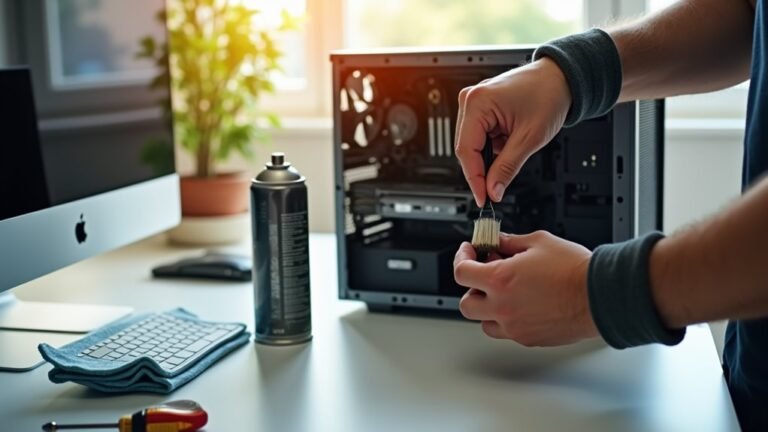
We recommend weekly quick cleanings with compressed air and a microfiber cloth to remove dust and debris.
When it's time for a deep cleaning, use a keycap puller to access the switches, then clean them with isopropyl alcohol.
For stubborn grime, warm water works well on removed keycaps.
Let's take a look at what we need to do (and avoid) when cleaning our mechanical keyboards to keep them in top condition.
We'll walk through the essential steps, from safely removing keycaps to properly disinfecting surfaces, making sure we don't damage any components along the way.
Our goal is to help you maintain your keyboard's performance while extending its lifespan through proper cleaning techniques and regular maintenance.
Things to Do When Cleaning a Mechanical Keyboard
Cleaning a mechanical keyboard requires careful attention to detail and proper techniques to maintain its performance and longevity.
A thorough cleaning not only improves the keyboard's appearance but also prevents key switches from becoming sticky or unresponsive, guaranteeing smooth typing and gaming experiences for years to come.
- Disconnect Power – Remove all cables from the keyboard to prevent electrical shorts and accidental keystrokes.
- Remove Keycaps – Use a keycap puller to carefully detach keycaps, avoiding damage to the switches underneath.
- Document Layout – Take a photo of your keyboard layout before removal to guarantee correct reassembly.
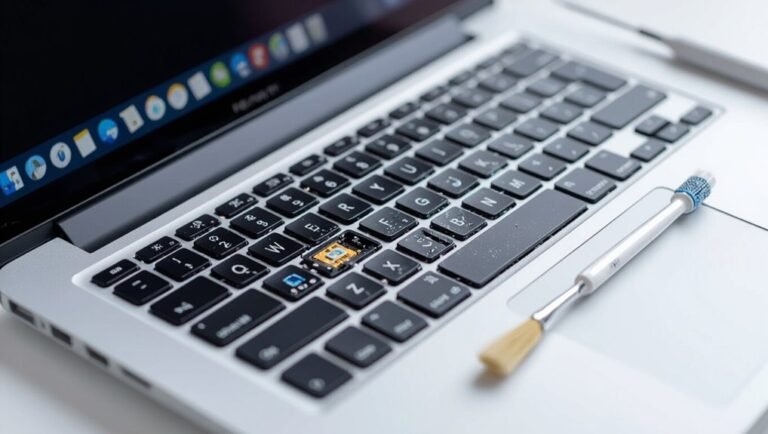
- Clear Debris – Use compressed air or a soft brush to remove dust and particles from the exposed keyboard deck.
- Clean Keycaps – Wash removed keycaps in warm water with mild soap, then dry thoroughly.
- Sanitize Surfaces – Apply isopropyl alcohol with cotton swabs to clean around switches and stubborn dirt.
- Address Deep Dirt – Use a small brush to carefully clean between switches and hard-to-reach areas.
- Dry Components – Allow all parts to dry completely before reassembly.
- Reassemble Carefully – Replace keycaps according to your documented layout, guaranteeing proper alignment.
- Test Function – Plug in and test all keys to confirm proper operation after cleaning.
Things to Avoid When Cleaning a Mechanical Keyboard
When cleaning a mechanical keyboard, it's essential to exercise caution and follow proper maintenance techniques to prevent damage to this sensitive electronic device. Improper cleaning methods can result in permanent damage to the keyboard's components, affecting both its functionality and longevity.
- Excessive Water Usage – Even small amounts of liquid can seep into the keyboard's internal components and cause short circuits.
- Harsh Chemical Cleaners – Aggressive cleaning solutions can erode keycap legends and damage the keyboard's finish.
- Direct Vacuum Contact – Standard vacuum cleaners can create static electricity that may harm internal electronics.
- Forceful Keycap Removal – Yanking keycaps without proper tools can break stems and damage switch mechanisms.
- Compressed Air at Close Range – High-pressure air too close to components can force debris deeper or damage delicate parts.
- Wet Cleaning While Plugged In – Cleaning while connected to power increases risk of electrical damage and personal injury.
- Abrasive Materials – Rough cloths or scrubbing pads can scratch surfaces and remove key legends.
Steps
Cleaning a mechanical keyboard requires careful attention to detail and the right approach to guarantee you don't damage the sensitive components while removing dirt, debris, and accumulated grime.
The process involves disassembling the keyboard, cleaning individual parts, and properly reassembling everything to maintain peak functionality and extend the keyboard's lifespan.
Step 1: Unplug the keyboard and photograph the key layout for reference
Step 2: Remove all keycaps using a keycap puller tool
Step 3: Place keycaps in warm, soapy water and soak for 15-20 minutes
Step 4: Clean the keyboard deck with a soft bristle brush or vacuum attachment
Step 5: Use alcohol-dampened Q-tips to clean around switches and remove stubborn residue
Step 6: Rinse keycaps thoroughly and dry completely with a microfiber towel
Step 7: Reassemble the keyboard, pressing each keycap firmly until you hear a click
Step 8: Test all keys to guarantee proper functionality
Final Thoughts
Maintaining a mechanical keyboard isn't difficult once you've mastered the proper cleaning techniques.
With regular attention to debris removal and good cleaning habits, we'll keep our keyboards in top shape.
Remember to disinfect thoroughly, guarantee keycaps are completely dry before reassembly, and stick to a monthly cleaning schedule.
This investment in maintenance will reward us with a better typing experience and longer-lasting mechanical keyboard.

Keeping your mechanical keyboard clean doesn't have to be an intimidating task. With regular maintenance and occasional deep cleaning, you can preserve your keyboard's performance and extend its lifespan considerably.
While a quick weekly dusting takes just minutes, setting aside time every few months for thorough cleaning will prevent buildup and protect your investment.
Remember that prevention is just as important as cleaning – keeping food and drinks away from your keyboard, washing hands before use, and addressing spills immediately will minimize the need for intensive cleaning sessions.
By incorporating these cleaning habits into your routine, you'll maintain both the aesthetics and functionality of your mechanical keyboard for years to come.
Don't wait until your keyboard shows visible signs of dirt or starts malfunctioning. Take action today and give your trusty typing companion the care it deserves.
Your fingers – and your keyboard – will thank you.


