Keeping our thermometers clean is super important since they touch our bodies when we're checking for fever. No matter what kind you have – digital, oral, or the no-touch forehead type – cleaning them the right way helps them work better and stops germs from spreading.
Some of the links in this article may be affiliate links. If you make a purchase through these links, we may earn a small commission at no extra cost to you. Thank you.
According to Dr. Emily Sickbert-Bennett, Director of Infection Prevention at UNC Medical Center, "The best practice for cleaning medical devices like thermometers is using an alcohol-based disinfectant wipe or solution with at least 70% alcohol content."
Whether you're using your thermometer at home or in a doctor's office, taking good care of it means better temperature readings and keeping everyone healthy. It's just like washing your hands – a simple habit that makes a big difference in stopping germs from spreading around.
Sanitize for Health Safety
While keeping tabs on our health is important, maintaining a clean thermometer is just as vital for accurate and safe temperature readings.
We need to clean and sanitize our thermometers before and after each use with rubbing alcohol or bleach wipes to prevent the spread of bacteria and viruses.
Regular cleaning guarantees reliable results, especially when multiple family members are sick.
Clean your thermometer consistently to ensure accurate readings and prevent cross-contamination when monitoring temperatures for multiple sick household members.
Consider keeping separate thermometers for each person.
Let's explore the essential things we need to know about cleaning our thermometers properly.
We'll cover both the important steps to take and the mistakes to avoid, making sure you can effectively sanitize your thermometer while protecting its accuracy.
From careful cleaning techniques to proper storage methods, these tips will help you maintain your thermometer's reliability while keeping your family safe.
Things to Do When Cleaning a Thermometer
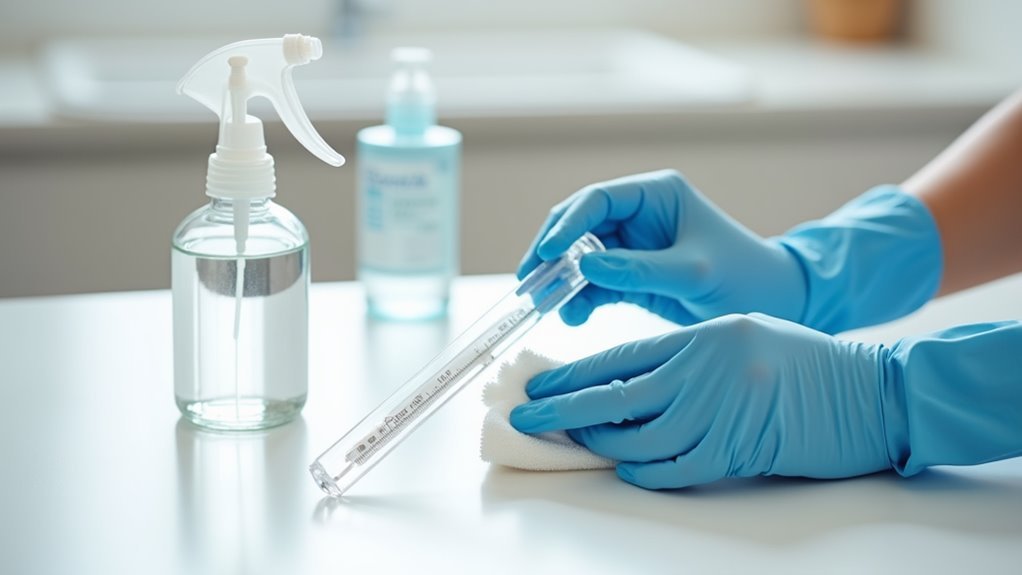
Proper cleaning of a thermometer is essential for maintaining accurate temperature readings and preventing the spread of infections between users. The process requires careful attention to hygiene protocols and the use of appropriate cleaning materials based on the type of thermometer being sanitized, whether it's digital, forehead, or rectal.
- Wash hands thoroughly – Clean hands with soap and water or sanitizer to prevent contamination.
- Check manufacturer guidelines – Review specific cleaning instructions for your thermometer model.
- Select appropriate cleaning solution – Use at least 60% rubbing alcohol or manufacturer-recommended cleaners.
- Clean with proper technique – Wipe thoroughly with alcohol-soaked cotton swab or antibacterial soap.
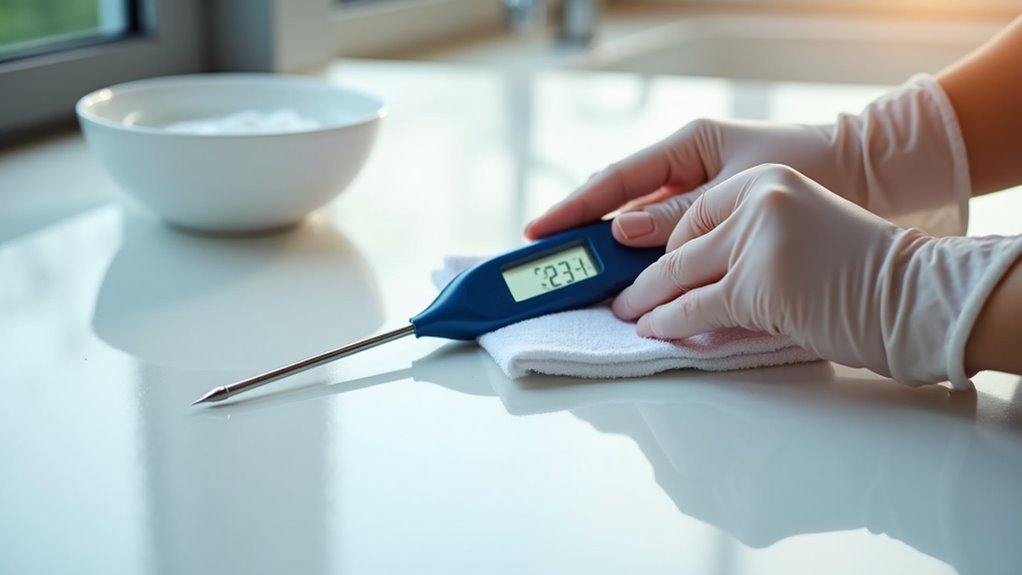
- Avoid electronic damage – Prevent moisture from entering battery compartments or digital displays.
- Allow complete drying – Let the thermometer air dry fully before storing or using.
- Store properly – Keep in a clean, dry case or container to maintain sanitation.
- Separate different types – Store oral and rectal thermometers separately to prevent cross-contamination.
- Regular maintenance – Check for damage or wear that could affect accuracy or safety.
- Replace when necessary – Discard and replace thermometers showing signs of malfunction or deterioration.
Things to Avoid When Cleaning a Thermometer
When cleaning a thermometer, it's essential to follow proper maintenance procedures to guarantee accurate readings and longevity of the device.
Improper cleaning methods can't only damage the thermometer but also compromise its ability to provide reliable temperature measurements, potentially leading to incorrect health assessments.
- Water submersion – Can cause permanent damage to electronic components in digital thermometers and lead to malfunction
- Hot water rinsing – Risks causing cracks or structural damage to the thermometer's material
- Abrasive cleaners or scrubbing pads – Creates scratches that can harbor bacteria and compromise accuracy
- Direct bleach application – Can corrode components and damage digital displays or buttons
- Shared use without disinfection – Increases risk of cross-contamination and spread of infections
- Harsh chemical cleaners – May degrade the thermometer's protective coating and sensor components
- Excessive force during cleaning – Can break delicate parts or misalign internal mechanisms
- Storage while wet – Promotes bacterial growth and can lead to corrosion of metal parts
Steps
Proper cleaning of a thermometer is essential for accurate temperature readings and preventing the spread of infections between users. The cleaning process varies slightly depending on the type of thermometer you have, but all methods focus on thorough disinfection while protecting any sensitive electronic components from damage.
Step 1: Wash your hands thoroughly with soap and water or use hand sanitizer.
Step 2: Identify your thermometer type (digital, rectal, or infrared).
Step 3: For digital thermometers, wipe the probe with an alcohol-soaked cotton swab.
Step 4: For rectal thermometers, clean with antibacterial soap first, then disinfect with alcohol.
Step 5: For infrared thermometers, carefully clean the sensor with an alcohol wipe.
Step 6: Allow the thermometer to air dry completely.
Step 7: Never submerge electronic parts in liquid.
Step 8: Store in a clean, dry container away from heat sources.
Step 9: Check for any damage or wear before next use.
Step 10: Replace protective caps if applicable.
Final Thoughts
Maintaining a clean thermometer isn't just about hygiene – it's essential for getting accurate readings every time you need to check someone's temperature.
By properly disinfecting thermometers and following the manufacturer's instructions, we can guarantee reliable readings and prevent the spread of infections.
Maintaining a clean thermometer is a simple yet essential healthcare practice that protects you and your family.
Regular disinfection between uses, proper storage, and following manufacturer guidelines guarantee accurate readings and prevent the spread of illness.
By taking these few extra minutes to properly clean and care for your thermometer, you're making a significant investment in your household's health and safety.
Start implementing these cleaning habits today – your family's wellbeing is worth the effort.