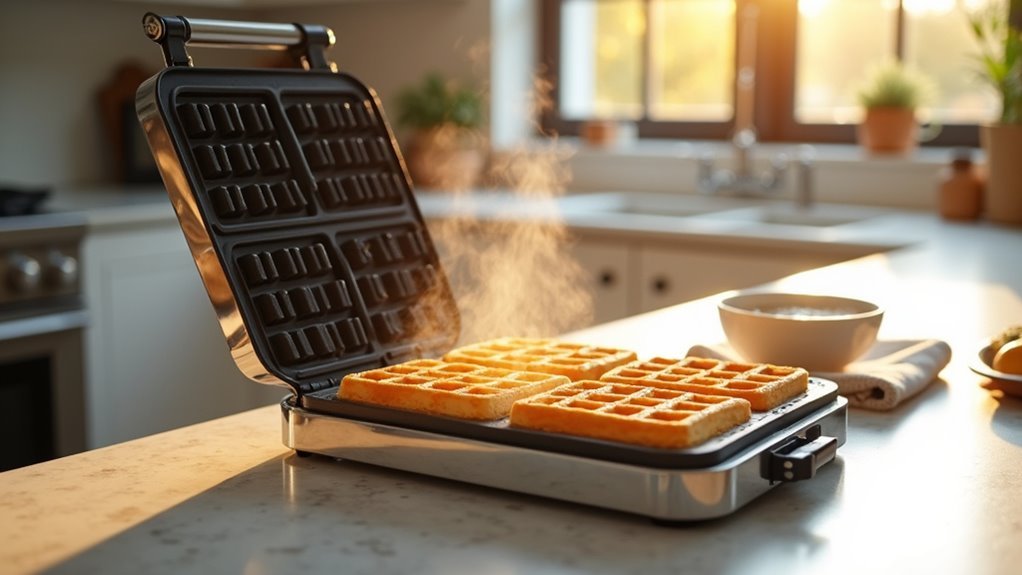
We've all been there – looking at our waffle maker covered in sticky batter and wondering how to clean it. Whether you have a simple waffle maker from the store or a fancy restaurant-style one, keeping it clean means you'll get better-tasting waffles every time.
Some of the links in this article may be affiliate links. If you make a purchase through these links, we may earn a small commission at no extra cost to you. Thank you.
According to Claire Zulkey, a food writer for Better Homes & Gardens, "The most common mistake people make is trying to clean their waffle maker while it's still hot, which can damage the non-stick coating and even cause burns."
Cleaning your waffle maker doesn't have to be a hard job. The right way to clean it helps protect its non-stick surface and keeps all the electrical parts safe. By following some basic steps, you can make your waffle maker look new again and ready for your next batch of golden, crispy waffles.
Safe Waffle Maker Cleaning
When it comes to cleaning your waffle maker safely, proper precautions are essential to protect both you and your appliance.
Let's start by unplugging our waffle makers and letting them cool completely.
Always unplug your waffle maker first and allow it to fully cool before attempting any cleaning or maintenance.
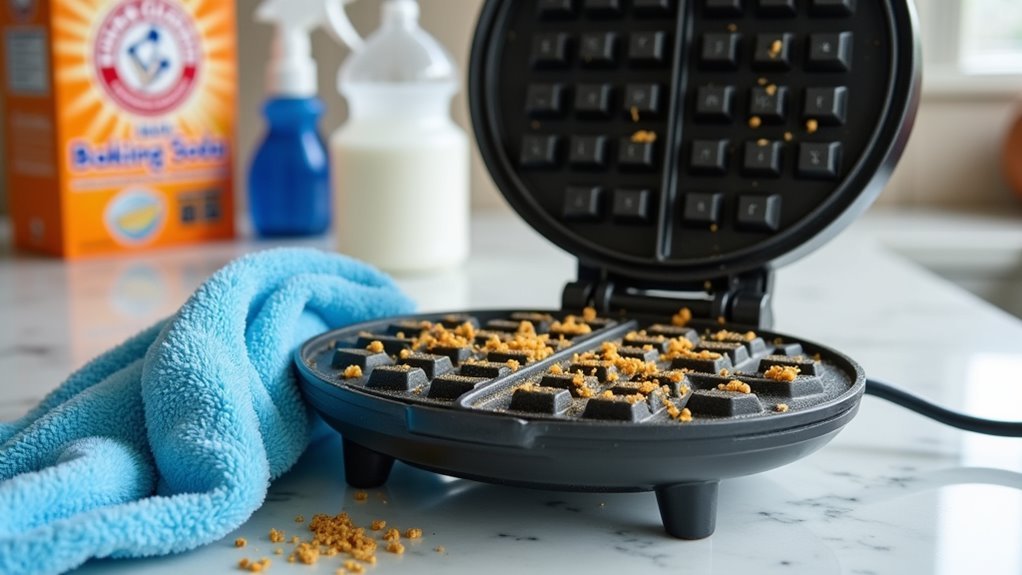
We'll need a damp cloth with warm water to wipe away crumbs and cooking oil.
For tough spots, we'll make a paste using baking soda – it's important to clean often to maintain the appliance.
##
Let's look at the important things to remember when cleaning our waffle makers, from essential steps to follow to what we should avoid.
We'll cover both safe cleaning methods that protect our appliance and common mistakes that could damage it.
Our goal is to help you maintain your waffle maker properly while extending its lifespan through correct cleaning techniques.
Things to Do When Cleaning a Waffle Maker
Properly cleaning your waffle maker is essential for maintaining its non-stick surface and guaranteeing delicious waffles every time. The cleaning process requires careful attention to avoid damaging the appliance while effectively removing all food residue, grease, and batter buildup that can affect both performance and taste.
- Unplug and Cool – Allow the waffle maker to completely cool down to prevent burns and safely handle the appliance.
- Basic Surface Clean – Wipe down plates with a damp cloth or sponge using warm, soapy water.
- Tackle Stubborn Residue – Apply baking soda paste to stuck-on batter and wait 45 minutes before gentle scrubbing.
- Detail Clean – Use a pastry brush or chopstick with paper towel to clean corners and grid patterns.
- Address Grease – Apply vinegar solution to remove oil buildup from cooking surfaces.
- Remove Soap Residue – Wipe plates with clean, damp cloth to eliminate any remaining soap.
- Final Dry – Thoroughly dry all components with soft cloth before storing.
- Exterior Wipe – Clean outer surfaces and cord with slightly damp cloth.
- Storage Prep – Confirm unit is completely dry and plates are clean before storing.
Things to Avoid When Cleaning a Waffle Maker
Proper maintenance of your waffle maker requires understanding what not to do during the cleaning process.
Making cleaning mistakes can potentially damage the appliance, compromise its non-stick capabilities, or create safety hazards that could render the waffle maker unusable.
Following the correct cleaning procedures while avoiding harmful practices will help extend the life of your waffle maker and guarantee it continues to produce perfect waffles every time.
Submerging in water – Immersing the waffle maker can permanently damage electrical components and create dangerous shorts.
Metal utensils – Sharp or metal tools can scratch and permanently damage the non-stick coating.
Abrasive cleaners – Harsh cleaning products and scouring pads wear down protective surfaces and non-stick properties.
Cooking sprays – Aerosol sprays leave behind sticky residue that becomes difficult to remove and affects cooking performance.
Excess detergent – Too much soap makes rinsing difficult and can leave behind residue that affects food taste and cooking surfaces.
Steps
Proper cleaning of your waffle maker is essential for maintaining its performance and extending its lifespan. Regular cleaning prevents batter buildup, guarantees consistently delicious waffles, and protects the non-stick coating from damage.
Following a systematic cleaning process will keep your waffle maker in prime condition while preserving its functionality for years to come.
Step 1: Unplug the waffle maker and allow it to cool completely
Step 2: Wipe down the plates with a damp sponge and mild dish soap
Step 3: Create a baking soda paste for stubborn residue and apply to affected areas
Step 4: Let the paste sit for up to 45 minutes
Step 5: Gently scrub the plates with a non-abrasive sponge
Step 6: Clean the grid patterns using a moistened paper towel wrapped around a chopstick
Step 7: Wipe all surfaces with a clean, damp cloth to remove any cleaning residue
Step 8: Dry thoroughly with a lint-free cloth
Step 9: Store the waffle maker in a clean, dry place
Final Thoughts
Caring for your waffle maker doesn't have to be complicated, and we've covered all the essential steps to keep it in pristine condition.
With regular cleaning after use and a monthly deep clean, you'll prevent baked-on batter and maintain the nonstick surface.
Remember to use soft cloths and avoid harsh scrubbing. A clean waffle maker, free of cooking spray residue, guarantees delicious results every time.
##
Keeping your waffle maker clean doesn't have to be an intimidating task. With regular maintenance after each use and occasional deep cleaning, you can maintain your appliance's non-stick surface and guarantee consistently delicious waffles.
The key is to establish a simple cleaning routine using gentle materials and proper techniques that protect the cooking surfaces. Don't let residue build up – address spills and stickiness promptly to prevent more challenging cleanup later.