We've all faced a dirty pumpkin that needs cleaning before we can turn it into a fun Halloween decoration or table centerpiece. Making sure your pumpkin is clean not only makes it look better but also helps it last longer. Let's walk through the simple steps to get your pumpkin ready for fall fun.
Some of the links in this article may be affiliate links. If you make a purchase through these links, we may earn a small commission at no extra cost to you. Thank you.
According to Martha Stewart Living, "A clean pumpkin helps prevent mold growth and keeps your carved creation looking fresh for up to a week." This simple cleaning step can make a real difference in how long your pumpkin stays looking great.
Whether you picked your pumpkin from a patch or bought it from a store, it probably has dirt, dust, or field residue on it. Getting rid of these will make your pumpkin look its best and give you a clean surface for carving or painting.
The cleaning process doesn't require fancy tools or special products. You just need:
- Water
- Mild soap
- A soft cloth or sponge
- A dry towel
Think of cleaning your pumpkin like washing a big orange dish – gentle scrubbing with basic supplies will do the trick. Once you're done, your pumpkin will be ready for whatever fun fall project you have planned.
Prep Your Pumpkin First

Before diving into the cleaning process, we'll need to make certain your pumpkin is in good shape for preparation.
First, let's check for any soft or rotten spots that we'll need to remove with a sharp knife.
Next, we'll rinse the pumpkin under running water to get rid of loose dirt and debris.
Thoroughly rinse your pumpkin with cool water to remove any dirt and grime before proceeding with preparation.
A thorough inspection of the outside of a pumpkin guarantees we're starting with a clean slate.
Let's look at how we can clean our pumpkin's exterior safely and effectively, as proper cleaning is essential for both carving and cooking.
We'll explore the best methods to remove dirt and debris, along with some common mistakes to avoid during the cleaning process.
Whether you're preparing a pumpkin for a jack-o'-lantern or a delicious pie, following these cleaning guidelines will help guarantee your pumpkin is safe to handle and free from harmful bacteria.
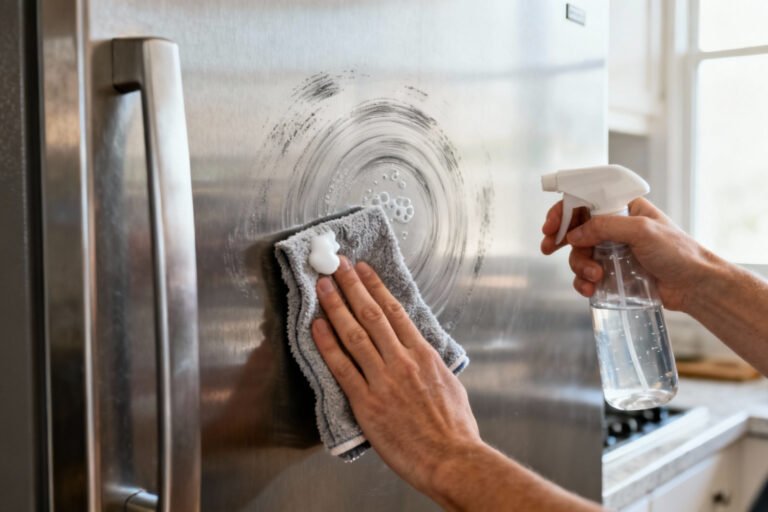
Things to Do When Cleaning the Outside of a Pumpkin
Properly cleaning the outside of a pumpkin is essential for maintaining its appearance and preventing premature decay. Whether you're preparing a pumpkin for carving, cooking, or display, thorough cleaning removes harmful bacteria, dirt, and debris that could compromise its longevity and safety.
- Use a vegetable brush or rough cloth – Scrub the entire surface with firm, circular motions to dislodge stuck-on dirt.
- Rinse under running water – Wash away loosened debris and dirt completely, ensuring no residue remains.
- Sanitize with mild soap solution – Apply diluted soap for heavily soiled pumpkins, working it into the surface.
- Perform thorough rinse – Remove all soap residue with clean water to prevent film buildup.
- Check for damage – Examine the pumpkin's surface for soft spots or rot, trimming away affected areas.
- Allow complete drying – Pat with clean towels and air dry thoroughly to prevent moisture-related deterioration.
- Inspect final results – Verify the pumpkin is clean, dry, and free from any remaining dirt or damage.
Things to Avoid When Cleaning the Outside of a Pumpkin
Before cleaning a pumpkin, it's crucial to understand the delicate nature of its outer skin and how improper cleaning methods can greatly impact its longevity and appearance.
Using the wrong techniques or cleaning products can lead to premature decay, unsightly blemishes, or structural damage that could ruin your pumpkin before you have the chance to display or carve it.
- Harsh chemical cleaners or bleach solutions – These can erode the protective outer layer of the pumpkin's skin and accelerate decomposition.
- Aggressive scrubbing or rough sponges – Can create scratches and bruises that become entry points for bacteria and mold.
- Extended water exposure or soaking – Promotes rot and weakens the pumpkin's structural integrity.
- Direct sunlight during cleaning – Heat exposure can speed up decay and cause uneven drying.
- Abrasive cleaning tools – Wire brushes or rough scrubbers can damage the outer skin.
- Incomplete drying – Leaving moisture on the surface creates ideal conditions for mold growth.
- Hot water – Can soften the pumpkin's flesh and lead to premature spoilage.
Steps
Properly cleaning a pumpkin is essential before carving or cooking to guarantee food safety and prevent contamination.
A thorough cleaning removes harmful bacteria, pesticides, and dirt that could otherwise affect the quality of your pumpkin or potentially cause illness when consumed.
Step 1: Rinse the pumpkin under cool running water to remove loose surface dirt.
Step 2: Prepare a cleaning area with a vegetable brush or rough cloth.
Step 3: Scrub the entire surface of the pumpkin, paying special attention to creases and stem area.
Step 4: Inspect the pumpkin for soft spots or damage, cutting away any compromised areas.
Step 5: If heavily soiled, wash with mild soap solution.
Step 6: Rinse thoroughly to remove all soap residue.
Step 7: Dry completely with a clean towel to prevent mold growth.
Final Thoughts
Since a clean pumpkin provides the best foundation for any project, taking time to properly sanitize your gourd will lead to better results and longer-lasting decorations.
Whether you're using a vegetable brush for scrubbing or checking for soft or rotten spots with a sharp knife, remember that thorough cleaning prevents mold growth.
That's why we recommend the bleach solution as a final step.

With proper cleaning techniques, your pumpkin will be ready for carving, decorating, or cooking.
Taking the time to thoroughly clean your pumpkin removes harmful bacteria, extends its life, and provides a better surface for creative projects.
Remember that a clean pumpkin is essential whether you're making a jack-o'-lantern or preparing it for a delicious fall recipe.
Get started with your freshly cleaned pumpkin and enjoy bringing your autumn decorating or cooking plans to life.