Getting shrimp ready for cooking doesn't have to be tricky, even though lots of home cooks find it challenging at first. Learning how to clean shrimp properly turns these tasty seafood favorites from raw to ready-to-cook. Whether you're making dinner for your family or hosting friends, knowing the right way to clean shrimp will make your dishes taste better.
Some of the links in this article may be affiliate links. If you make a purchase through these links, we may earn a small commission at no extra cost to you. Thank you.
According to Chef Andrew Zimmern, host of Travel Channel's "Bizarre Foods," "Properly cleaning shrimp isn't just about removing the shell – it's about creating a better-tasting final dish. A properly cleaned shrimp will cook more evenly and taste sweeter."
Fresh Shrimp Delight Chefs
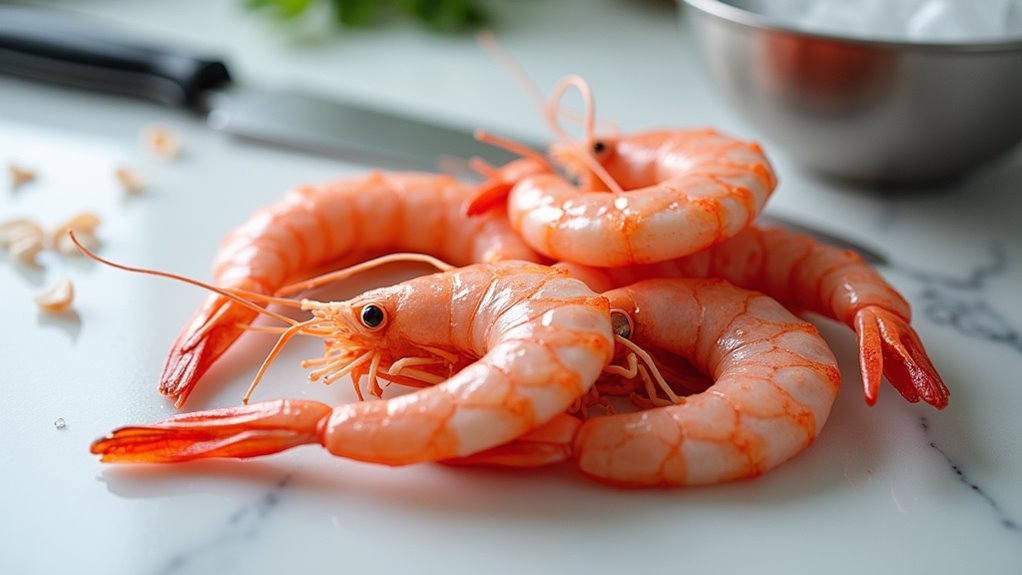
Professional chefs consistently reach for fresh, unpeeled shrimp when creating their signature seafood dishes.
We'll often find them selecting these pristine specimens because they deliver superior flavor compared to pre-peeled options.
When we clean fresh shrimp ourselves, we can carefully remove the dark vein while maintaining the meat's quality, ensuring each dish reaches its full potential for both taste and presentation.
Let's look at the essential aspects of cleaning shrimp, from helpful tips to common mistakes you'll want to avoid.
We'll walk through the key steps that guarantee perfectly cleaned shrimp every time, whether you're working with fresh or frozen varieties.
With proper technique and attention to detail, you'll be ready to transform those raw shrimp into delicious, restaurant-quality seafood dishes.
Things to Do When Cleaning shrimp
Cleaning shrimp properly is essential for both taste and presentation, ensuring you get the most enjoyment from this popular seafood. The process begins with properly thawed shrimp and requires careful attention to maintain the integrity of the meat while removing unwanted parts.
Using the right tools and technique will result in clean, appetizing shrimp ready for your favorite recipes.
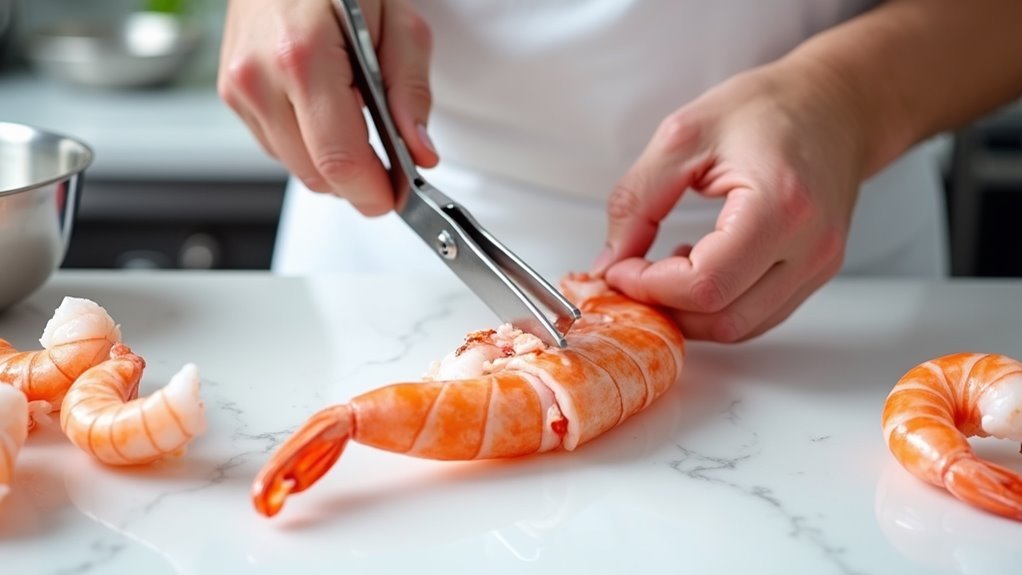
- Use sharp kitchen shears – Cut along the middle of the back through the shell for easy removal
- Remove the shell – Peel away from the body while keeping the tail intact for presentation
- Extract the vein – Make a shallow cut and gently pull out the dark digestive tract
- Rinse thoroughly – Use cold water to wash away shell fragments and debris
- Pat dry – Use paper towels to remove excess moisture before cooking
- Save the shells – Store in freezer bags for future use in homemade stock
- Maintain proper temperature – Keep shrimp cold throughout the cleaning process
- Work in small batches – Clean a manageable amount at a time to maintain freshness
- Inspect each shrimp – Check for any remaining shell pieces or veins
- Keep a clean workspace – Have a disposal bowl ready for shells and veins
Things to Avoid When Cleaning shrimp
Cleaning shrimp properly is essential for achieving the best taste and texture in your seafood dishes. While the process may seem straightforward, there are several common mistakes that can compromise the quality of your shrimp or make the cleaning process more difficult than necessary.
- Using excessive force during shell removal – Can tear the delicate meat and affect the final presentation.
- Skipping the cold water rinse – Leaves behind shell fragments and debris that can affect taste and texture.
- Cleaning partially frozen shrimp – Makes the process more challenging and less effective.
- Cutting too deeply while deveining – Wastes precious meat and can affect the shrimp's appearance.
- Leaving veins in large shrimp – Results in an unpleasant gritty texture in the final dish.
- Working with dull tools – Increases the risk of accidental cuts and makes shell removal more difficult.
- Rushing through the cleaning process – Can lead to missed veins or shell pieces.
- Not maintaining a clean workspace – Increases risk of cross-contamination.
- Cleaning shrimp far in advance – Can affect freshness and quality of the final dish.
- Discarding shells immediately – Shells can be used to make flavorful seafood stock.
Steps
Cleaning shrimp properly is essential for both food safety and ideal taste in your seafood dishes. The process involves removing the shell and deveining the shrimp to eliminate the digestive tract, which can contain sand and grit.
While the vein isn't harmful if consumed, removing it improves both the appearance and texture of the final dish.
Step 1: Thaw frozen shrimp in the refrigerator overnight or in a bowl of cold water
Step 2: Use sharp scissors to cut along the middle of the shrimp's back, from head to tail
Step 3: Peel off the shell, leaving the tail on if desired for presentation
Step 4: Make a shallow cut along the back to expose the dark vein
Step 5: Remove the vein using the tip of the knife or your fingers
Step 6: Rinse the cleaned shrimp under cold running water
Step 7: Pat the shrimp dry with paper towels
Step 8: Store shells in a freezer bag for future stock-making (optional)
Final Thoughts
While mastering proper shrimp cleaning techniques takes practice, you'll find the process becomes quick and easy with time.
We encourage you to save those shells for homemade stock, as they'll add incredible flavor to future dishes.
Remember, properly cleaned shrimp not only look better but taste better too.
With these skills, you'll be ready to prepare restaurant-quality seafood at home.
Cleaning shrimp doesn't have to be an intimidating task with the right approach and tools. By following proper cleaning techniques, you can transform raw shrimp into restaurant-quality ingredients ready for any recipe.
Remember to save those shells for homemade stock – it's a chef's secret for adding deep seafood flavor to your dishes.
Whether you're preparing a simple shrimp cocktail or an elaborate seafood feast, taking the time to clean your shrimp properly will elevate both the texture and presentation of your final dish.
Get your kitchen shears ready and start practicing – with a little experience, you'll be cleaning shrimp like a pro in no time.