CONTENT PROCESSING:
Scratches on a car. We’ve all been there. A bumped shopping cart, a careless brush against a pole, or even just the inevitable wear and tear of daily driving can leave a mark on our vehicles. While a deep, gouged scratch might require professional attention, many surface scratches can be effectively tackled with a little patience and the right techniques. Understanding what causes these scratches and how they react to different cleaning methods is the first step to restoring your car’s shine. Ignoring a small scratch can lead to paint oxidation, further damage, and ultimately, a lower resale value. This guide provides a thorough, beginner-friendly approach to cleaning scratches, offering practical advice and crucial preventative measures.
Some of the links in this article may be affiliate links. If you make a purchase through these links, we may earn a small commission at no extra cost to you. Thank you.
THINGS TO DO WHEN CLEANING A SCRATCH ON A CAR
The success of cleaning a scratch hinges on understanding its depth and the paint’s condition. Before diving in, assess the scratch: is it just a haze, or does it affect the underlying paint? Generally, cleaning a scratch involves removing the oxidized layer of paint and often, the clear coat. This can be achieved through careful polishing and waxing. Don’t expect miracles – a light scratch can be completely removed, while deeper scratches may only be minimized.
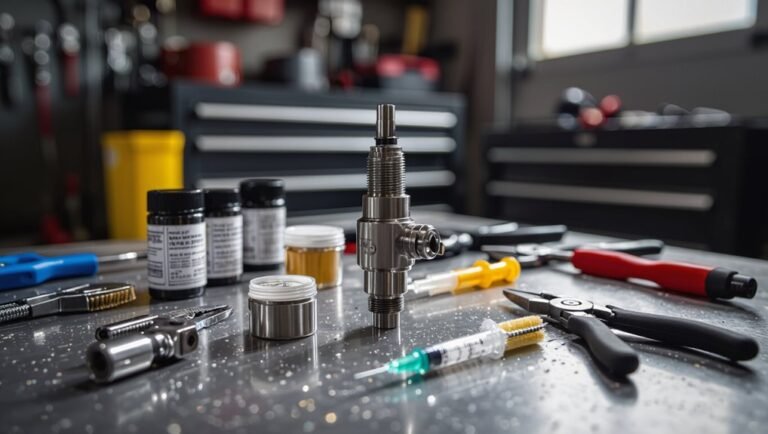
- Microfiber Towels: Essential for gentle buffing and preventing further scratching. Opt for plush, lint-free towels.
- Car Wash Soap: Specifically designed for automotive paint, avoiding harsh chemicals.
- Clay Bar: Removes bonded contaminants like tree sap and brake dust that can hinder polishing.
- Polishing Compound: Designed to lift and remove surface imperfections in the paint. Start with a mild compound for light scratches.
- Buffing Pads: Attached to a polisher or used by hand, provide the necessary friction for removing the compound.
- For final cleaning and protection after polishing.
- Isopropyl Alcohol (91%): Excellent for removing wax residue and preparing the surface.
THINGS TO AVOID WHEN CLEANING A SCRATCH ON A CAR
Despite your best efforts, there are several actions that can worsen a scratch. Incorrect techniques or the use of inappropriate products can damage the clear coat, leading to a hazy, uneven finish, or even further scratching. Remember, patience and a gentle approach are key.
- Harsh Chemicals: Avoid household cleaners, solvents, or anything containing abrasive chemicals. They can strip the paint and damage the clear coat.
- Aggressive Polishing: Using a heavy-duty polisher or excessively abrasive compounds can create swirl marks and further damage the paint.
- Applying Too Much Pressure: Let the polishing compound and pad do the work. Excessive pressure can lead to uneven polishing and paint damage.
- Ignoring Wax/Sealant: Without a protective layer of wax or sealant, the polished area will quickly oxidize and redevelop scratches.
- Cleaning in Direct Sunlight: The heat can cause the polish to dry too quickly, leading to uneven results.
STEPS
Now, let’s outline the process for effectively cleaning a scratch on your car:
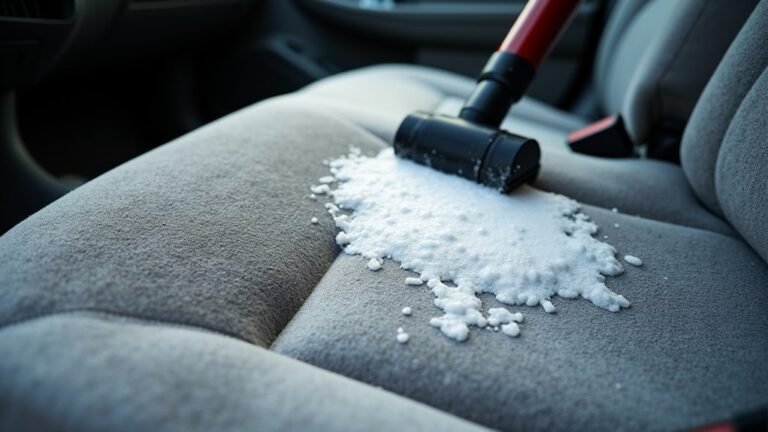
Step 1: Wash and Dry the Car Thoroughly: This removes dirt and debris that could contaminate your work.
Step 2: Assess the Scratch: Confirm the depth and location of the scratch.
Step 3: Decontaminate the Area: Use a clay bar to remove bonded contaminants. Follow with a detailer spray to clean the area after.
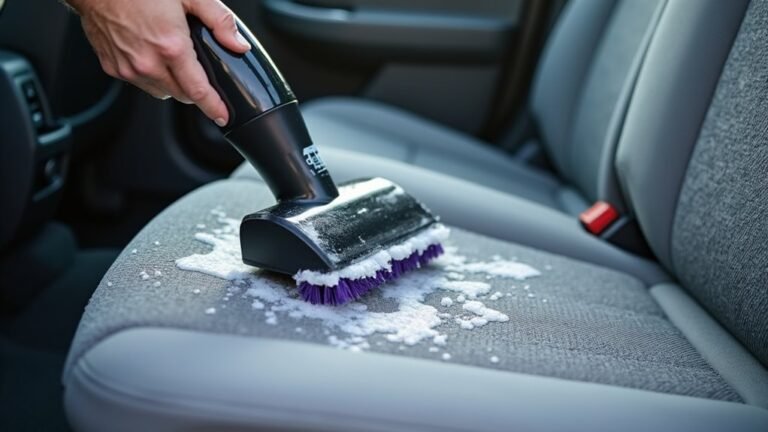
Step 4: Apply Polishing Compound: Apply a small amount of polishing compound to a buffing pad. Work in small, overlapping sections.
Step 5: Polish the Scratch: Using a slow, back-and-forth motion, gently polish the scratch. Maintain consistent pressure.
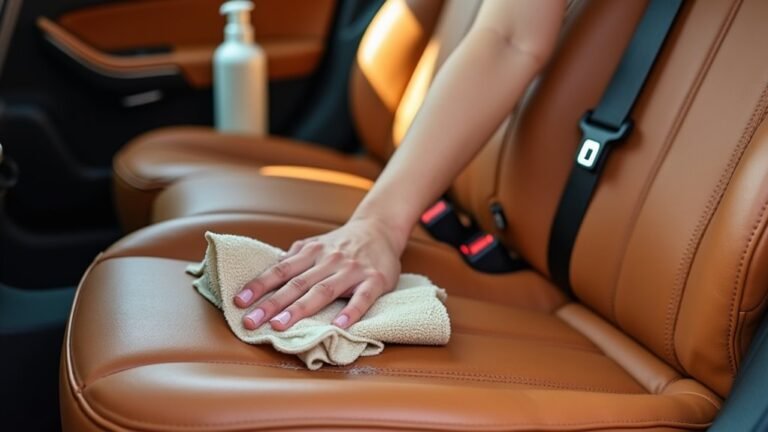
Step 6: Buff Off the Compound: Use a clean microfiber towel to remove all traces of the polishing compound.
Step 7: Apply Wax or Sealant: Apply a coat of car wax or sealant to protect the polished area.
Step 8: Inspect and Repeat (if needed): Carefully examine the scratch. If necessary, repeat steps 4-7.
FINAL THOUGHTS
Cleaning a scratch on your car is a manageable DIY project, especially for minor imperfections. The core of the process is about gentle removal of the oxidized layer of paint and then providing a protective barrier. Remember, prevention is key – regular washing and waxing contribute significantly to preserving your vehicle’s paint. By following these steps, you’ll not only reduce the appearance of scratches but also maintain the overall health and beauty of your car’s finish. Don’t be afraid to start small and learn as you go. Even if you don’t achieve a completely flawless finish, you’ll have gained valuable experience and improved the appearance of your vehicle.
If you’re dealing with a particularly deep or extensive scratch, or if you’re uncomfortable tackling the project yourself, consult a professional auto detailer. They possess the expertise and tools to restore your car’s paint to its former glory.
Consider researching different types of polishing compounds and waxes to find those best suited for your car’s paint and the type of scratches you’re dealing with. Resources like I-D Online (https://www.i-donline.com/) offer valuable information and guidance for automotive enthusiasts.