Cleaning your derma roller correctly is super important for healthy skin. A derma roller has lots of tiny needles that make small holes in your skin, which means keeping it clean is a must to avoid getting an infection. Let’s talk about the best ways to clean and take care of your derma roller.
According to Dr. Joshua Zeichner, Director of Cosmetic and Clinical Research in Dermatology at Mount Sinai Hospital in New York City, “Proper cleaning of any device that penetrates the skin is essential to prevent infections. Think of your derma roller like a medical device – it needs to be properly sanitized before and after each use.”
The proper cleaning of your derma roller isn’t just about keeping germs away – it also helps make sure you get the best results from your skincare routine. Think of it like keeping your toothbrush clean – you wouldn’t want to use a dirty one on your teeth, right? The same goes for your derma roller and your skin.
 When it comes to caring for your skin with a derma roller, proper cleaning isn’t just a suggestion – it’s essential for your safety and results.
We recognize that maintaining skin health and boosting collagen production starts with safe skincare practices.
To prevent contamination, we’ll help you properly clean your derma roller using isopropyl alcohol, sterilize your derma roller effectively, and air dry it correctly.
Let’s explore the essential dos and don’ts of derma roller cleaning to keep your skincare routine safe and effective.
We’ll walk through the proper cleaning steps, from initial rinse to storage, so you can maintain your derma roller’s hygiene and performance.
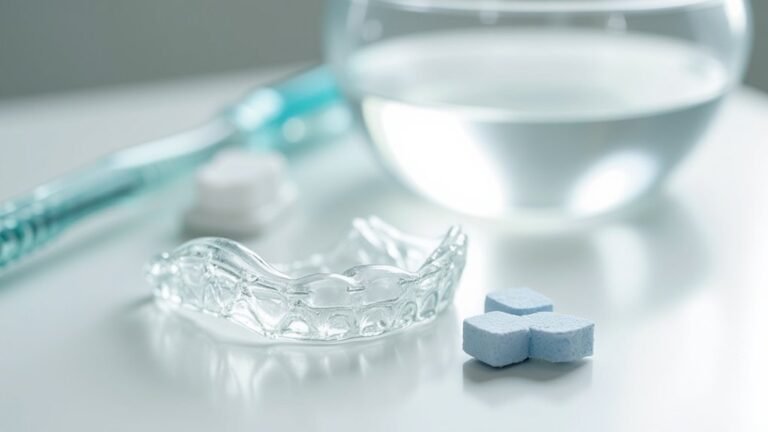
Whether you’re a first-time user or experienced with derma rolling, understanding these cleaning guidelines will help protect your skin and extend the life of your tool.
 Keeping your derma roller clean and properly sanitized is essential for safe and effective treatment. With regular maintenance using isopropyl alcohol, hydrogen peroxide, or denture tablets, you can guarantee your tool remains free from harmful bacteria and ready for each use.
Remember that proper cleaning isn’t just about the tool’s longevity—it’s about protecting your skin from potential infections and complications.
By following these cleaning protocols and storage practices, you’ll maximize both the safety and effectiveness of your derma rolling routine. Start implementing these cleaning habits today to get the most out of your skincare investment and achieve the best possible results from your treatments.
Take charge of your skincare routine by making proper derma roller maintenance a priority. Your skin deserves the safest and most hygienic treatment possible, and a well-maintained derma roller is key to achieving your skincare goals.
Safe Skincare Starts Here
Things to Do When Cleaning A Derma Roller
Proper cleaning of your derma roller is essential for both safety and effectiveness during microneedling treatments. The cleaning process involves multiple steps that must be followed carefully to guarantee complete sterilization and prevent any risk of infection or skin complications from contaminated needles.- Initial rinse – Quick warm water rinse removes visible debris and prepares the roller for sterilization
- Alcohol/peroxide soak – Extended contact with disinfectant eliminates harmful microorganisms
- Thorough water rinse – Removes all traces of cleaning agents that could irritate skin
- Proper drying – Allows complete air drying while preventing contamination from surfaces
- Regular inspection – Guarantees needles remain sharp and effective for peak treatment results
- Timely replacement – Maintains safety and effectiveness of the microneedling process
Things to Avoid When Cleaning A Derma Roller
Maintaining proper hygiene for your derma roller is essential for safe and effective treatments, but certain cleaning practices can compromise both the tool’s integrity and your skin’s health. Improper cleaning methods may not only damage the delicate needles but also increase the risk of infection and reduce the derma roller’s effectiveness over time. Using boiling water – Excessive heat can warp the needles and compromise the roller’s structural integrity. Harsh chemical cleaners – Bleach and scented products can leave harmful residue and damage the device. Reused alcohol solution – Previously used alcohol may contain contaminants and provide inadequate sanitization. Previously used toothbrushes – Can harbor bacteria and introduce new contaminants to your derma roller. Sharing with others – Increases risk of cross-contamination and spread of bacteria or infections. Improper storage while wet – Can lead to rust formation and bacterial growth on the needles. Aggressive scrubbing – May bend or break the delicate needles, rendering the tool ineffective. Extended soaking – Can deteriorate the materials and loosen the roller’s components. Unclean storage containers – May reintroduce bacteria to a freshly cleaned derma roller. Air-drying in bathroom – Humid environments promote bacterial growth and contamination.Steps
Cleaning your derma roller properly is essential for both safety and effectiveness in your skincare routine. A thorough cleaning process eliminates harmful bacteria and guarantees the tool remains in peak condition for each use, protecting your skin from potential infections while maximizing the benefits of your microneedling treatment. Step 1: Inspect the derma roller for any bent or damaged needles Step 2: Rinse under warm water for 2-3 seconds to remove debris Step 3: Submerge the roller head in 60-90% isopropyl alcohol or hydrogen peroxide Step 4: Let it soak for 10-15 minutes Step 5: Rinse thoroughly under warm running water for 30-60 seconds Step 6: Place the roller upside down on a clean paper towel Step 7: Allow to air dry for 10-20 minutes Step 8: Optional: Use denture cleaning tablets for additional sanitization Step 9: Store the dry roller in its protective containerFinal Thoughts
Taking care of your derma roller through regular cleaning and maintenance will greatly extend its lifespan while protecting your skin’s health. We recommend inspecting the needles before each clean, using 70% alcohol for proper disinfection, and allowing it to dry on a clean towel. Remember to maintain proper storage in an airtight container, and you’ll keep bacteria at bay while ensuring ideal results.Related guides: How to Clean a Paint Roller · How To Clean a settee · How To Clean A Pellet Smoker
Some of the links in this article may be affiliate links. If you make a purchase through these links, we may earn a small commission at no extra cost to you. Thank you.