Let's talk about cleaning our Traeger grills, because no one wants to cook on a dirty grill. It's a common problem – dealing with grease, ash, and stuck-on food that can make our meals taste bad and stop our grill from working its best. According to Joe Traeger, the original inventor of the pellet grill, "A clean grill is a happy grill, and maintenance is key to longevity." While cleaning might look like a big job, keeping our Traeger clean is actually pretty simple. With basic tools and easy steps, we can get our grill clean and ready for our next barbecue.
Some of the links in this article may be affiliate links. If you make a purchase through these links, we may earn a small commission at no extra cost to you. Thank you.
Regular Cleaning Ensures Longevity
When it comes to getting the most out of your Traeger grill, regular cleaning isn't just a suggestion – it's vital for long-term performance.
We recommend wiping spills and scraping grates after each use to prevent grease buildup.
A deep clean every 2-3 cooks keeps the firepot and grease chute clear, while cleaning the exterior quarterly maintains appearance.
This consistent maintenance guarantees peak performance and extends your Traeger grill's longevity.
Let's explore the key aspects of cleaning your Traeger grill, from essential steps to common mistakes you'll want to avoid.
We'll walk through both the do's and don'ts of maintaining your grill, ensuring you're equipped with the knowledge to keep it in top condition.
From proper tool selection to timing your cleaning sessions right, we'll cover everything you need to know for effective grill maintenance.
Things to Do When Cleaning a Traeger Grill
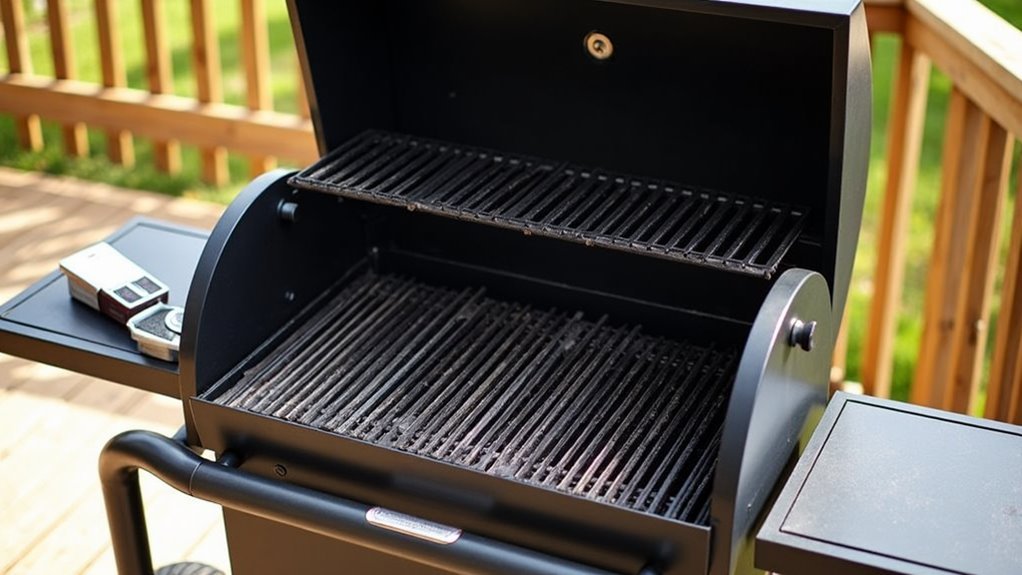
Cleaning a Traeger grill properly is vital for maintaining its performance and extending its lifespan. A thorough cleaning process removes built-up grease, food particles, and ash that can affect the flavor of your food and potentially create fire hazards.
Regular maintenance guarantees your grill continues to function efficiently and produces consistently delicious results.
- Wait for complete cooling – Allow the grill to cool entirely before cleaning to prevent burns and injuries.
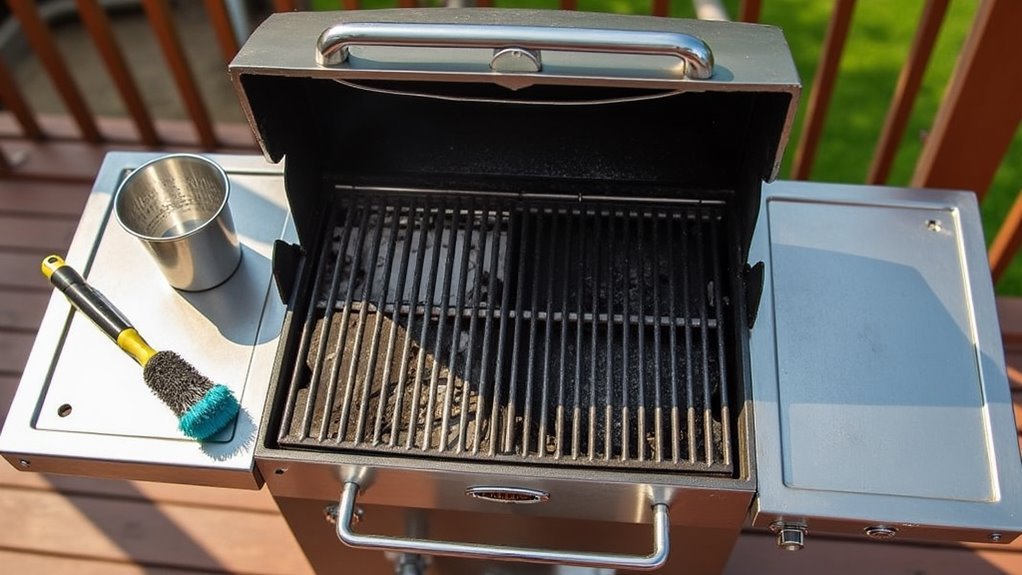
- Remove and clean grates – Scrape while slightly warm, then apply natural degreaser to both sides.
- Clean the chimney – Use degreaser and cloth to remove accumulated soot and grease deposits.
- Empty and clean grease trap – Remove old grease and clean channels to prevent potential fires.
- Clean interior surfaces – Wipe down all internal components, including heat baffle and drip tray.
- Vacuum ash – Remove accumulated ash from the firepot and surrounding areas.
- Check components – Inspect all parts for wear or damage during cleaning.
- Reassemble properly – Return all components to their correct positions for proper operation.
- Test operation – Run the grill briefly to verify everything is functioning correctly after cleaning.
Things to Avoid When Cleaning a Traeger Grill
Cleaning a Traeger grill requires careful attention to protect both the equipment and the quality of food you cook. While regular maintenance is essential, using improper cleaning methods can damage your grill's components, compromise safety, and affect the flavor of your meals.
Understanding what not to do is just as important as knowing the correct cleaning procedures.
- Wire brushes: These can shed metal bristles that end up in food and pose serious health risks if ingested.
- Pressure washers: High-pressure water can damage electrical components and strip away protective seasoning.
- Chemical cleaners: Harsh cleaning agents leave harmful residues that affect food taste and safety.
- Aggressive scrubbing: Over-cleaning removes beneficial seasoning layer that protects against rust and adds flavor.
- Ignoring grease management: Failing to clean the grease trap leads to dangerous flare-ups and fire hazards.
- Power washing: Using excessive water pressure damages internal components and electronics.
- Steel wool: Scratches surfaces and removes protective coating, leading to premature wear.
- Abrasive scouring pads: Creates scratches where rust can form and damages non-stick surfaces.
Steps
Cleaning a Traeger grill properly is essential for maintaining its performance and extending its lifespan. Regular cleaning prevents grease fires, guarantees consistent cooking temperatures, and preserves the flavor of your food.
While quick cleaning after each use is important, deep cleaning every few cooks will keep your grill in prime condition and ready for your next BBQ session.
Step 1: Allow grill to cool completely before starting any cleaning
Step 2: Remove grill grates, drip tray, and heat baffle
Step 3: Empty and clean the grease bucket and grease chute
Step 4: Clean grill grates with a nylon brush or wooden scraper
Step 5: Apply natural degreaser to interior surfaces and wipe clean
Step 6: Inspect and clean the hopper for any moisture or debris
Step 7: Clean the chimney to remove built-up creosote
Step 8: Wipe down exterior surfaces with mild soap and water
Step 9: Reinsert all components in proper order
Step 10: Spray grates with canola oil for protection
Final Thoughts
Maintaining your Traeger grill doesn't have to be a complex task when you follow these steps consistently.
By implementing a regular cleaning schedule, using all-natural degreasers, and staying on top of grill grates and grease trap maintenance, we'll keep our grilling experience at its finest.
Maintaining a clean Traeger grill isn't just about aesthetics – it's essential for safety, performance, and the longevity of your investment. Regular cleaning prevents grease fires, guarantees consistent temperatures, and helps your grill produce the best possible flavors.
While the cleaning process may seem extensive, breaking it down into routine maintenance makes it manageable and less time-consuming.
Remember that prevention is better than cure – wiping down surfaces after each use and performing regular deep cleans will save you from more difficult cleaning jobs down the line.
By following these cleaning guidelines and making grill maintenance part of your grilling routine, you'll be rewarded with countless delicious meals and years of reliable service from your Traeger.
Don't wait for visible buildup or performance issues – start implementing these cleaning practices today.
Your food will taste better, your grill will work more efficiently, and most importantly, you'll be grilling safely.
Happy grilling!